13. If the capacity of the DIMM in the controller that you removed is more than
1024 MB, complete the following steps to transfer the DIMM to the new
controller:
a. Remove the 1024 MB DIMM from the new controller and set it aside (see
“Replacing the memory cache DIMM” on page 150 for instructions).
b. Insert the DIMM into the new controller (see “Installing the DIMM” on
page 152 for instructions).
14. Install the battery from step 11 on page 112 into the new controller:
a. Slide the battery into the controller until the connector pins of the battery
are firmly affixed to the battery connector of the controller.
b. Turn the captive fastener clockwise to secure the battery in place.
15. Install the cover (see “Removing and installing a cover” on page 107)
Attention: Remove the temporary filler before you install the replacement
controller.
16. Install the new controller.
a. Ensure that the release levers on the controller are in the OPEN position.
b. Slide the controller into the bay until it stops.
c. Push the release levers to the CLOSED position.
17. Connect the cables that you disconnected in step 7 on page 111.
18. (Single-controller only) Turn on the storage subsystem (see “Turning on the
storage subsystem” on page 82).
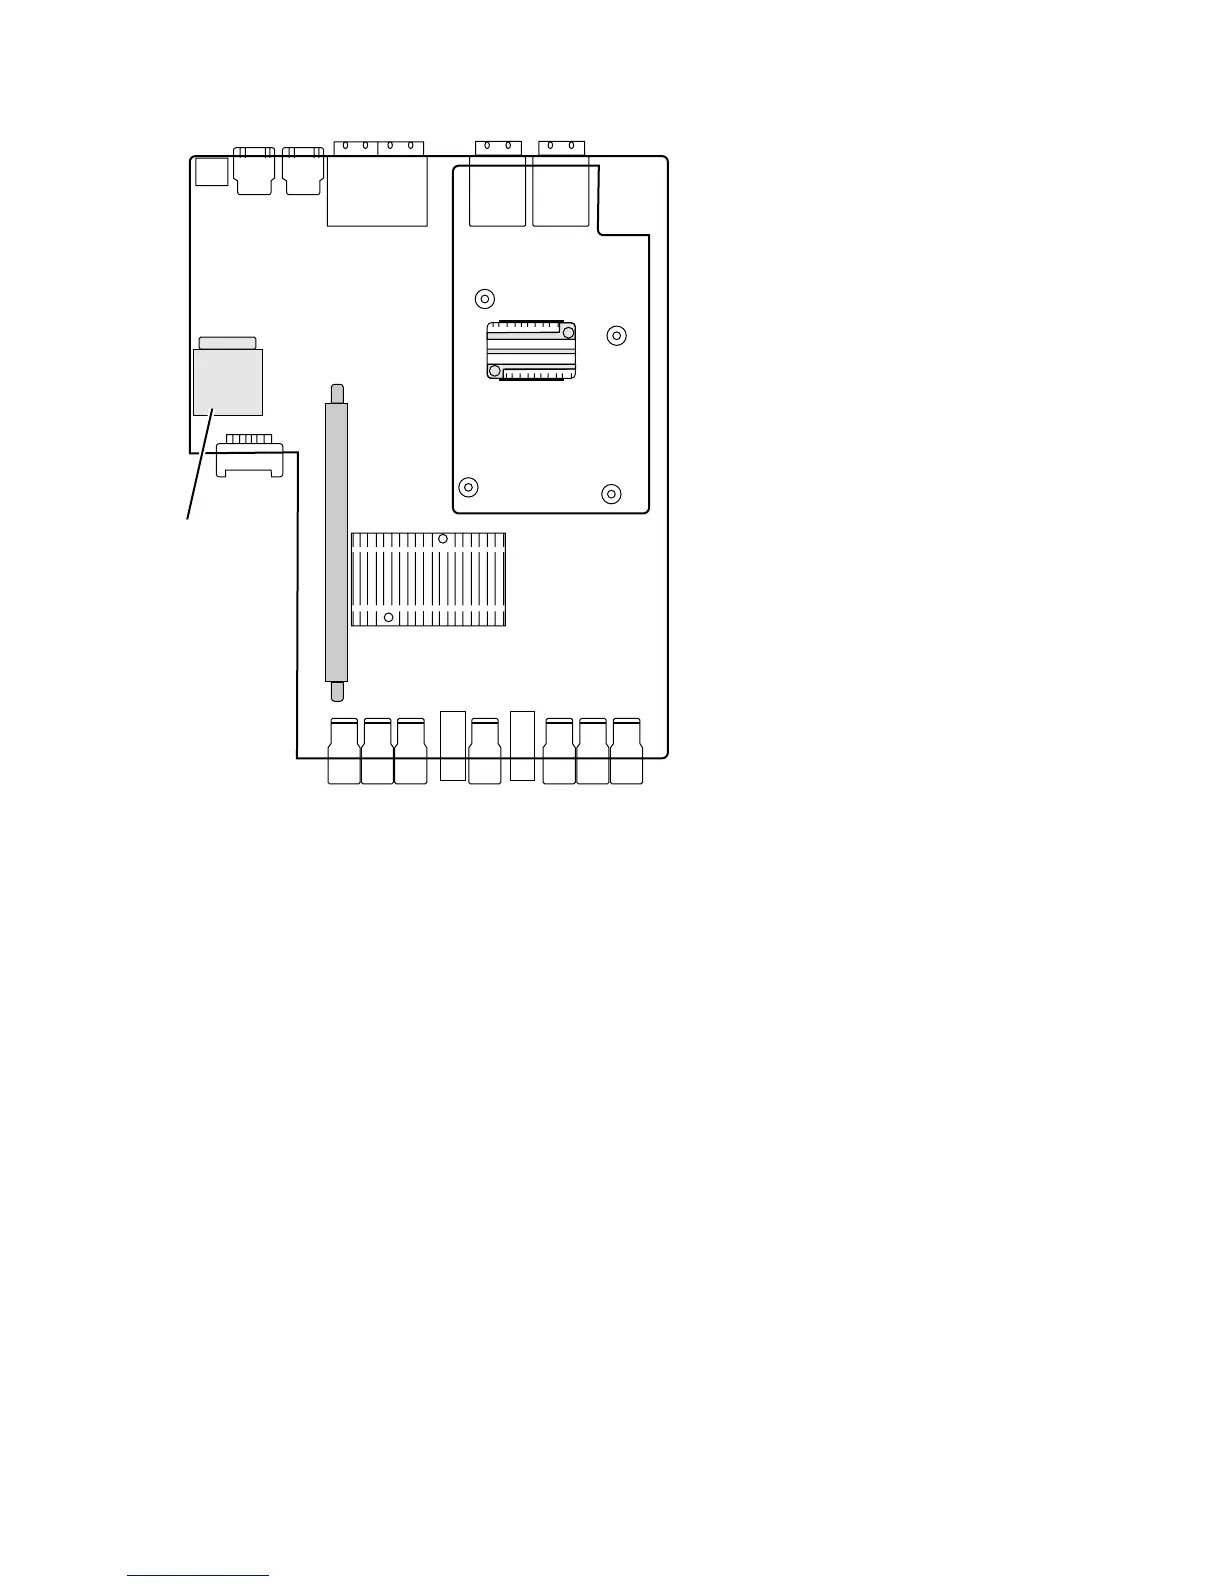
dcsi0015
Cache backup
flash memory
device
Figure 93. Cache backup flash memory device
Chapter 5. Replacing components 113