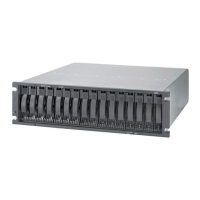
1. If the storage subsystem is on a table or other flat surface, elevate the storage
subsystem front slightly or extend the front over the table edge.
2. Grasp the handle on the front of the bezel and pull until the bezel is clear of
the bottom tab on the chassis flange.
3. Lift the bezel off the chassis flange.
Installing the bezels
To install either the left or right bezel, complete the following steps:
1. Fit the cutout that is on the top of the bezel over the tab on the chassis flange.
2. Rotate the bezel down until it snaps into place. Ensure that the inside surface
of the bezel is flush with the chassis.
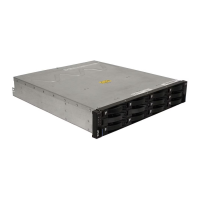
Working with environmental service modules
This section describes how to add or replace an ESM.
Attention: To avoid overheating the storage enclosure and causing damage to its
components, replace failed parts within 10 minutes. The Recovery Guru in the
Storage Manager software identifies failed parts.
Do not remove the failed part from the storage enclosure until you:
v Review the replacement procedure for the failed part in this guide.
v Locate screw drivers or any other hand tools that you might need to replace the
failed part.
v Receive the replacement part and are ready to install it in the enclosure.
Before you begin, ensure that you wear an anti-static wrist strap.
Installing an additional ESM
The storage enclosure comes with one environmental services module (ESM). If
your controller supports redundant drive paths (see the documentation that comes
with the controller or the device that contains the controller), you can install a
second ESM.
To install a second ESM, complete the following steps:
1. Read the safety information that begins on page “Safety” on page ix and “Best
practices guidelines” on page 8.
2. Remove the ESM filler panel from the rightmost ESM bay:
a. Open the two release levers. The ESM filler panel moves out of the bay
approximately 0.6 cm (0.25 inch).
b. Slide the ESM filler panel out of the bay and set it aside.
DANGER
Electrical voltage and current from power cables are hazardous. To avoid a
shock hazard, always place electrical equipment on dry, static-free level
surfaces. Never turn on any electrical equipment when there is evidence of
fire, water, or structural damage.
3. Place the ESM on a dry, static-free level surface.
4. Ensure that the release levers on the ESM are in the open position.
5. Slide the ESM into the bay until it stops.
Chapter 5. Replacing components 157