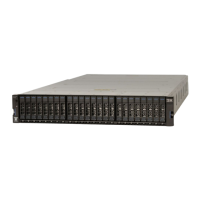
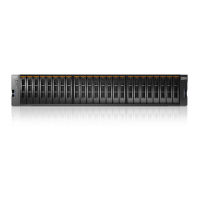
Table 5. V7000 Gen3 control and expansion enclosures (continued)
Machine type /
model
Warranty Description
2076-U7B 3 years IBM Storwize V7000 Gen3 NVMe Control Enclosure
2076-12F 3 years IBM Storwize V7000 12-slot Expansion Enclosure for 3.5-inch
drives
2076-24F 3 years IBM Storwize V7000 24-slot Expansion Enclosure for 2.5-inch
drives
2076-92F 3 years IBM Storwize V7000 92-slot Expansion Enclosure for 3.5-inch
drives
__ • Rack-mounting hardware kit:
__ – Two rails (right and left assembly)
__ – Two sets of rail-mount screws for non-IBM racks
__ • Two power cords for connection to rack-mounted power distribution units
__ • Drive bay blanking plates (installed in the enclosure)
__ • Publications package
Options applicable to control enclosures
Note: All options other than cables are preinstalled.
__ • Cache memory sequential upgrades to enhance 128 GB base system memory (8 x 16 GB DIMMs in
48 DIMM slots):
– 256 GB total system memory – adds 8 x 16GB DIMMs
– 384 GB total system memory – (requires 256 GB total memory option and) adds 8 x 16 GB DIMMs
– 1152 GB total system memory – (requires 256 GB total memory option, 384 GB total memory
option and) adds 24 x 32 GB DIMMs
__ • From 0-2 of the following host interface adapter options in any combination for the two available card
slots:
– Four-port 16 Gbps Fibre Channel that supports NVMe over Fabrics (NVMe-oF) with two small form-
factor pluggable (SFP) transceivers installed
– Two- port 25 Gbps Ethernet iWARP with iSER support that is NVMe-oF ready when the software
supports it
– Two- port 25 Gbps Ethernet RoCE with iSER support that is NVMe-oF ready when the software
supports it
__ • Fibre Channel cables
__ • SAS cables
__ • Drive options for the 24 available drive bays:
– Self-compressing, self-encrypting 2.5-inch NVMe-attached IBM FlashCore Modules with the
following storage capacities: 4.8 TB, 9.6 TB, and 19.2 TB.
– Industry-standard 2.5-inch NVMe-attached SSD drive options with the following storage
capacities: 1.92 TB, 3.84 TB, 7.68 TB, and 15.36 TB.
__ • Power cords for connection to wall sockets
Options applicable to expansion enclosures
Note: All options other than cables are preinstalled.
__ • Expansion enclosure attachment cables
Chapter 1. Before you begin the installation
5
 Loading...


