Chapter 2. Installing the system hardware
This information covers the system hardware installation and initial setup of the Storwize V7000
2076-724 control enclosure.
Installation overview
The installation and initial conguration of your system is your responsibility, following the plan that you
created using the planning information in the Knowledge Center.
Hardware installation tasks that you must complete
To install the Storwize V7000 2076-724 hardware, you must complete the following tasks:
Important: You must complete the planning tasks and have completed worksheets so that you can
proceed with installing and initializing your system.
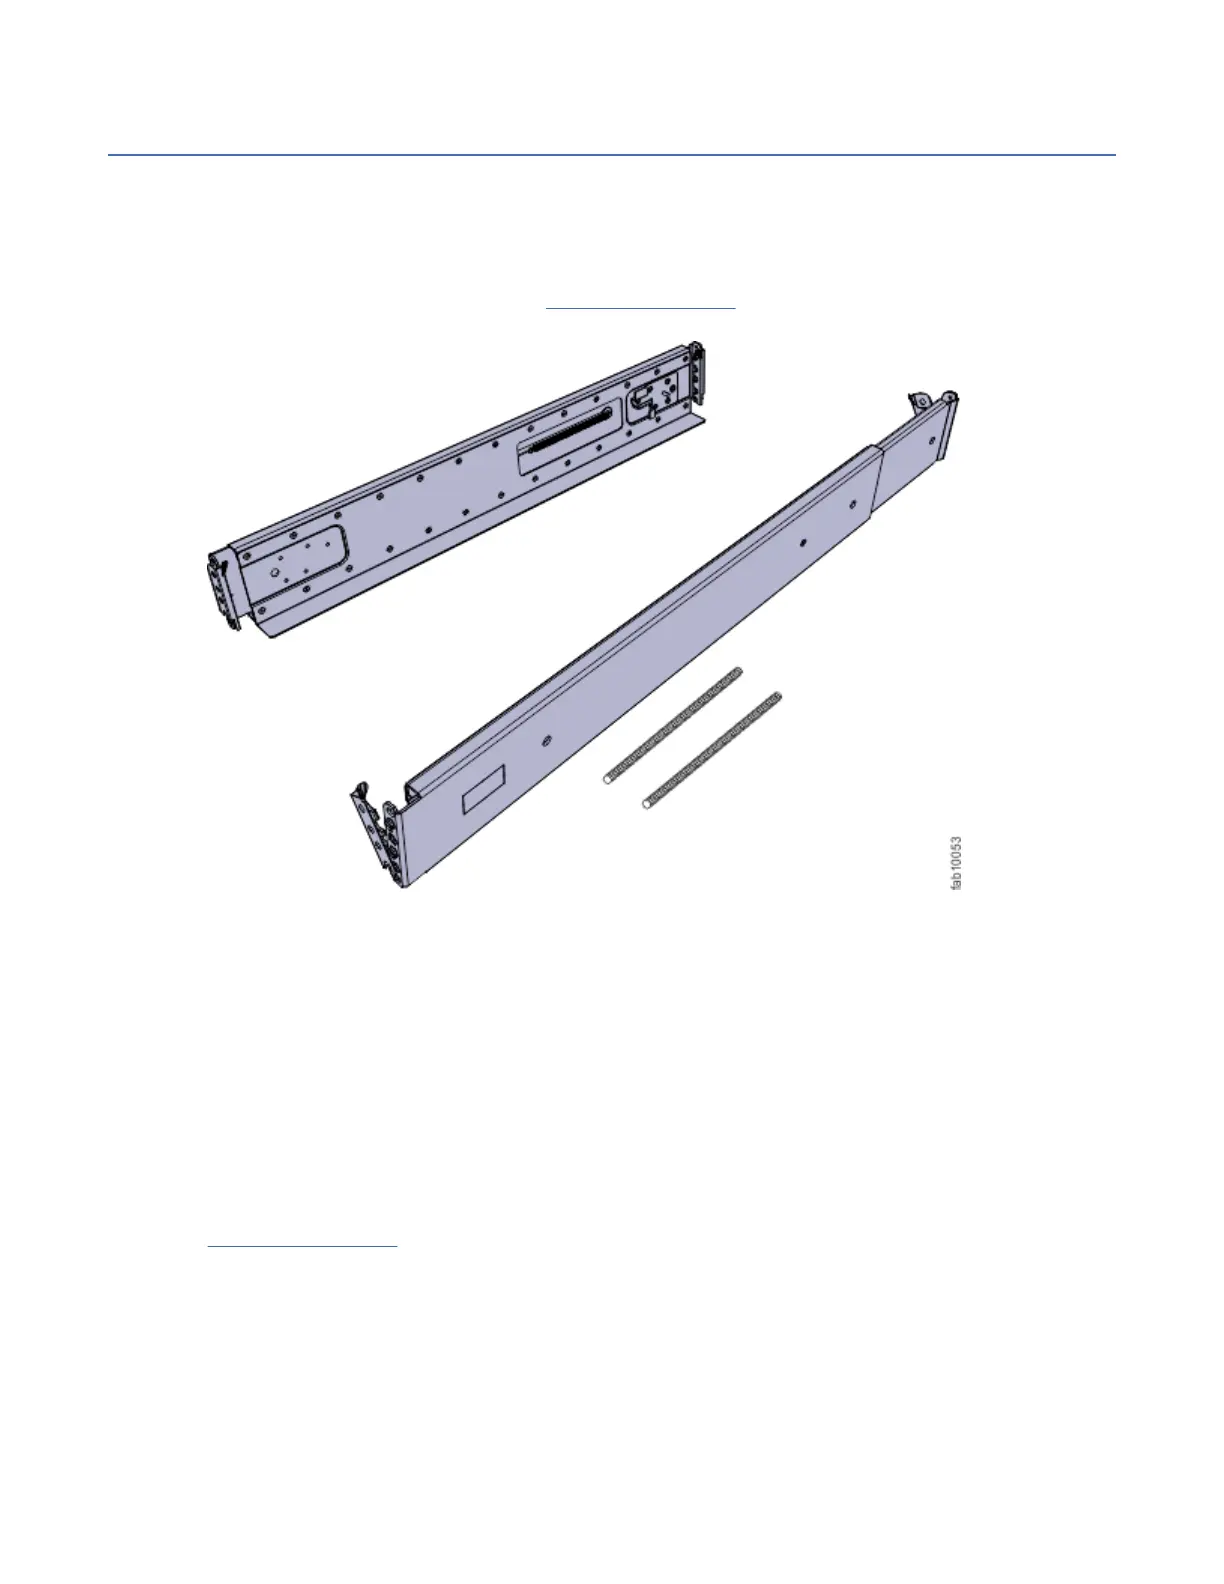
1. You must unpack and install the Storwize V7000 2076-724 control enclosures and any optional SAS
expansion enclosures in the rack.
2. Referring to the worksheets that you created, you must complete the cabling.
Note:
If you intend to add the Storwize V7000 2076-724 to an existing system, you simply install the
Storwize V7000 2076-724 control enclosure, because the existing system is already initialized.
Initial setup tasks that you must complete
After the hardware is installed, connect a workstation to the technician port of one of the node canisters
in the Storwize V7000 2076-724 control enclosure and complete the following tasks:
1. Congure the system with a name and management and service IP addresses.
Note:
If you intend to add the Storwize V7000 2076-724 to an existing system, you simply install the
Storwize V7000 2076-724 control enclosure, because the existing system is already initialized.
2. Log in to the control enclosure using the management GUI, and complete the system setup wizard
using information from the worksheets you created.
First customer tasks
After you complete the service setup process, you can log in to the Storwize V7000 2076-724 control
enclosure and complete the following tasks using the customer setup wizard:
1. Change the system password.
2. Set the date and time.
3. Create I/O groups (if applicable).
4. Conrm the Call Home settings that you entered during the installation.
5. Congure licensed functions.
6. Create storage pools.
At the completion of the setup wizard, the setup wizard creates storage arrays and assigns the MDisks to
the storage pools.
After the installation and initial conguration of the hardware is complete, IBM strongly recommends that
you check to see whether a later level of rmware and software is available and update to that level.
©
Copyright IBM Corp. 2018 11

 Loading...


