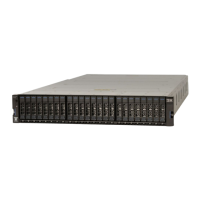
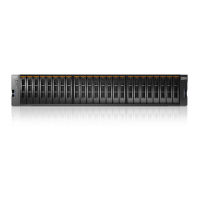
6. Replace the new enclosure in rack, as described in “Installing or replacing an expansion enclosure in
a rack: 2076-92F ” on page 50.
7. Reinstall the remaining parts into the enclosure, as described in the following topics. You can install
the parts in any order.
Important: Ensure that a mechanical lift is available and in place to support the additional weight as
the FRUs are reinstalled in the enclosure.
• “Installing or replacing a power supply: 2076-92F ” on page 71
• “Installing or replacing a drive: 2076-92F ” on page 63
• “Installing or replacing a secondary expander module: 2076-92F ” on page 67
• “Installing or replacing an expansion canister: 2076-92F ” on page 52
• “Installing or replacing a fan module: 2076-92F ” on page 79
• “Installing or replacing the top cover: 2076-92F ” on page 62
8. Reconnect the SAS cables, as described in “Removing and installing a SAS cable: 2076-92F ” on
page 76.
9. Reconnect the power cables, as described in “Powering on the optional 2076-92F expansion
enclosures” on page 112.
10. Run the next recommended x procedure in the management GUI to set the serial number of the
2076-92F enclosure.
Removing the display panel assembly: 2076-92F
You can remove the display panel assembly from a 2076-92F expansion enclosure.
Procedure
1. Slide the expansion enclosure out of the rack, as described in “Removing an expansion enclosure from
a rack: 2076-92F ” on page 83.
2. Remove the top cover, as described in “Removing the top cover: 2076-92F ” on page 46.
3. Press the release tab at the top of the display panel assembly, as shown in Figure 117 on page 105.
Figure 117. Removing the display panel assembly
4. Carefully pull the display panel assembly, which is shown in Figure 118 on page 106, out of the
chassis.
Chapter 2. Installing the system hardware
105
 Loading...


