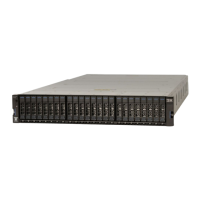
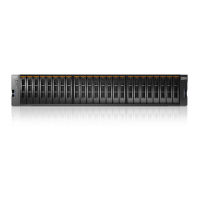
To verify that your environment can support expansion enclosures for Storwize V7000 2076-724, see
Appendix D, “SAS expansion enclosure requirements,” on page 157.
Review enclosure location guidelines
Before you install the enclosures, you must be familiar with these enclosure location guidelines.
Installing a control enclosure only
If you are installing a control enclosure only, follow these guidelines.
• Position the enclosure in the rack so that you can easily view it and access it for servicing.
• Locate the enclosure low enough for the rack to remain stable.
A fully assembled enclosure, containing drives, node canisters, power supplies units, and all possible
features weighs approximately 45 kg (99 lb), requiring three people to lift. For installation by a single
person, reduce the system down to manageable components by removing the drives from the front of the
enclosure and node canisters and power supply units from the rear of the enclosure before you attempt
to move the enclosure.
Installing a control enclosure and one or more expansion enclosures
If you are installing a control enclosure plus one or more expansion enclosures, follow these guidelines.
• A system can support up to 1056 drives that are installed into control and expansion enclosures. Each
enclosure requires 2U of rack space.
• Each assembled enclosure weighs more than 36 kg. Provide sufcient space at the front of the rack for
three persons to carry the enclosure safely.
• Each system can consist of up to four control enclosures. Each control enclosure can be connected to
up to 20 expansion enclosures (two SAS chains of up to 10 expansion enclosures each).
• For best performance, divide the total number of expansion enclosures to be installed among the
control enclosures in the system.
• Where expansion enclosures are to be installed, distribute them evenly into rack space above and
below the control enclosure to which they are to connect. Do not leave gaps between the enclosures.
Such placement aids cabling and serviceability.
• Leave space in the rack for future expansion enclosures, but otherwise install all enclosures that
constitute one system in adjacent or nearby rack space.
• If a rack is to be only partially lled, install the enclosures low enough for the rack to remain stable and
enable easy access to the enclosures for servicing.
Adding an expansion enclosure chain to an existing system
If you are adding an expansion enclosure chain to an existing system, follow these guidelines.
• You do not need to power off the system. You can add an expansion enclosure while the system is
operational.
• Add the rst expansion enclosure directly below the control enclosure.
• Add the second expansion enclosure directly above the control enclosure.
• Add the third expansion enclosure directly below the rst.
• Add the fourth expansion directly above the second, and so on.
10
Storwize V7000 : Gen3 Quick Installation Guide for MTM 2076-724, 2076-U7B, 2076-12F, 2076-24F, and
2076-92F

 Loading...


