Note: Use care to ensure that the tape is centered over the leader pin. Failure
to properly center the tape on the pin will cause the repaired cartridge
to fail. When the tape is properly centered, a 0.25-mm (0.01-in.) gap
exists on both sides of the pin.
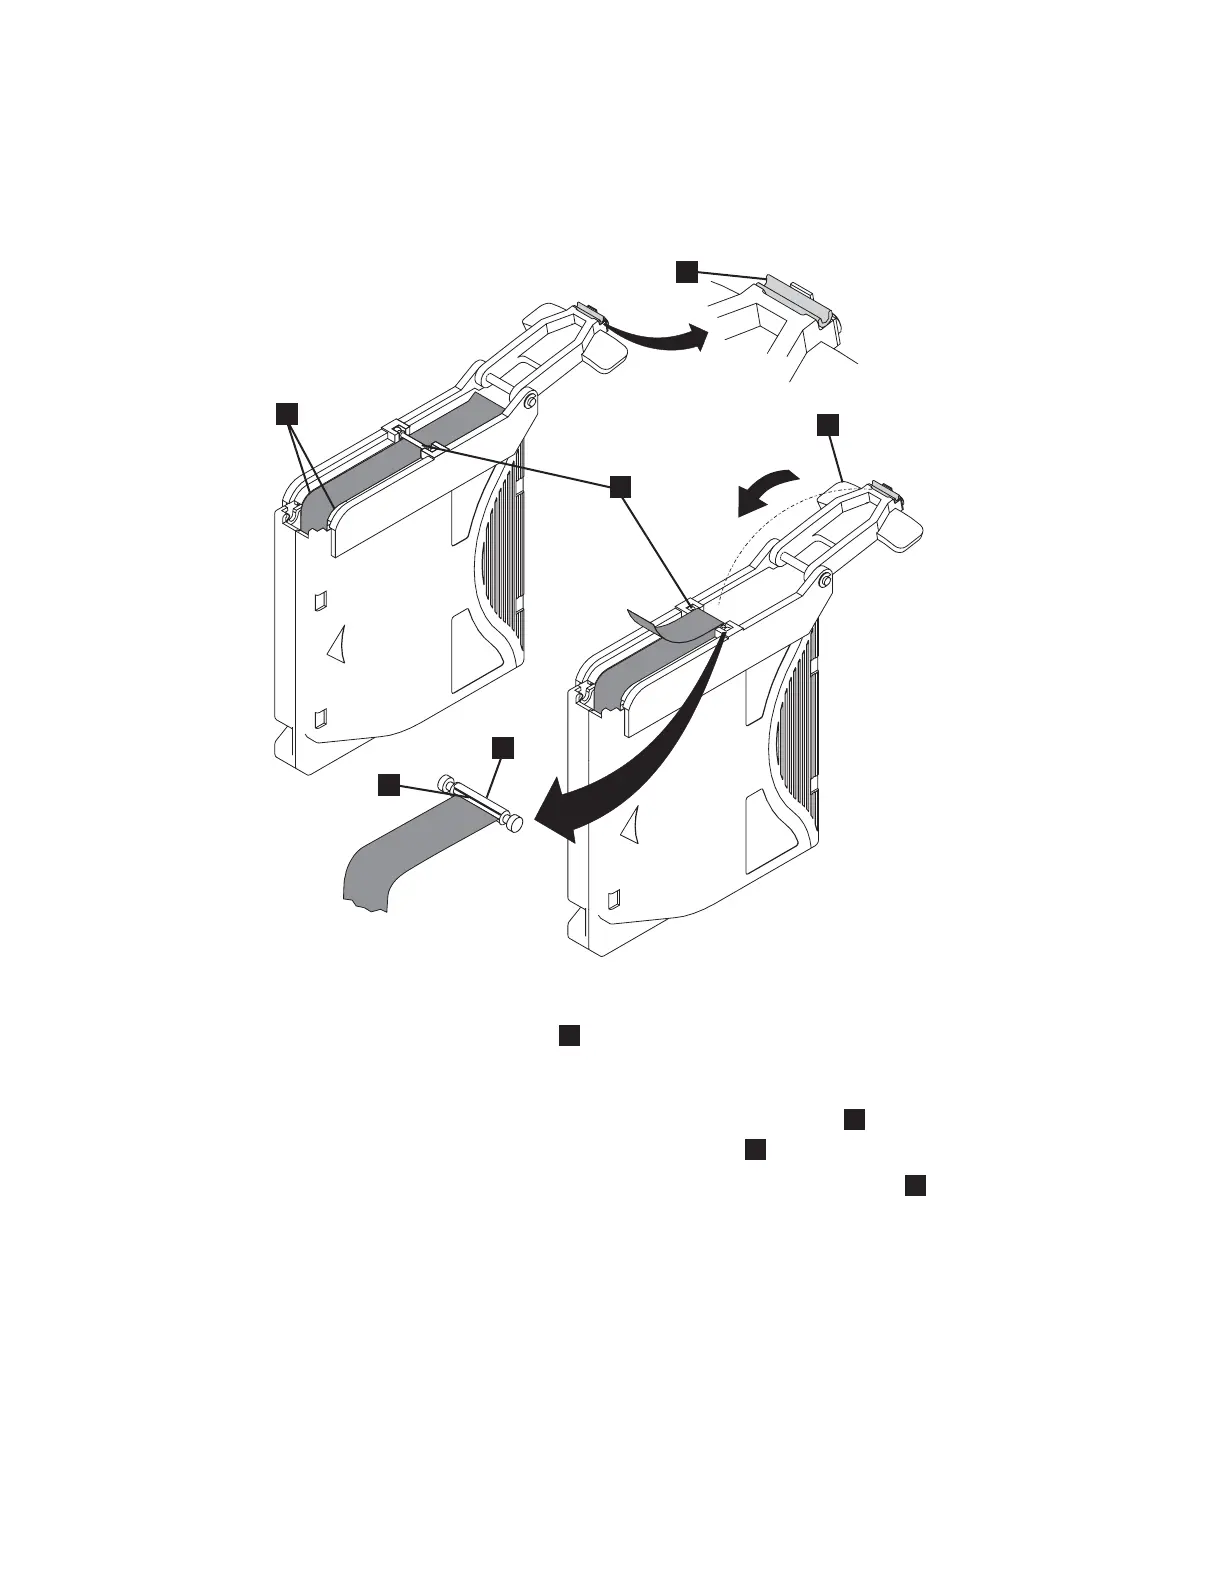
11. Close the pivot arm (
4
in Figure 8-15) of the leader pin attach tool by
swinging it over the leader pin so that the C-clip snaps onto the pin and the
tape.
12. Swing the pivot arm open and trim the excess tape (
5
in Figure 8-15) so that
it is flush with the reattached leader pin (
6
in Figure 8-15).
13. Use your fingers to remove the leader pin from the cavity (
3
in Figure 8-15)
in the leader pin attach tool.
14. Use the cartridge manual rewind tool to wind the tape back into the cartridge
(wind the tape clockwise). Ensure that the leader pin is latched by the
pin-retaining spring clips on each end of the leader pin.
15. Remove the rewind tool.
16. Remove the leader pin attach tool by lifting its end up and away from the
cartridge.
A67E0037
1
6
2
3
4
5
Figure 8-15. Attaching the leader pin to the tape
8-16 TS3310 Tape Library Setup and Operator Guide