Removing a front fan
Use this information to remove a front fan.
About this task
Attention: To ensure proper server operation, if a fan fails, you need to turn off
the server first, then replace the fan immediately.
To remove a front fan, first complete the following steps:
Procedure
1. Read the safety information that begins on page “Safety” on page vii and
“Installation guidelines” on page 32.
2. Turn off the server (see “Turning off the server” on page 22) and all attached
peripheral devices. Disconnect all power cords; then, disconnect all external
cables from the server.
3. Remove the server top cover (see “Removing the server top cover” on page
258).
4. Rotate the hot-swap rear hard disk drive cage up (see “Rotating the hot-swap
rear hard disk drive cage up” on page 168).
5. Remove the air baffle (see “Removing the air baffle” on page 261).
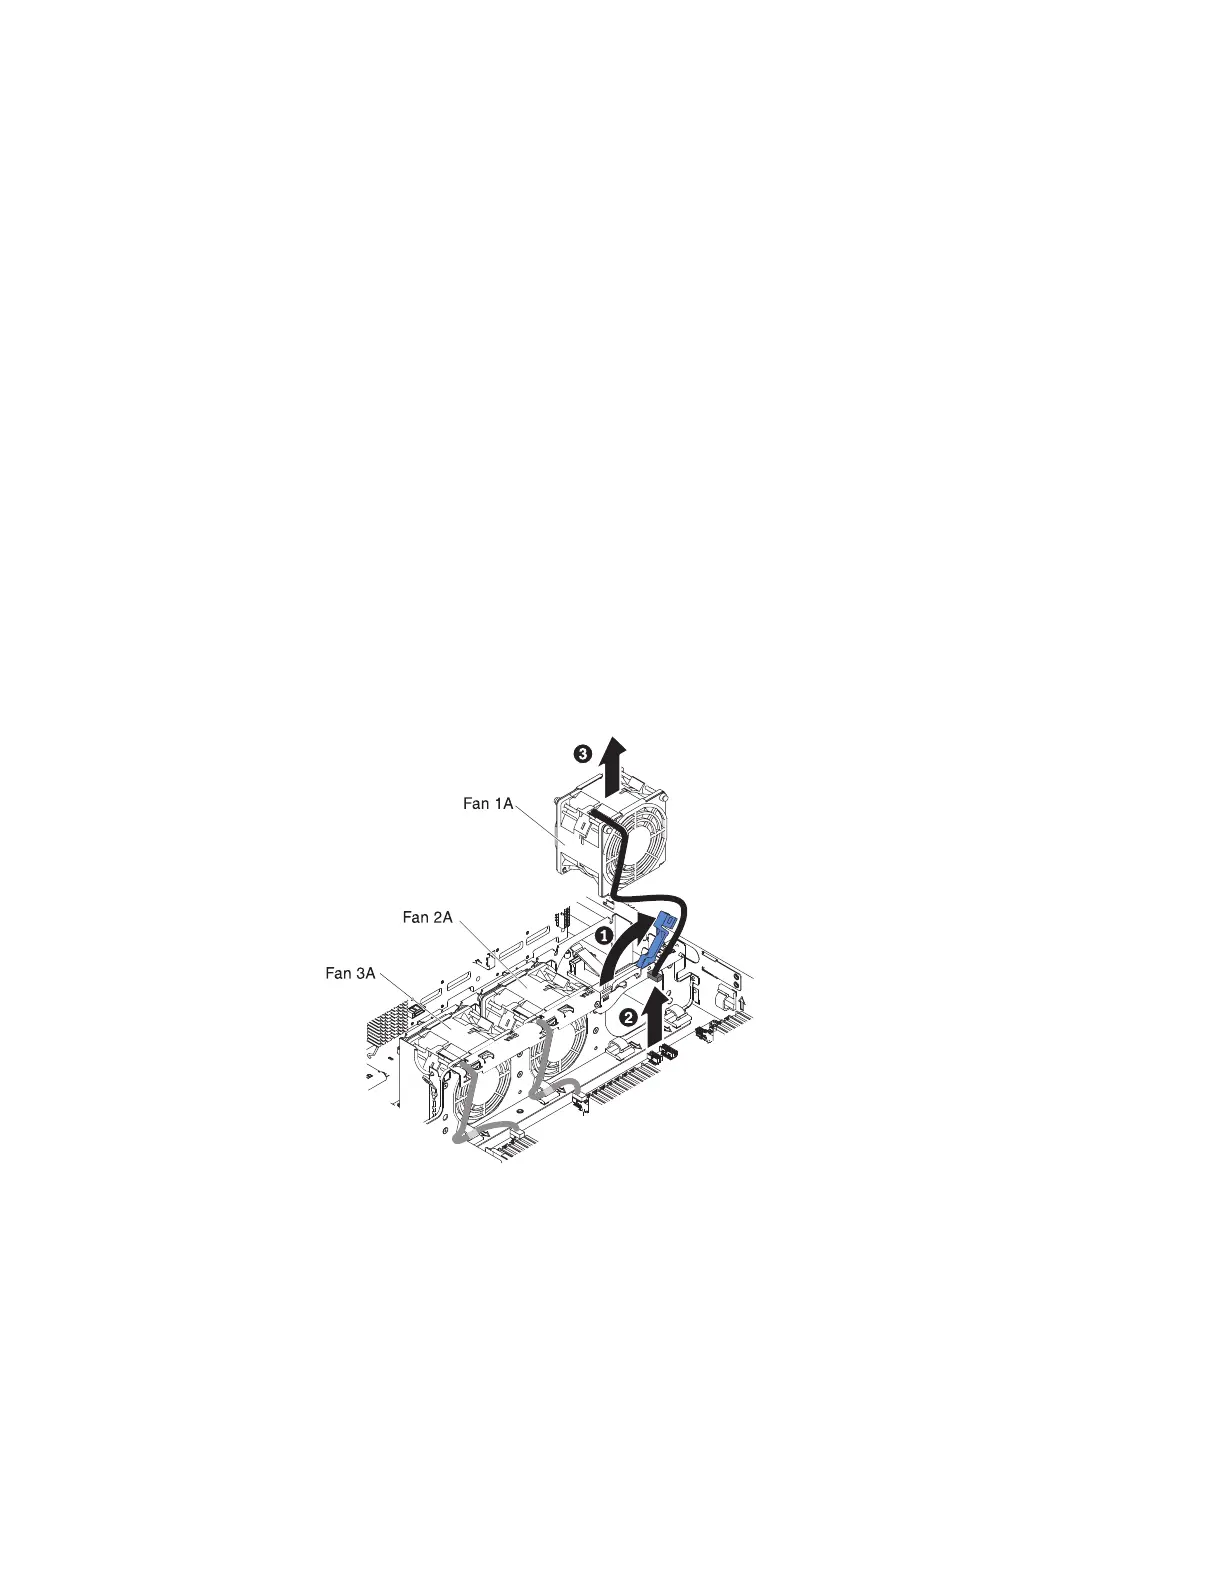
6. Removing Fan 1A:
a. Pull up the blue handle on the fan cage.
b. Disconnect the fan cable from the connector on the system board. (See
“System-board internal connectors” on page 26).
c. Pull the fan cable out of the cable retainer clip.
d. Grasp the top of the fan with your index finger and thumb and slowly lift
the fan out of the server.
7. Removing Fan 2A or Fan 3A
a. Disconnect the fan cable from the connector on the fan board. (See
“System-board internal connectors” on page 26).
Figure 94. Fan removal
182 System x3650 M4 BD Type 5466: Installation and Service Guide

 Loading...


