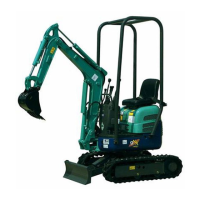
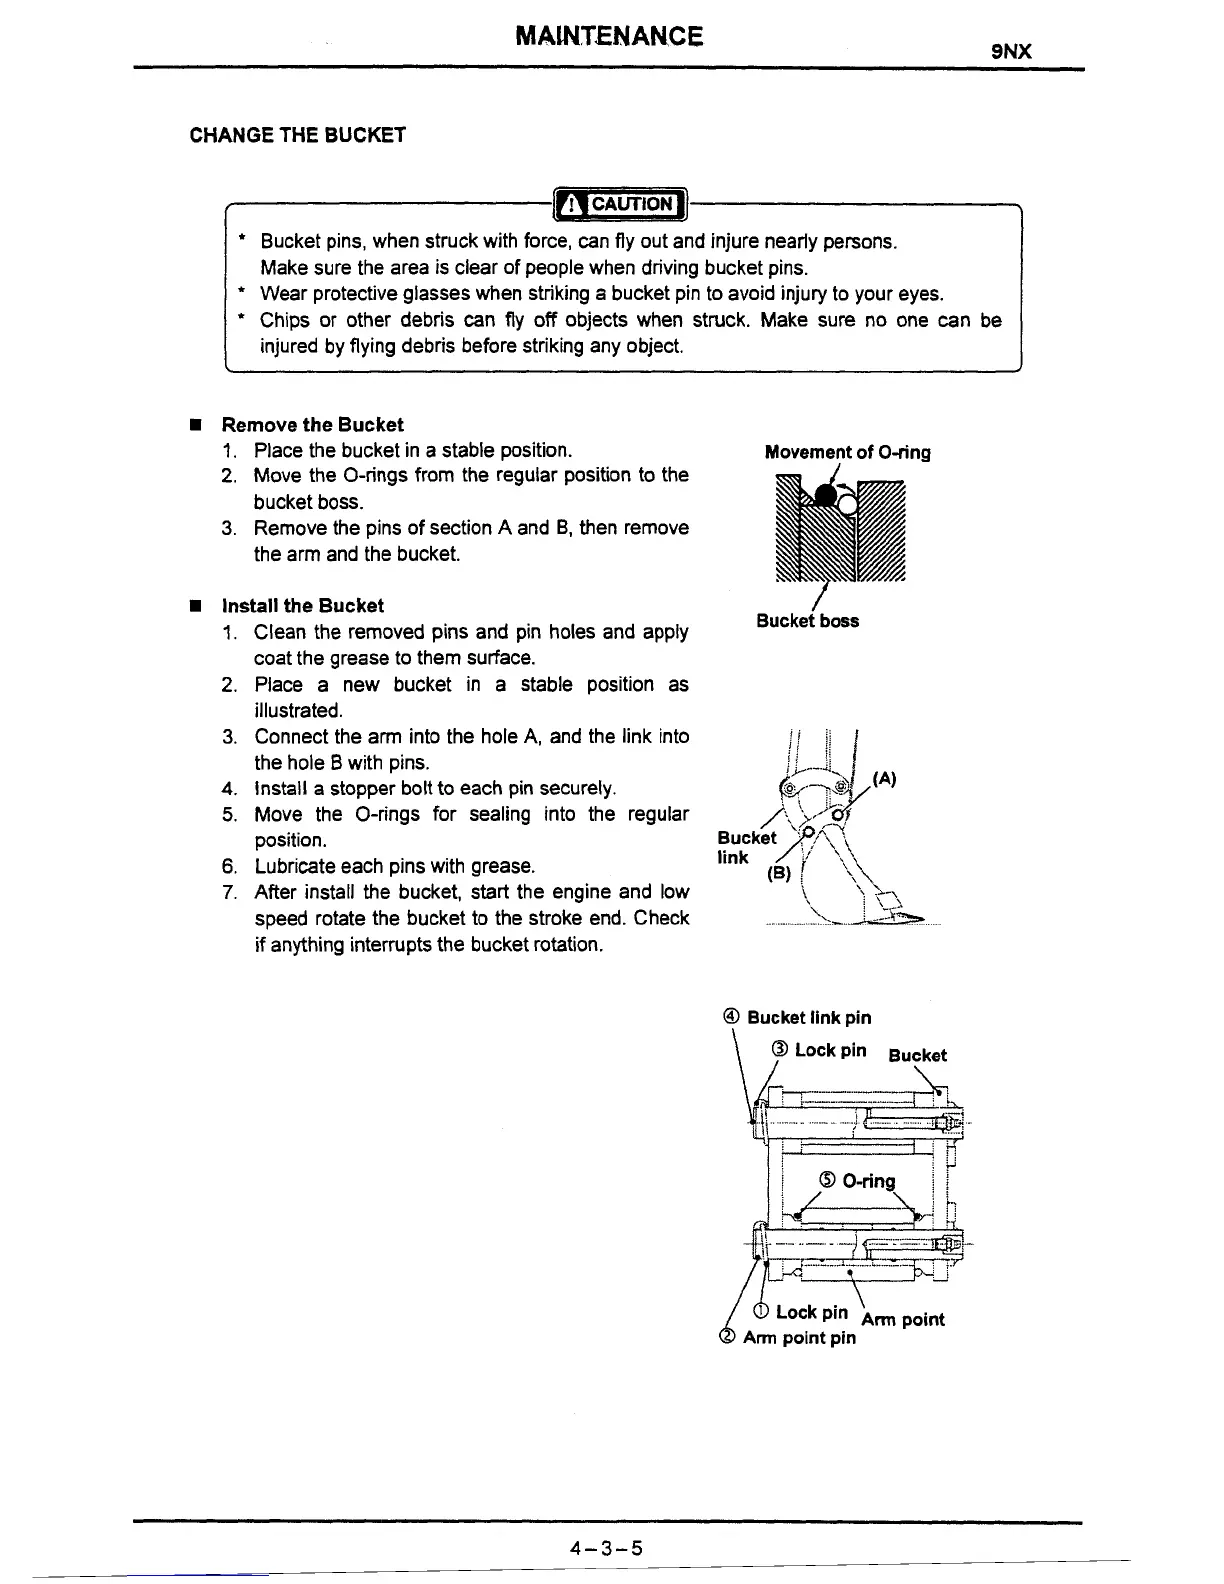
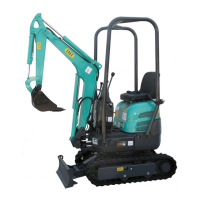
CHANGE THE BUCKET
1
CAUTION
Bucket pins, when struck with force, can fly out and injure nearly persons.
Make sure the area is clear of people when driving bucket pins.
Wear protective glasses when striking a bucket pin to avoid injury to your eyes.
Chips or other debris can fly off objects when struck. Make sure no one can be
injured by flying debris before striking any object.
Remove the Bucket
1.
Place the bucket in
a
stable position.
Movement of O-ring
2.
Move the O-rings from the regular position to the
bucket boss.
3. Remove the pins of section A and
B,
then remove
the arm and the bucket.
Install the Bucket
/
1.
Clean the removed pins and pin holes and apply
Bucket boss
coat the grease to them surface.
2.
Place a new bucket in a stable position as
illustrated.
3. Connect the arm into the hole A, and the link into
,i
?i
j/
::
the hole
B
with pins.
i'
3:
&--.A
4.
Install a stopper bolt to each pin securely.
k7q
(A)
:
;>d
5.
Move the O-rings for sealing into the regular
/;)'>>,
position. Bucket,(
\,,
i,,
link
6.
Lubricate each pins with grease.
7.
After install the bucket, start the engine and low
(1
;
'\\&
'\
\
1,
i
:
'
\-.A
speed rotate the bucket to the stroke end. Check
1,
,...
i
--A-
............
if anything interrupts the bucket rotation.
@
Bucket link pin
...........
;
ji
@
O-ring i
i
j
i
\
6
~ock pin
point
Arm
point pin