TAIKO Service Manual
4-6
CHAPTER
4
© 2006 Japan Cash Machine Co.Ltd. All rights reserved.
4-2-2. Connecting Procedure
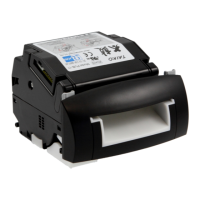
1. Set DIP Switch No.1~7 to ON, and DIP Switch No.8 to OFF. DIP Switch is located
right side of the TAIKO Unit.
2. Refer to 4-1-2. Connecting Procedure to identify the tool (TAIKO Unit, PC, and Power
Supply Unit) and the harness connection. Be sure that the TAIKO is connected to PC
by using the TAIKO Harness .
3. Turn the TAIKO Unit power ON.
4. Be sure that the TAIKO LED blinks color White.
5. Set DIP Switch No.1 to OFF.
6. TAIKO LED went to OFF .
7. Wait for 10 seconds and than start the program SERIAL No.
8. Press the BUTTON "READ SERIAL NUMBER" or "WRITE SERIAL NUMBER"