2 – 10
2
..
!9: CPA setting
Position the arrow cursor on the value area and click the trackball section left button, then the ten-
key pad can be used to enter a value. After entering the value, press the to set the CPA.
@0: Vector length setting
Position the arrow cursor on the value area and click the trackball section left button, then the ten-
key pad can be used to enter a value. After entering the value, press the to set the vector
length.
@1: DRIFT setting
Position the arrow cursor on the value area and click the trackball section left button, then the ten-
key pad can be used to enter a value. After entering the value, press the to set the
DRIFT.
Attention:
This function is available only when CORRECTION in the SET/DRIFT Menu is ON.
Also, CORRECTION can be turned ON only when the speed unit is set to MANUAL or LOG (1-AXIS).
@2: SET setting
Position the arrow cursor on the value area and click the trackball section left button, then the ten-
key pad can be used to enter a value. After entering the value, press the to set the SET.
Attention:
This function is available only when CORRECTION in the SET/DRIFT Menu is ON.
Also, CORRECTION can be turned ON only when the speed unit is set to MANUAL or LOG (1-AXIS).
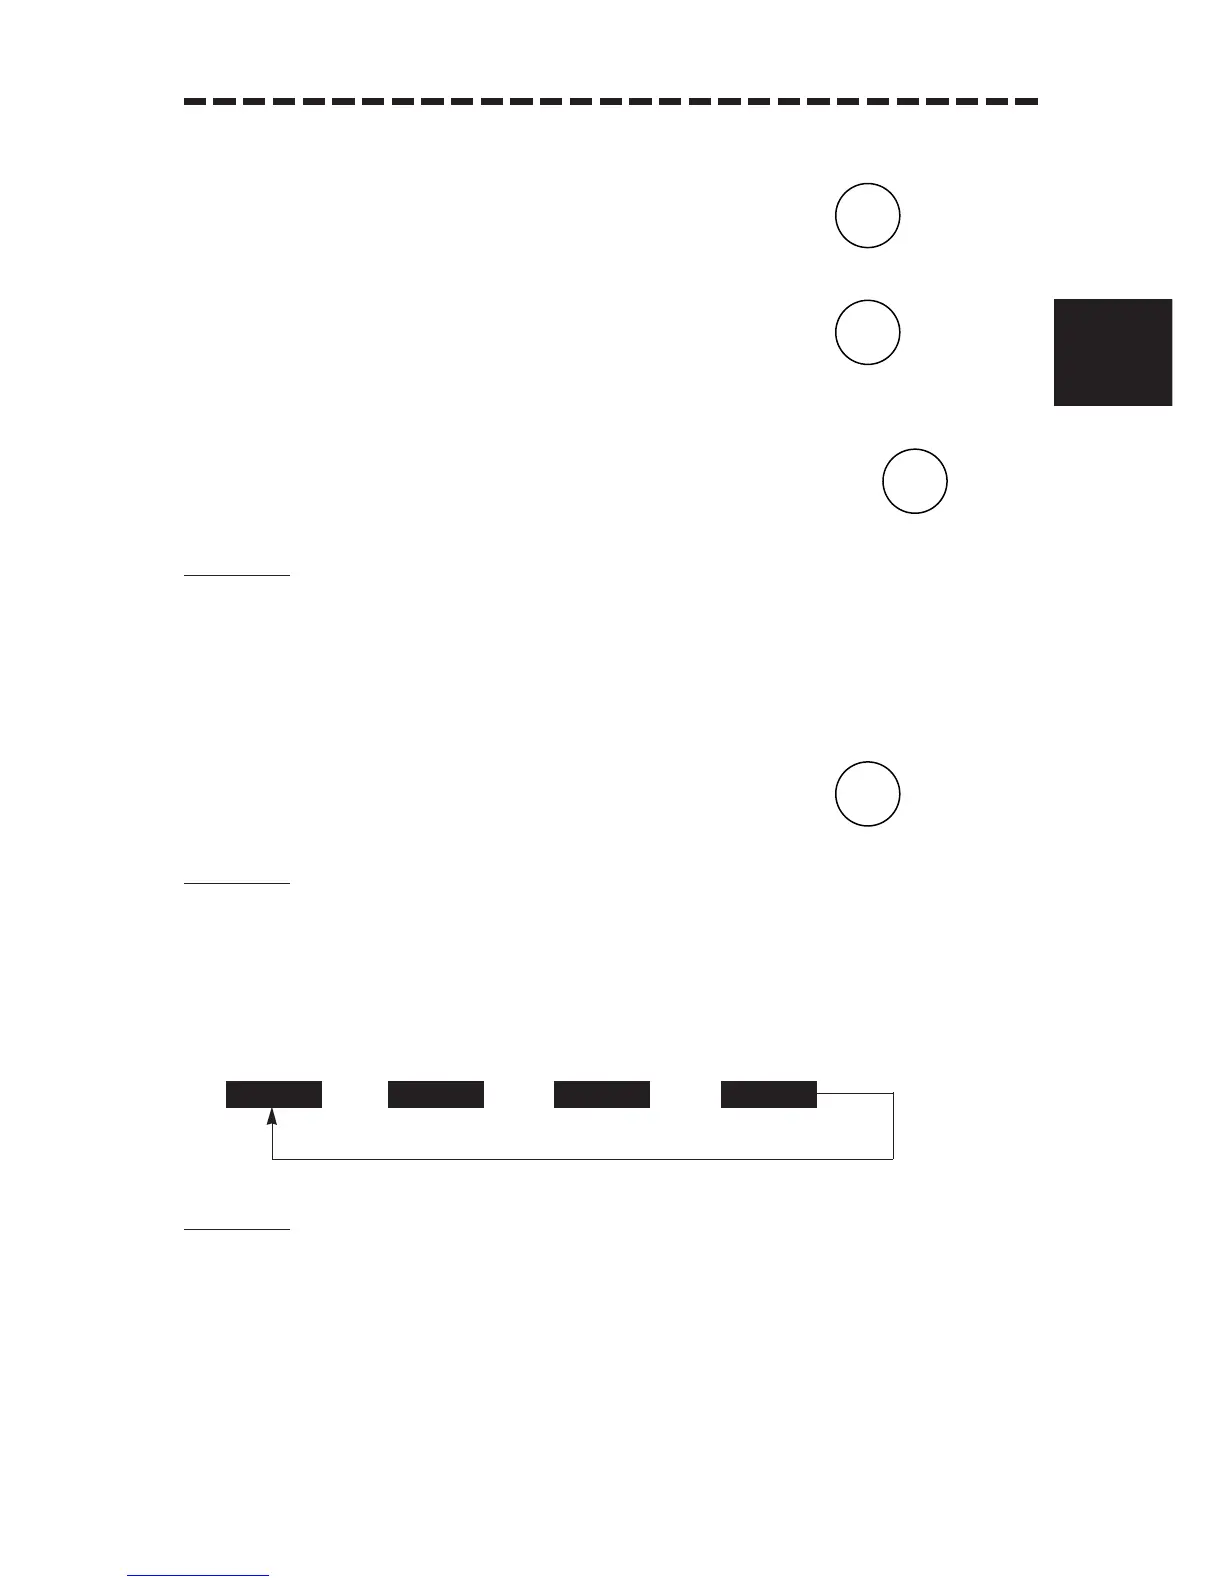
@3: Speed unit setting
Setting the speed unit.
///
1-axis log 2-axis over water 2-axis over ground
Attention:
An alarm is activated if the selected speed unit is not connected to the radar.
2AXG2AXWLOGMANUAL
 Loading...