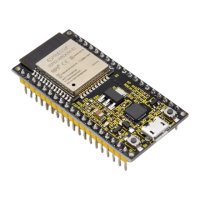
ESP32 Starter Kit
3. Wiring Diagram
4. Test Code
We adopt “for” statement to increase a variable from 0 to 255, and define the variable as PWM output (analogWrite(pin,
value)). By the way, a delay time may reinforce the control of LED shining time. Next, we use another “for” statement
to decrease it from 255 to 0 with a delay time to control LED dimming process.
/*
keyestudio ESP32 Inventor Learning Kit
Project 2: Breathing LED
http://www.keyestudio.com
*/
#define PIN_LED 5 //define the led pin
#define CHN 0 //define the pwm channel
#define FRQ 1000 //define the pwm frequency
#define PWM_BIT 8 //define the pwm precision
void setup() {
ledcSetup(CHN, FRQ, PWM_BIT); //setup pwm channel
ledcAttachPin(PIN_LED, CHN); //attach the led pin to pwm channel
}
void loop() {
(continues on next page)
8.5. Arduino Project 49