ESP32 Starter Kit
(continued from previous page)
void loop() {
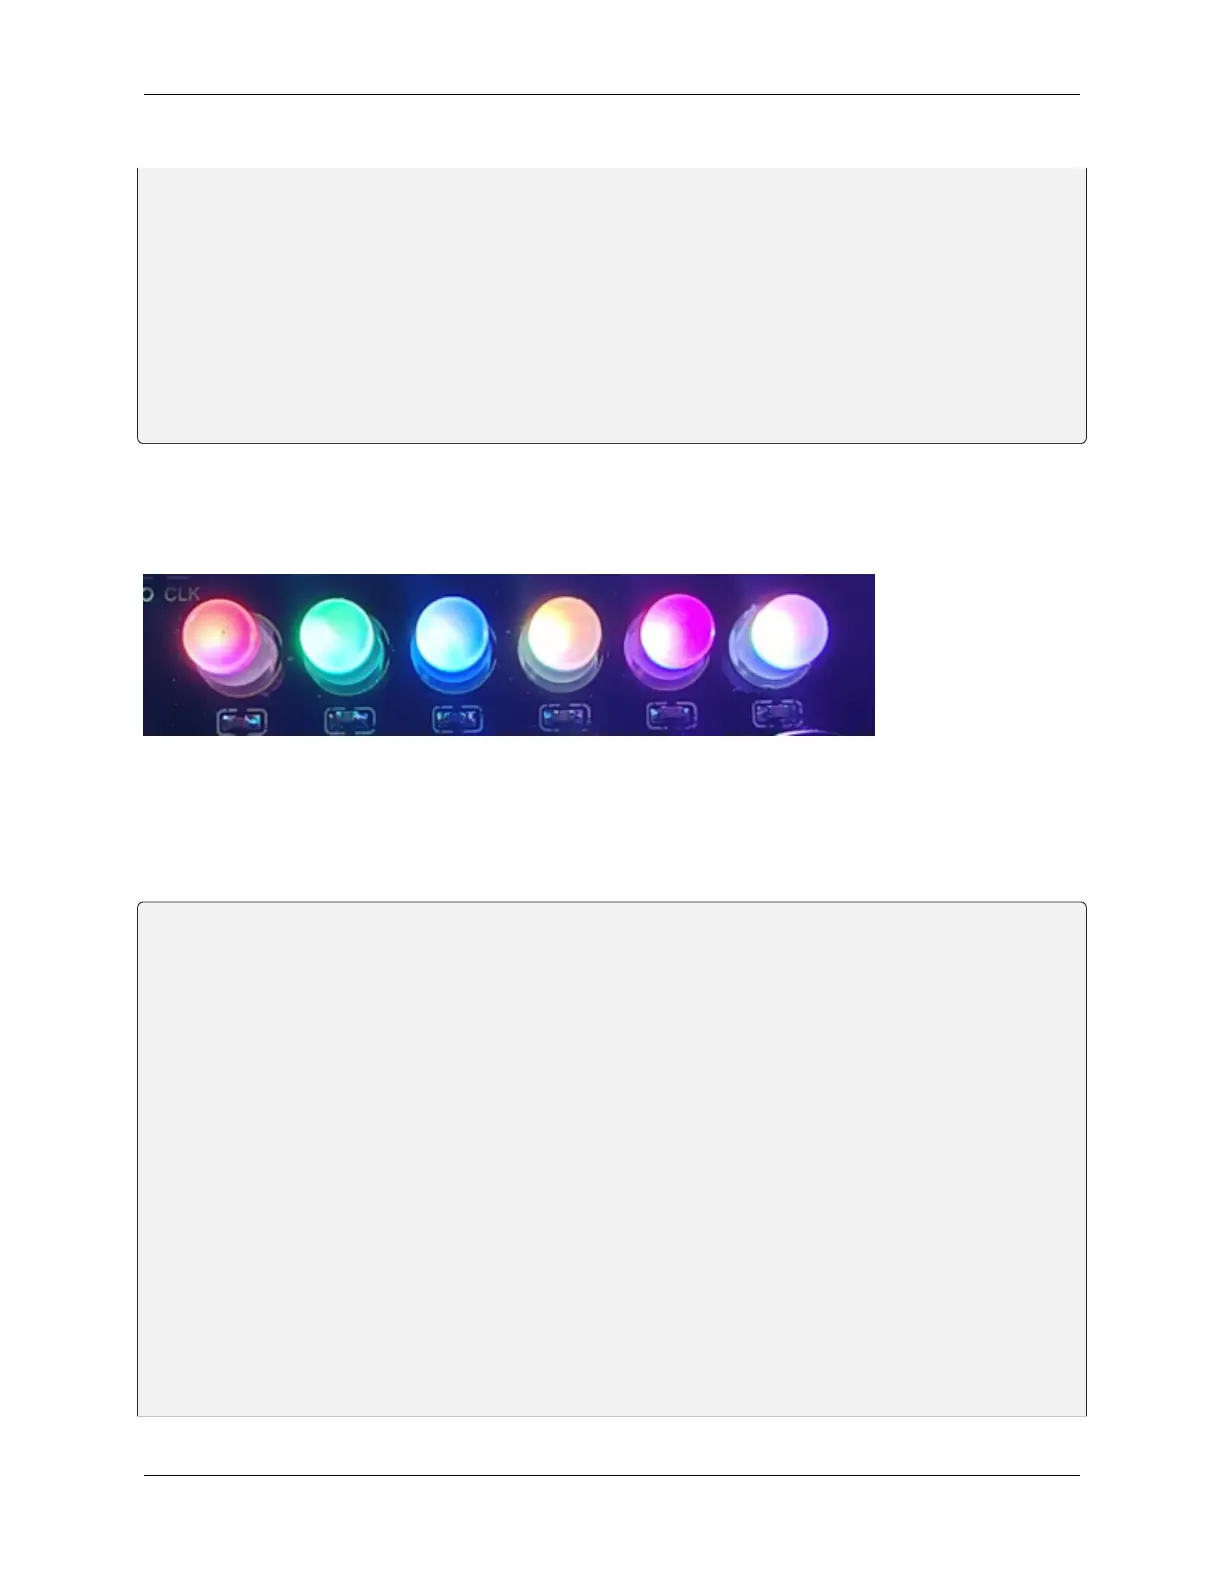
strip.setPixelColor(0, strip.Color(255, 0, 0)); //The frist RGB LED is red
strip.setPixelColor(1, strip.Color(0, 255, 0)); //The second RGB LED is green
strip.setPixelColor(2, strip.Color(0, 0, 255)); //The third RGB LED is blue
strip.setPixelColor(3, strip.Color(255, 255, 0)); //The fourth RGB LED is yellow
strip.setPixelColor(4, strip.Color(255, 0, 255)); //The fifth RGB LED is purple
strip.setPixelColor(5, strip.Color(255, 255, 255)); //The sixth RGB LED is white
strip.show(); //Refresh the display
delay(100); //Give a delay to save the stability of the display
}
5. Test Result
After uploading the code, wiring up and powering on, the LED will light up in different colors.
6. Extended Code
Specifically, we replace RGB value with variables. And then we control these variables to form an expected light show.
The wirings remain unchanged.
/*
keyestudio ESP32 Inventor Learning Kit
Project 5.2 Rainbow Ambient Light
http://www.keyestudio.com
*/
//Add 2812RGB library file
#include <NeoPixel_ESP32.h>
#define PIN 15
Adafruit_NeoPixel strip = Adafruit_NeoPixel(6, PIN, NEO_GRB + NEO_KHZ800);
void setup() {
strip.begin();
strip.show(); // Initialize all pixels to 'off'
}
void loop() {
// Some example procedures showing how to display to the pixels:
colorWipe(strip.Color(255, 0, 0), 50); // Red
colorWipe(strip.Color(0, 255, 0), 50); // Green
(continues on next page)
8.5. Arduino Project 57