ESP32 Starter Kit
(continued from previous page)
void loop(){
DigitalTube.displayFloatNum(9999); //Values or variables added to the parentheses␣
˓→can be displayed through the digital tube
}
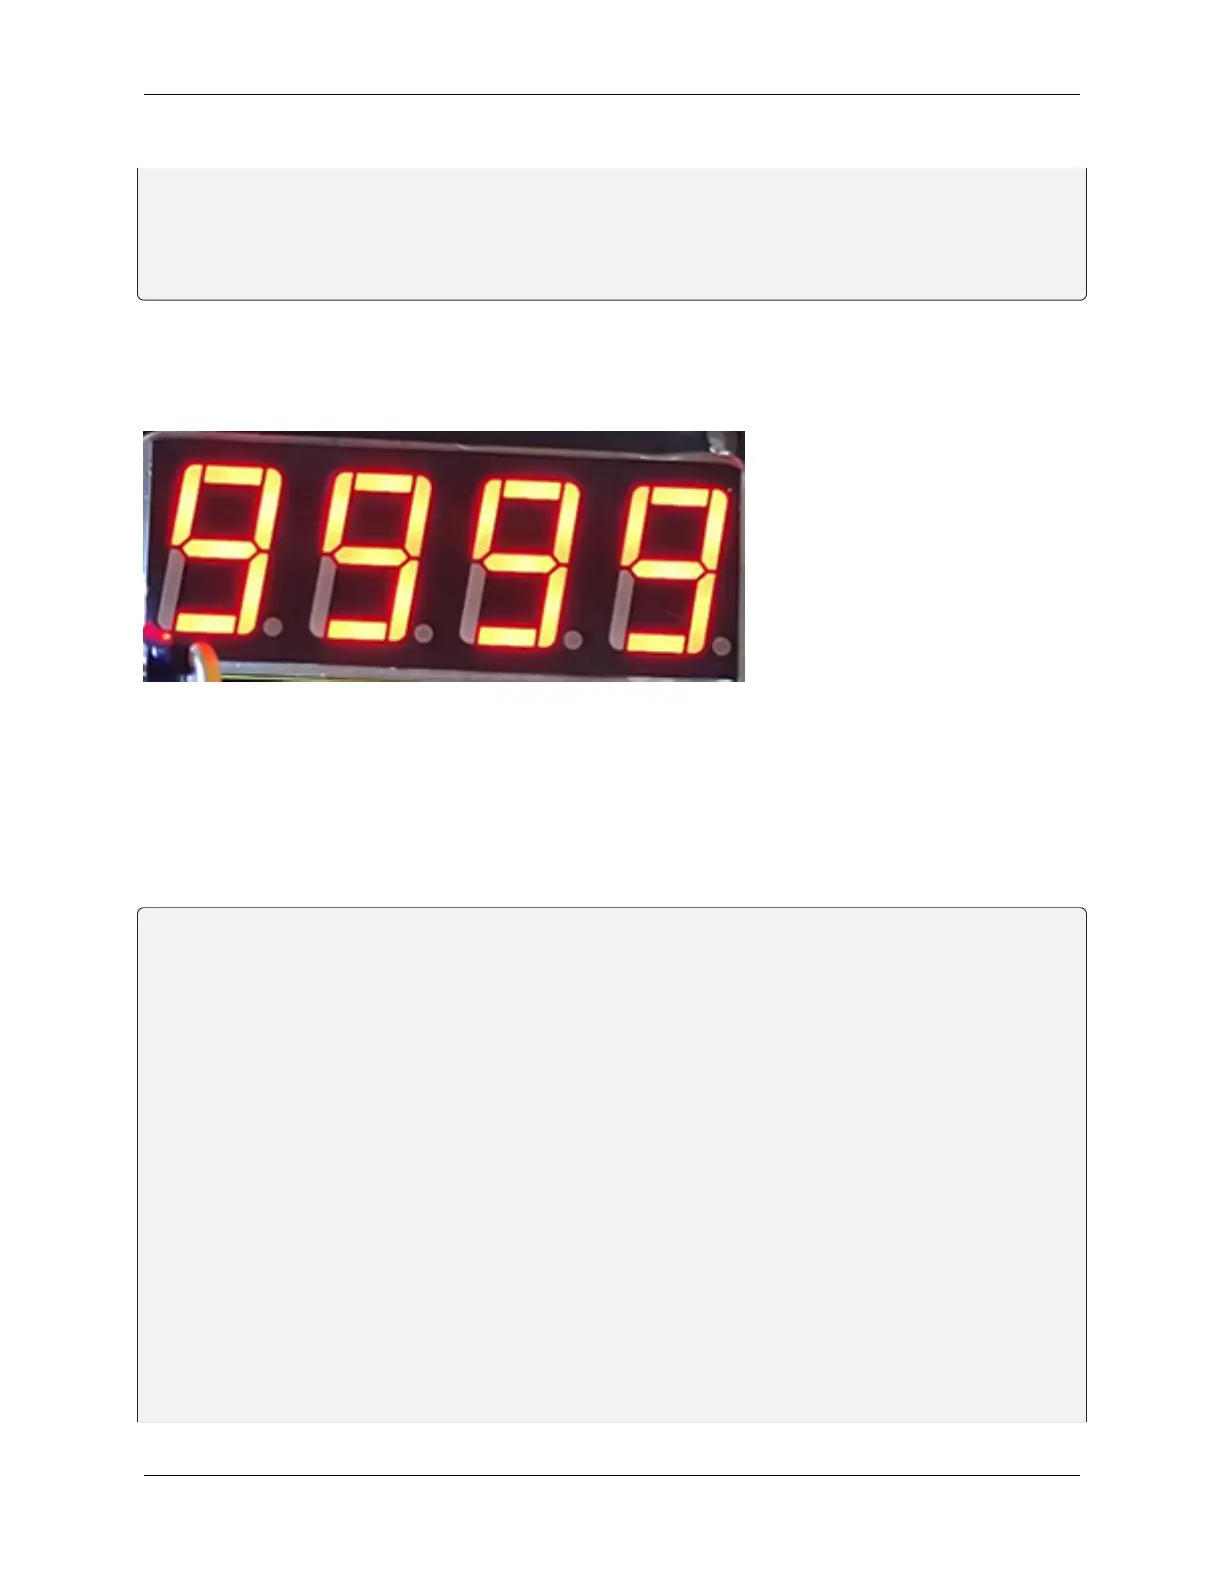
5. Test Result
After connecting the wiring and uploading code, the digital tube display shows “9999”, as shown below.
**6. Extended Code **
Let’s have some difficult operations. Rather than static numbers, we handle it to show some dynamic ones. The
following code manipulates the tubes to display 1~9999 by “for” loop.
The wiring remains unchanged.
Code:
/*
keyestudio ESP32 Inventor Learning Kit
Project 9.2 Digital Tube Display
http://www.keyestudio.com
*/
#include "TM1650.h"
#define CLK 22 //pins definitions for TM1650 and can be changed to other ports
#define DIO 21
TM1650 DigitalTube(CLK,DIO);
void setup(){
for(char b=0;b<4;b++){
DigitalTube.clearBit(b); //DigitalTube.clearBit(0 to 3); Clear bit display.
}
}
void loop(){
for(int num=0; num<10000; num++){ //If num is less than 10000, num will increase by␣
˓→1 for each cycle
DigitalTube.displayFloatNum(num); //Values or variables in the parentheses can be␣
˓→displayed through the digital tube
(continues on next page)
8.5. Arduino Project 73