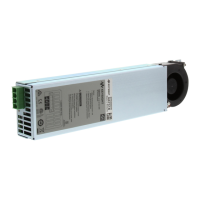
Single Load Connections
SHOCK HAZARD Turn off ac power before making rear panel connections.
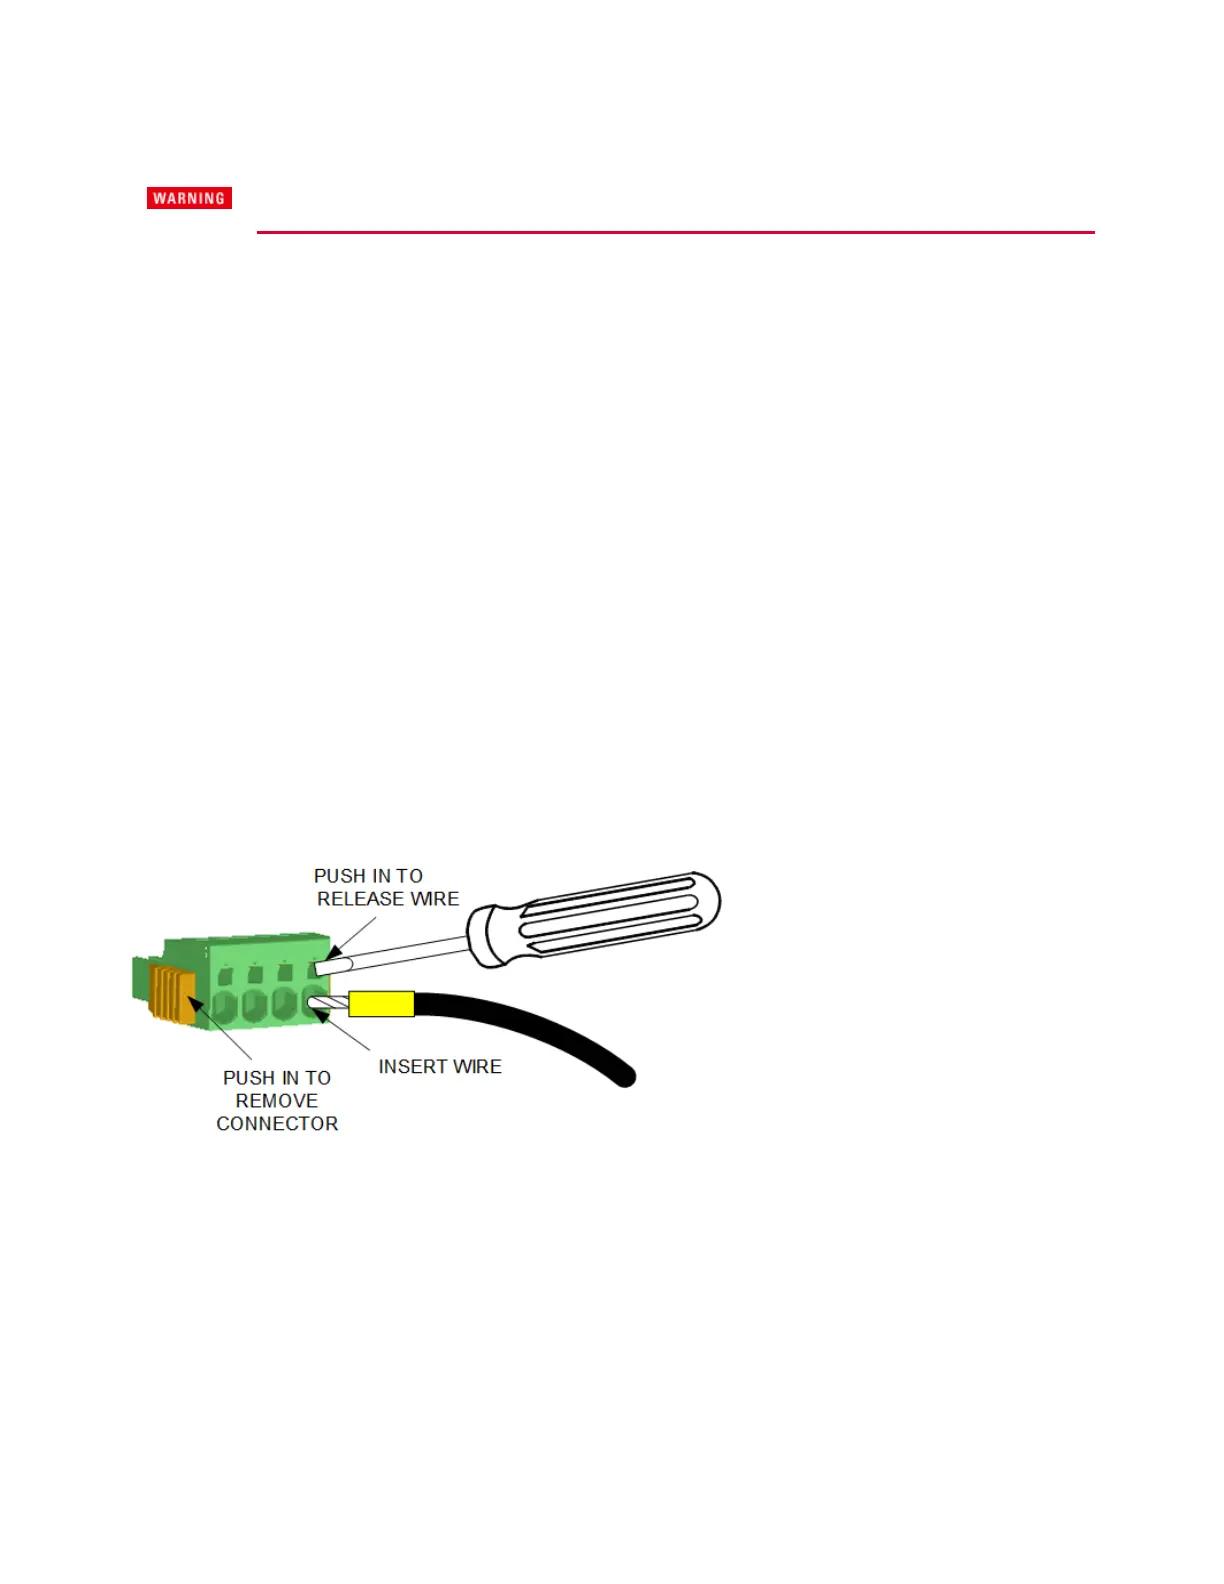
Disconnect the connector plug to make your wire connections. The 4-pin output connector accepts
wires sizes from AWG 8 to AWG 24. Wire sizes smaller than AWG 20 are not recommended. Keysight
recommends either using solid wires, or attaching ferrules to the end of stranded wires.
Ferrules are provided for the output and sense wires (see Items Supplied). When using local sensing,
both sense and output wires can be combined into one ferrule, p/n 0362-1832. When combining the
local sense and load wires, the load wires should not exceed AWG 14.
When using remote sensing, use ferrule p/n 0362-1830 for the sense wires, and ferrule p/n 0362-1832
for the load wires. Note that when using this ferrule the load wires should not exceed AWG 12.
The recommended crimp tool for the ferrules is:
Hand Tool Crimper, Phoenix Contact p/n CRIMPFOX 6, MPN 1212034.
Connect the load wires to the + and - terminals. Connect the sense wires to the +s and -s terminals. As
shown in the following illustration, simply push the solid wire or ferrule into the appropriate pin (+/-
sense or load). The stripping length for the solid wire insulation is 15 mm.
To remove wires from the connector, use a small flat-blade screwdriver to push in the spring latch to
release the wire as shown in the following figure. Note that considerable force is required to release
the spring tab. Additionally, if you are using stranded wire without ferrules (not recommended), you
must first release the spring latch before inserting the stranded wire.
To install the connector, simply press the connector firmly into the module until you feel or hear a
"click", which ensures a secure connection. To remove the connector, simply push in on the two yellow
tabs to latch the tabs, and then pull the connector out.
The following illustration shows a single channel connected to the load using local sensing. Keep the
wire-pair as short as possible. Twist or bundle the wires to reduce lead inductance and noise pickup.
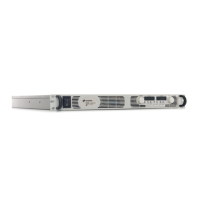
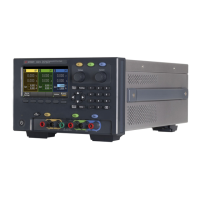
2 Installing the Instrument
46 Keysight MP4300 Series Operating and Service Guide