15
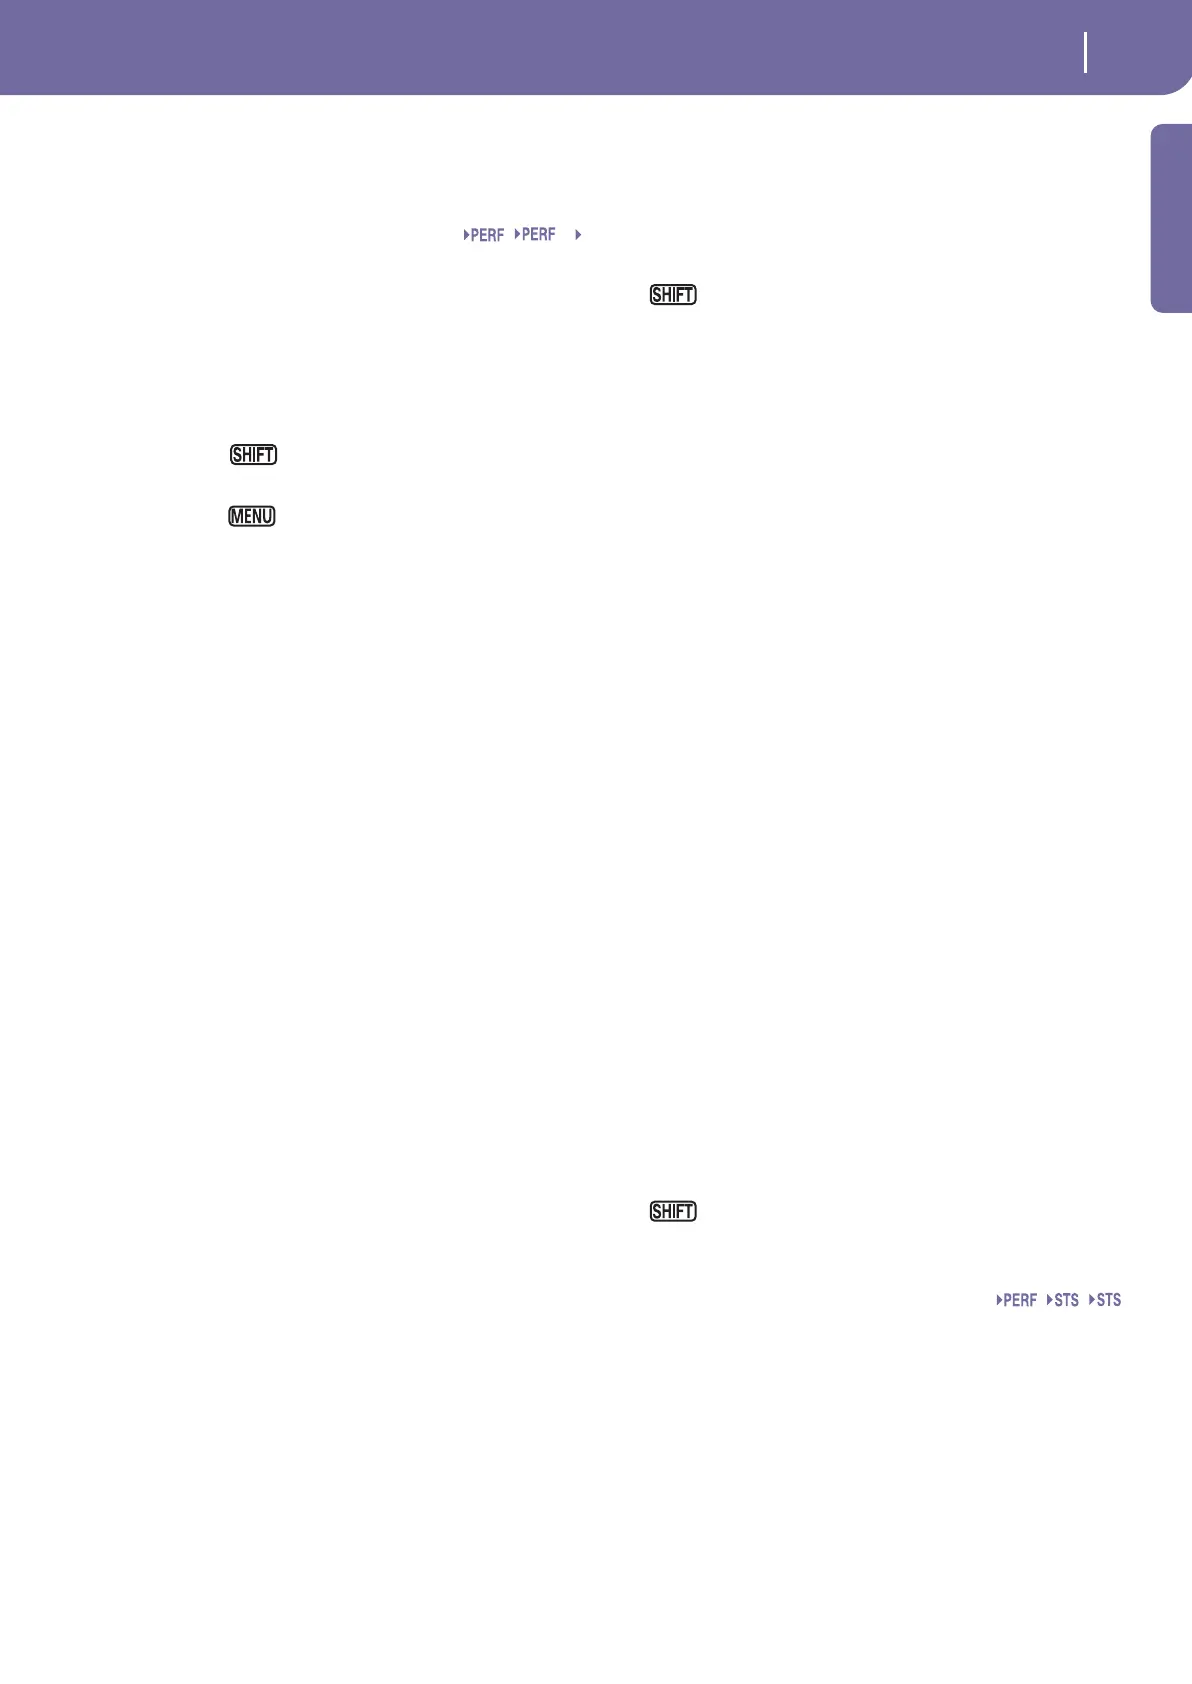
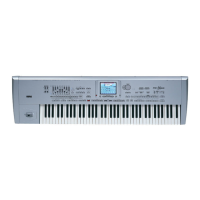
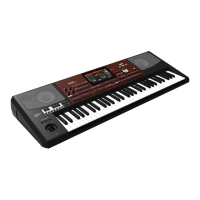
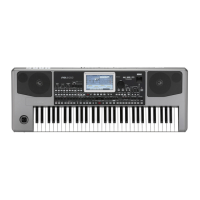
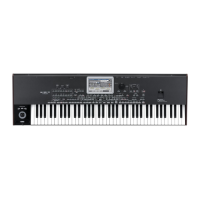
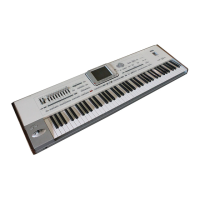
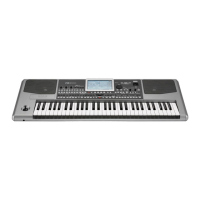
Front panel
Introduction
W SEQUENCER 2 TRANSPORT CONTROLS
Transport controls for Sequencer 2. See instructions for
Sequencer 1 above.
X TEMPO/VALUE section
The DIAL and the DOWN/- and UP/+ buttons can be used to
control the Tempo, assign a different value to the selected
parameter in the display, or scroll a list of files in the Song Select
and Media pages.
DIAL Turn the dial clockwise to increase the value or
tempo. Turn it counter-clockwise to decrease the
value or tempo.
When used while pressing the SHIFT but-
ton, this control always acts as a Tempo control.
When used while pressing the MENU
button, this control always acts as a Display Con-
trast control.
DOWN/- and UP/+
DOWN/- decreases the value or tempo; UP/+
increases the value or tempo.
Press both buttons together to reset the Tempo to
the value memorized in the selected Style.
Y EXIT
Use this button to perform various actions, leaving from the cur-
rent status:
• exit the edit menu page, without selecting any item
• make the page menu disappear, without selecting any
item
• return to the main page of the current operating mode
• exit the Global or Media edit environment, and return
to the current page of the current operating mode
• exit from a Style, Performance or Sound Select window
• exit from the Score page
Z MENU
This button opens the edit menu page for the current operating
mode or edit mode. After opening an edit menu, you can jump
to one of the edit sections by touching the corresponding button
in the display.
Otherwise, press EXIT to return to the main page of the current
operating mode, or the current page of the underlying operating
mode.
See the relevant chapter devoted to each operating mode or edit
environment, to see their “maps” in detail.
[ TEMPO LOCK
This button turns the Tempo Lock and Link Mode functions on
or off.
On When you select a different Style or Performance,
or select a different Song, the tempo does not
change. You can still manually change it, by using
the DIAL.
The Link Mode is also turned on for the Song
Play mode. Tempo is the same for both Sequenc-
ers.
Off When you select a different Style or Performance,
or select a different Song, the memorized tempo
is automatically selected.
The Link Mode is also turned off for the Song
Play mode, so each Sequencer plays with its own
Te m p o .
You can jump to the Global > Lock page by keeping
SHIFT pressed, and pressing the TEMPO LOCK button.
\ DISPLAY HOLD
This button turns the Display Hold function on or off.
On When you open a temporary windows (like the
Sound Select window), it remains in the display
until you press EXIT or an operating mode button.
Off Any temporary window closes after a certain
time.
] AUDIO IN LED
This LED shows the level of the audio signal entering the INPUT
connectors. Three different colors (green, orange, red) show the
level. Try to keep the level so that this LED remains on green
most of the time, with orange appearing at signal peaks. Never
go to red.
Off No signal entering.
Green Low- to mid-level signal entering. If the LED
turns off too often, the input gain is too low. Use
the GAIN controls and/or the source device’s vol-
ume to raise the input level.
Orange Slight overload in the signal path. This is fine if it
turns on only on signal peaks.
Red Clipping is occurring in the signal path. Use the
GAIN controls and/or the source device’s volume
to lower the input level.
See page 19 for more information on the INPUTs and volume
control.
` MIC
Press this button to turn the microphone input on or off. The
LED shows the status of the microphone section.
On The microphone input is turned on.
Off The microphone input is turned off.
If you keep the SHIFT button pressed, and press this but-
tons, the Voice Processor Setup > Setup page will appear (see
“Voice Processor Setup: Setup” on page 233).
a CHORD SCANNING section
In Style Play and Sequencer-Backing Sequence mode, use these
buttons to define the way chords are recognized by the arranger.
LOWER Chords are detected below the split point. The
number of notes you should play to form a chord
is defined by the Chord Scanning Mode parame-
ter (see “Chord Recognition Mode” on page 106).
UPPER Chords are detected above the split point. You
must always play three or more notes to let the
arranger recognize a chord.
Sty
SB
SB