4-2
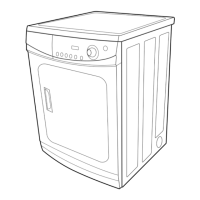
Remove the four T-20 security machine
screws from the front of the facia.
Pull the facia away and remove the display
lens from the back of the facia. There may
be double stick tape on the back of the
facia.
To avoid damage, lay a towel, or another
covering, on the dryer top and place the
facia and display lens, as well as removed
hardware and tools, on the covering.
When reinstalling the facia, the machine
screws must be used, not sheet metal
screws found elsewhere on the console
assembly.
1.
2.
3.
4.
Electrical Shock Hazard
Disconnect power before servicing.
Replace all parts and panels before
operating.
Failure to do so can result in death or
electrical shock.
Four T-20
Security Machine Screws
If the facia does not lay flat
against the front of the dryer, the gap can be
corrected by applying double stick tape to
the back of it, or by putting a reverse bow on
the facia before reinstalling it on the dryer.
Instructions for models with snap-in
display lens (See page 4-47).