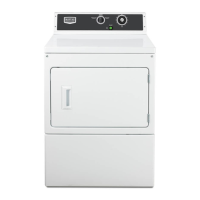
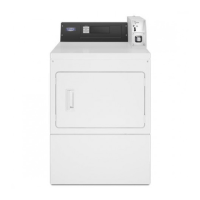
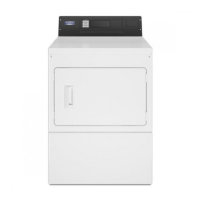
4-4
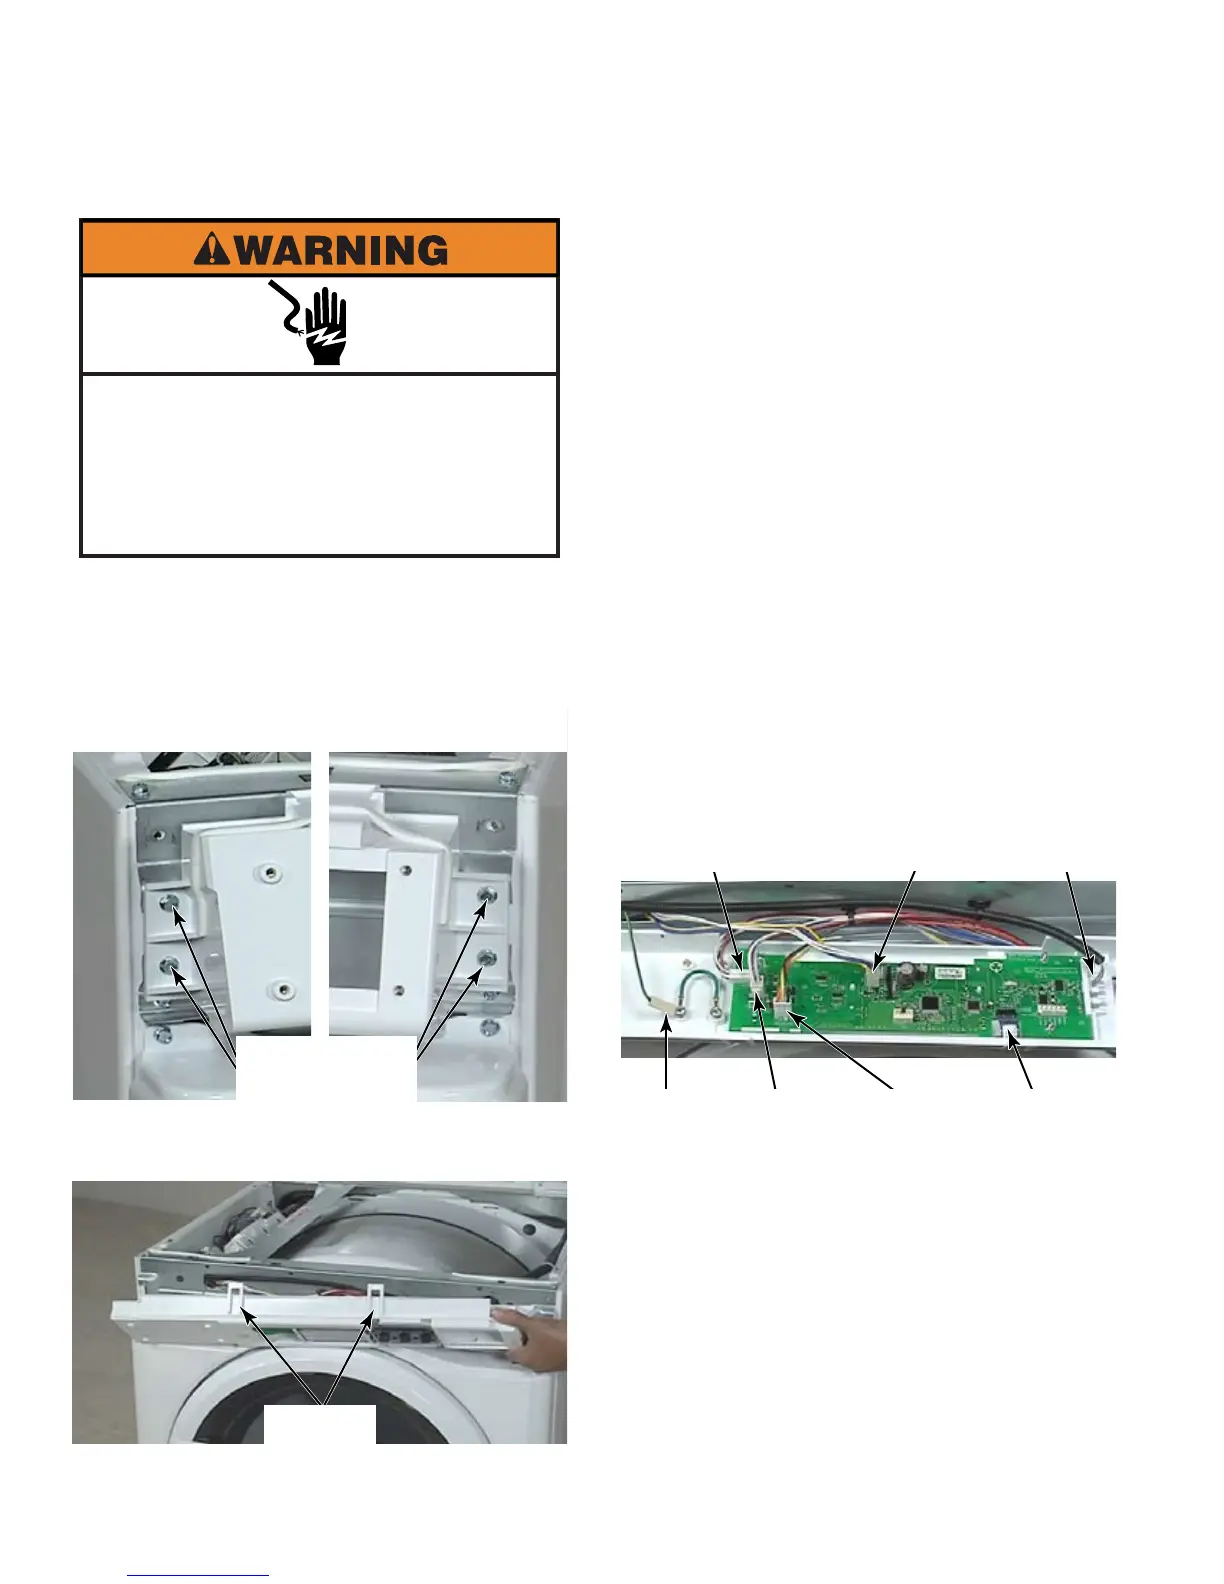
Open dryer top (See page 4-3).
Remove two T-20-1/4” hex head screws
from each end of control panel.
Lift control panel up to release two tabs
from the upper edge of the dryer.
1.
2.
3.
Disconnect wire harness Rast connector
from the CCU to UIC.
Disconnect key pad ribbon connector by
gently pulling it out of the connector.
Disconnect transformer wire connector at
AA6.
Disconnect service switch wire connector at
AA1 for PD models.
Disconnect coin 1 wire connector at AA4.
Disconnect coin 2 wire connector at AA5.
Disconnect Earth wire. Depress locking
tab and pull connector off the spade, which
is secured to the control panel with a screw.
Remove control panel.
The extra length of plastic at the
end of the ribbon connector must be bent
back over the top of the end of the ribbon
connector, not down and under or it will
block the connections preventing operation.
4.
5.
6.
7.
8.
9.
10.
11.
Left Side Right Side
T-20-1/4” Hex
Head Screws
2 Tabs
Earth
Wire
CCU to
UIC
Push Button
Ribbon
Connector
Transformer
AA6
Service
Switch
AA1
Coin 1
AA4
Coin 2
AA5
Electrical Shock Hazard
Disconnect power before servicing.
Failure to do so can result in death or
electrical shock.
Replace all parts and panels before
operating.
 Loading...