4-5
Remove control panel (See page 4-4).
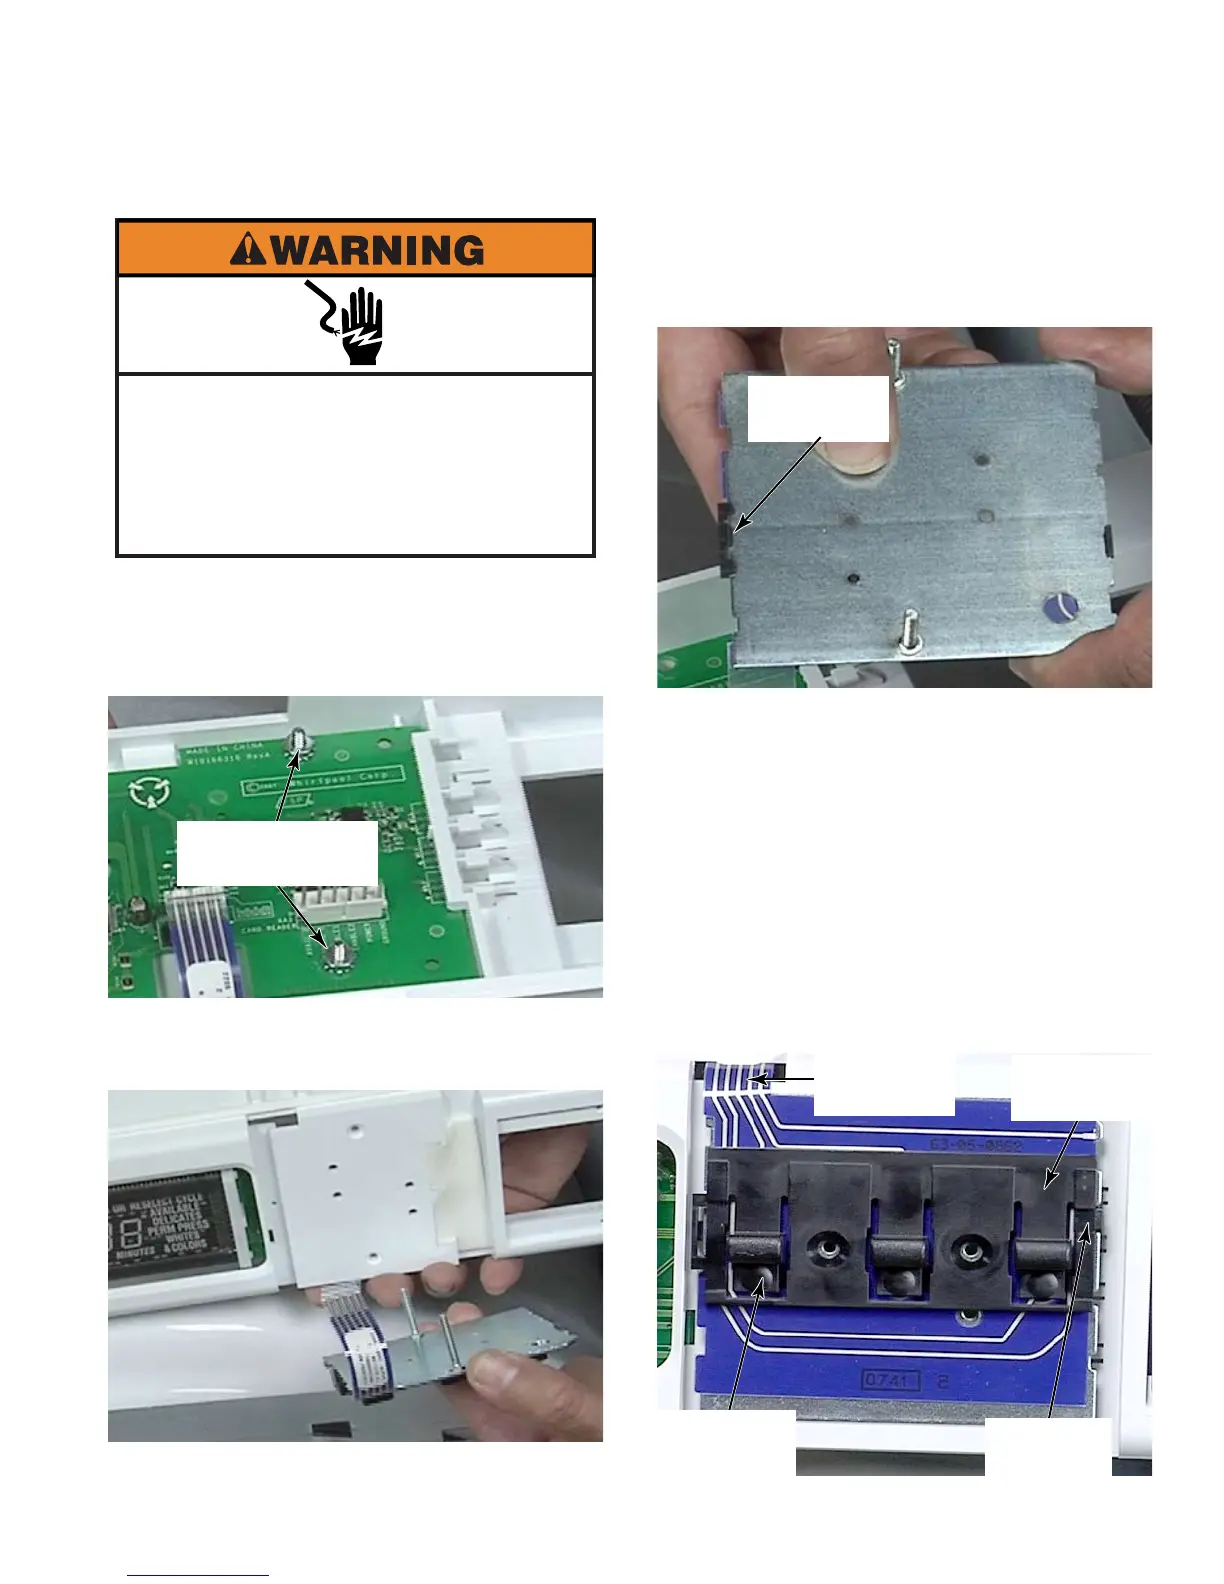
Remove two 5/16” hex head nuts that also
help secure the control board.
Slide the bolts out of the holes in the front of
the control panel.
1.
2.
3.
Two 5/16”
Hex Head Nuts
To remove buttons from subassembly,
release locking tab on back side of
subassembly. The other end simply slides
out of a slot in the backer plate.
To reinstall buttons, mount
button assembly in upper slots of the
subassembly. The ribbon connector is on
the upper edge.
The hinge end of button assembly should
be toward the top with the free end of the
button hanging down toward the bottom
edge of the subassembly.
The pads of the buttons are aligned with the
lower row of pads on membrane switch.
4.
Locking
Tab
Ribbon
Connector
Upper
Slots
Button
Hinge
Button
Pad
Electrical Shock Hazard
Disconnect power before servicing.
Failure to do so can result in death or
electrical shock.
Replace all parts and panels before
operating.