127 of 271
Z-Drive Repair and Adjustment
The Z-Shaft assembly should never be disassembled by other than factory authorized personnel. There
are no user or eld technician serviceable parts on the z-shaft assembly. Service all z-drive components
only by using the procedures contained in these instructions.
•
CAUTION!! Do not disassemble any parts physically connected to the z-shaft itself, except as
provided in the following instructions. Installation and assembly of the z-shaft assembly requires
special training and tools and should never be attempted outside of the factory.
All of the procedures below can be accomplished only by authorized eld service technicians. Do not at-
tempt to perform any of the procedures below unless you have received specic training that allows you
to do so. Click on the link to get to the procedure.
• Take-Up Lever Cam Replacement
• Z-Motor Assembly Replacement
The following procedures may be performed by the machine operator.
• Z-Drive Belt Replacement and Tensioning
• Z-Idler Pulley Replacement
• Z-Home Optical Sensor PCB Replacement
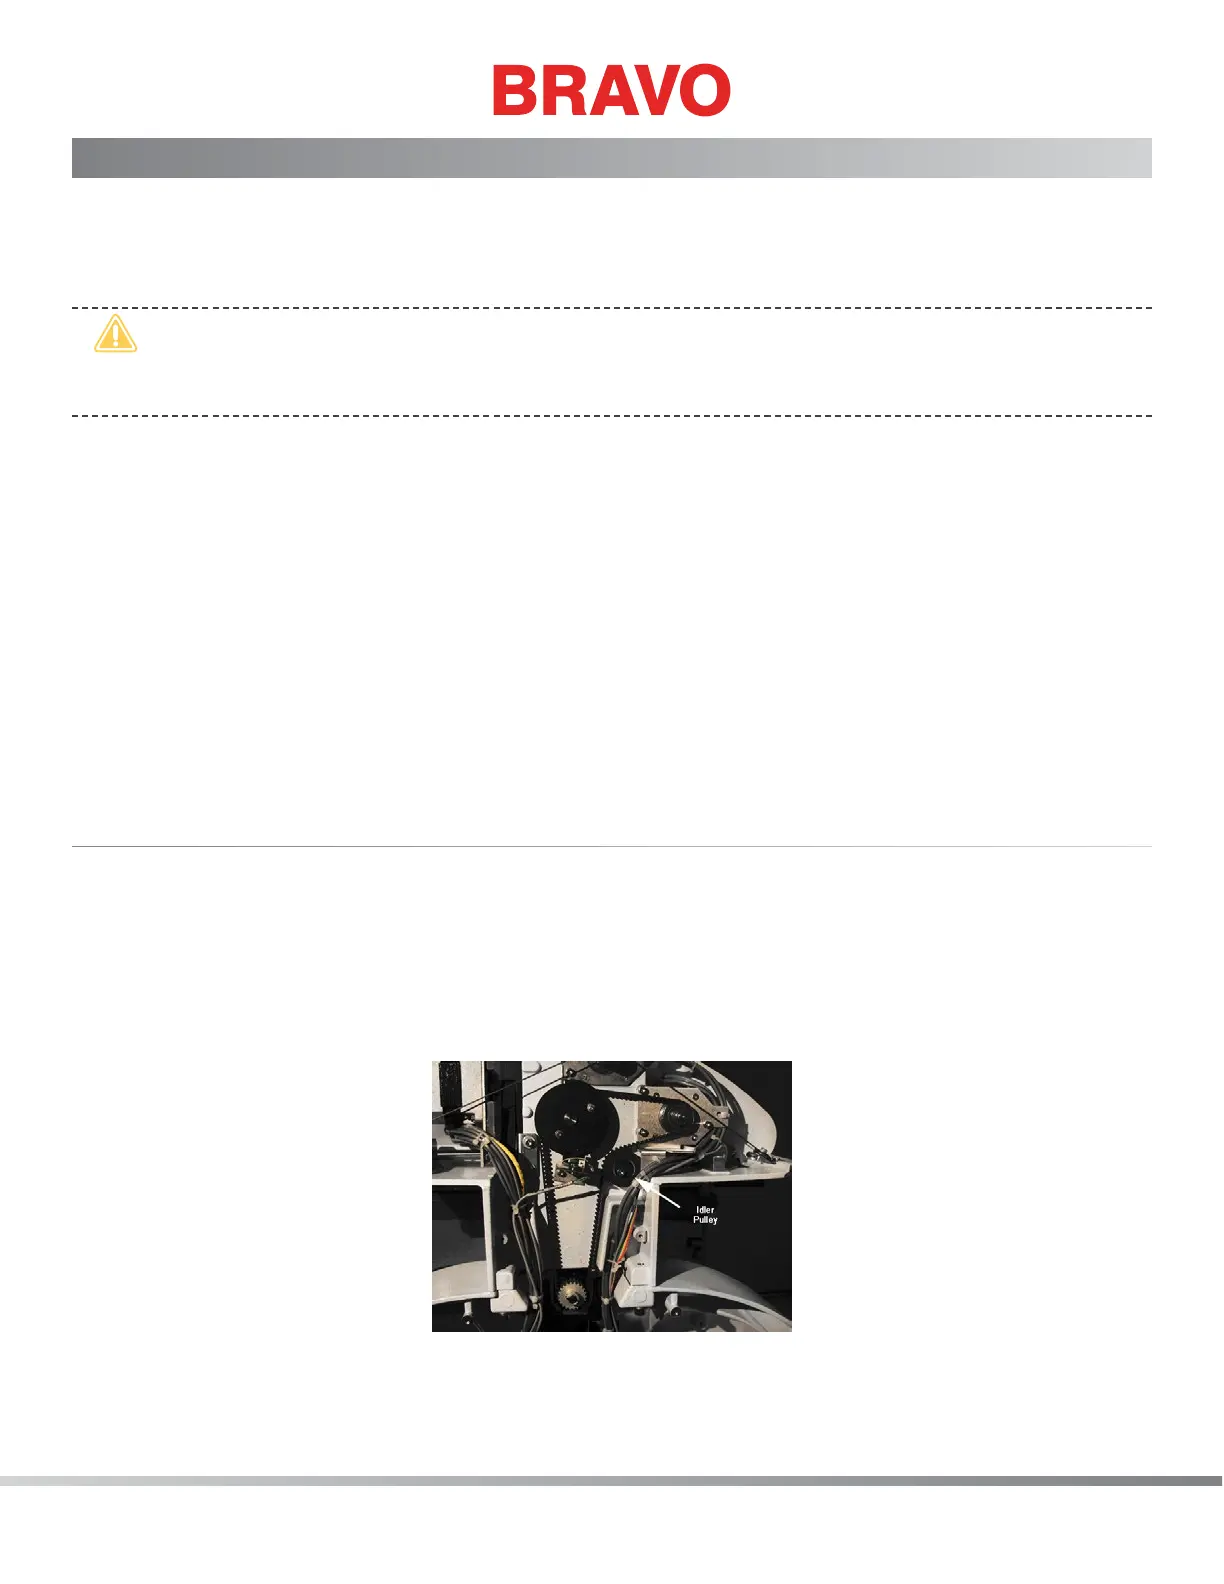
Z-Drive Belt Replacement and Tensioning
The z-drive belt should be replaced when it shows signs of dry rot (cracking), the sides of the belt gain
a glossy look, or the belt breaks. Care needs to be taken to make sure that the z-drive belt is properly
tensioned to specied ranges.
Replacement Part Needed:
• Belt, Timing, Closed, HTD 5M X 9 X 710 Lg
Figure 1 - Z-Motor Drive Belt