233 of 271
2. Remove the base cover.
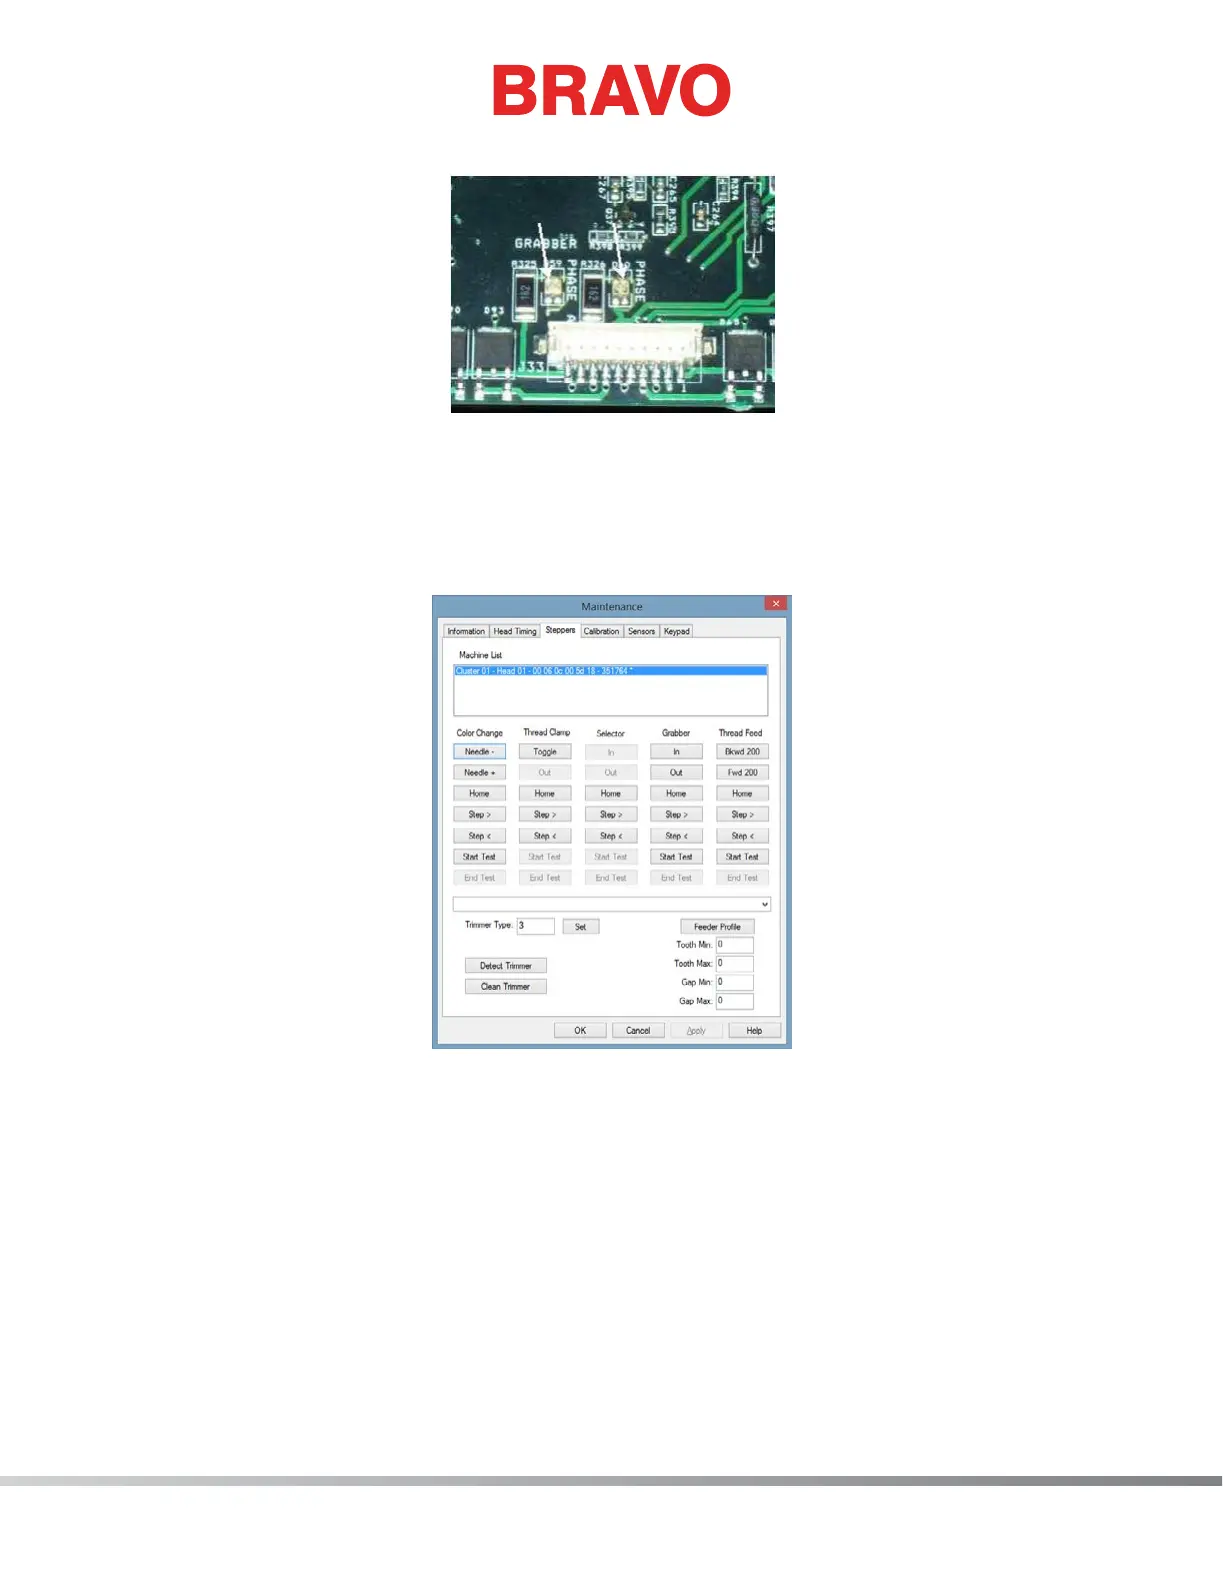
Figure 1 - Grabber Phase Indicator LEDs
3. Find the stepper motor indicator LEDs. They will generally be in the vicinity of the respective step-
per motor harness connector.
4. Turn the machine ON and keep hands, hair, loose clothing and jewelry away from moving parts
and the main PCB.
Figure 2 - Steppers Menu
5. Open the Bravo OS, then click on the “Tools>Maintenance” menu from the main menu screen
and select the “Steppers” tab.
6. Each stepper motor has a set of command buttons under their respective heading. Find the col-
umn pertaining to the stepper motor. You will be working with these command buttons when
they are referenced in this procedure.
7. Ensure the stepper motor that you are testing is in the correct state and then click on the “Step>”
command button. As you click the step button, write down the state of the respective phase in-
dicator LEDs (red, green, or off). For this test, step the motor in one direction only through several
complete cycles. After you have clicked the stepper button eight times in the same direction, the
sequence you started off with will return. (Please note that if you are testing the color change
stepper motor, you will only need to click the stepper motor button four times). Check to see if