72 of 271
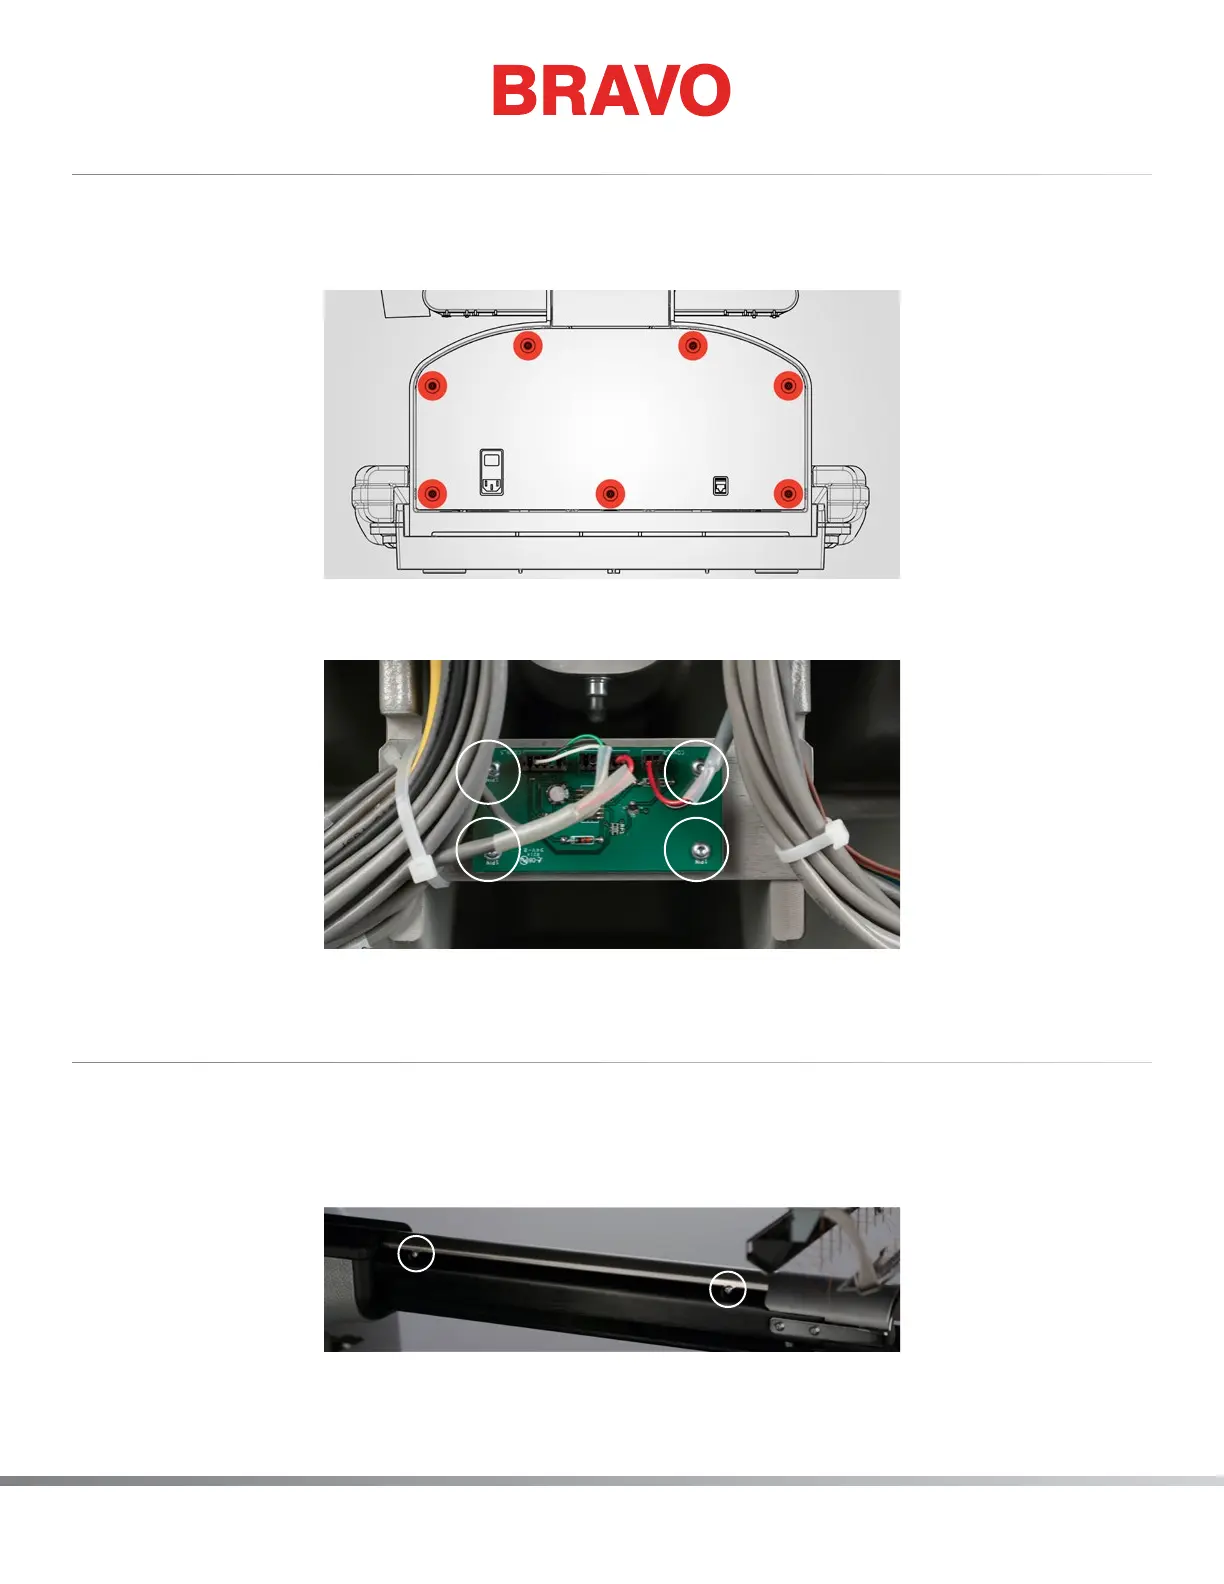
Thread Clamp PCB Replacement
1. Disconnect the A/C power input cord and the external Ethernet cable from the back of the
machine.
2. Remove lower arm rear cover (7 M4 Socket head cap screws)
3. Disconnect the 3 harnesses from the thread clamp PCB and remove the thread clamp PCB (4 M3
button head cap screws)
4. Install the new thread clamp PCB following previous steps in reverse order
Thread Clamp Harness Replacement
1. Disconnect the A/C power input cord and the external Ethernet cable from the back of the
machine.
2. Loosen lower arm extrusion cover (4 M3 cap head screws, 2 on the right and 2 on the left) and
remove cover
3. Remove lower arm casting top cover (4 M4 socket head cap screws)