218 of 271
Y-Motor Assembly
•
This repair requires timing and other adjustments and should be performed by an authorized
service technician.
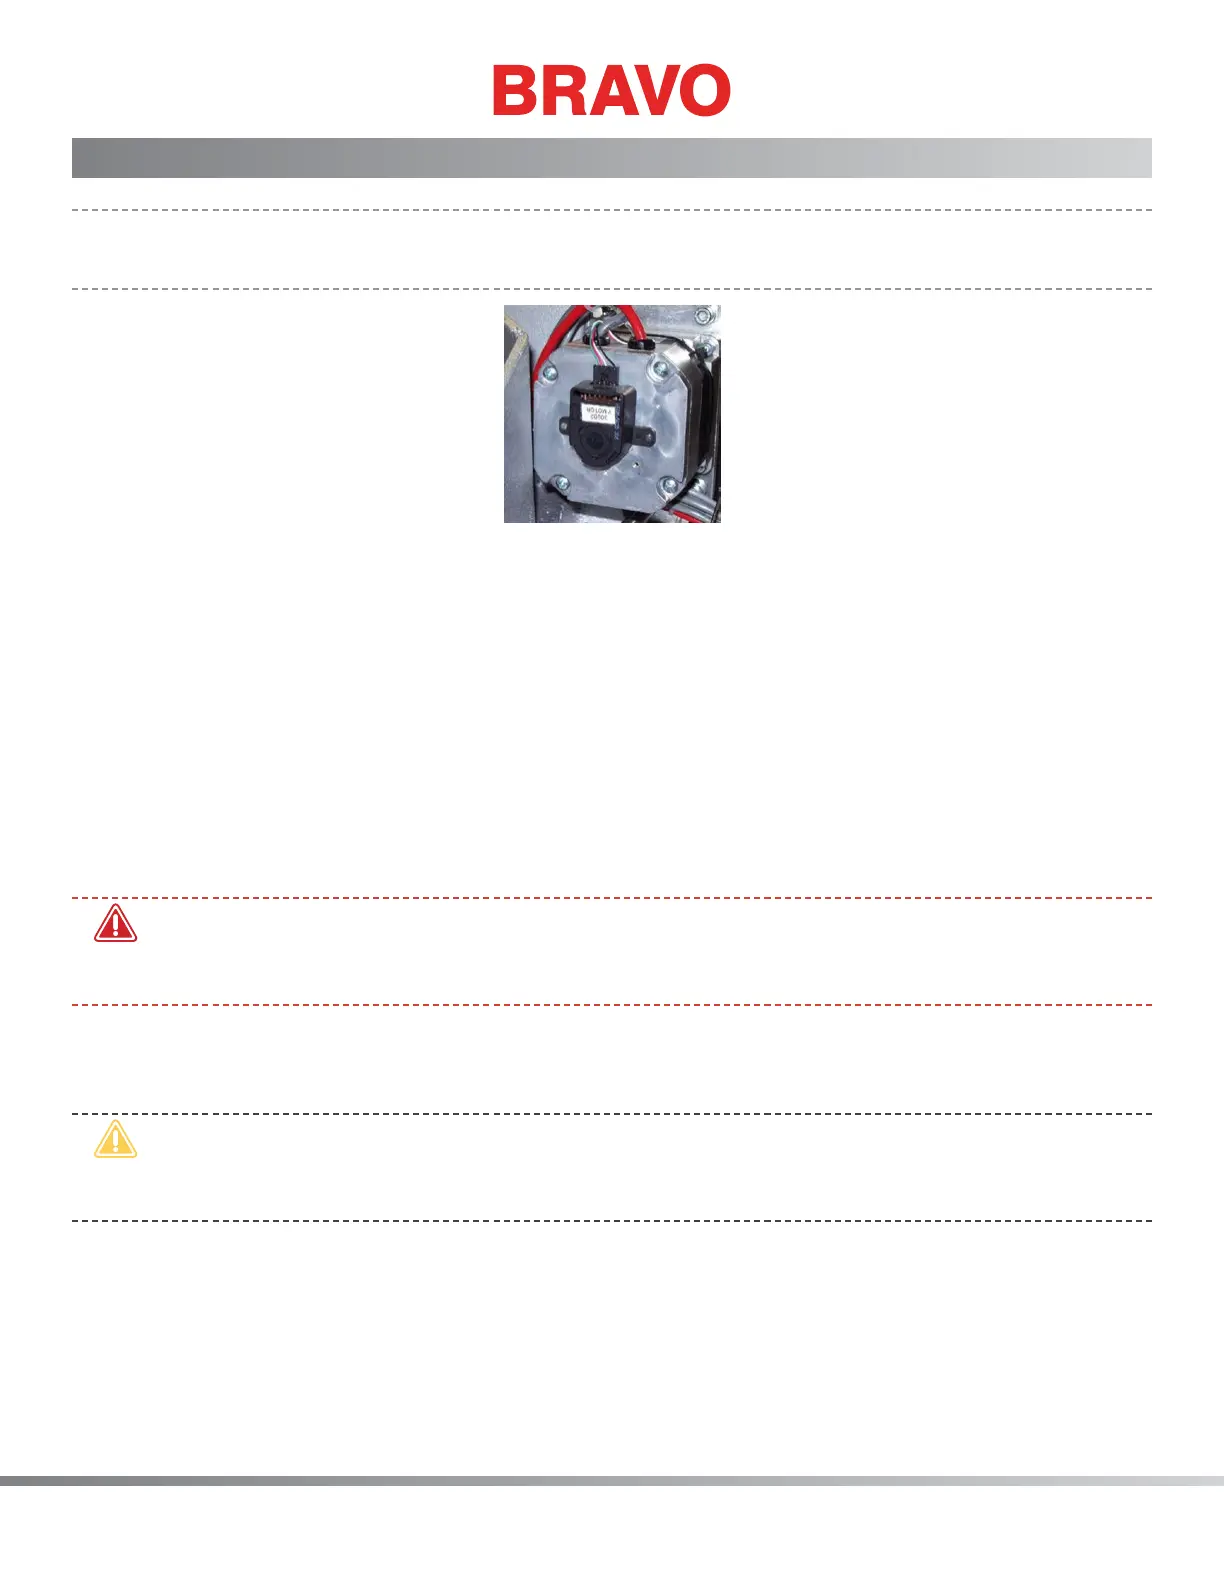
Figure 1 - Y-Motor Installed
Besides the case of a y-motor failure, the y-motor assembly should be replaced when the resistance
between each of the phases is inconsistent or substantially different than 2.28±10%Ω. In addition, the
resistance between each of the phase wires should be relatively consistent with the other wires.
Replacement Parts Needed
• y-motor assembly
• 6-inch plastic cable ties (available from any hardware store in the electrical supply section)
Replacement Procedures
•
WARNING!! Risk of serious personal injury exists when handling internal motors, belts, and
cabling due to electrical shock and moving parts hazards. Always turn off the embroidery ma-
chine when working on or adjusting motors, belts or gears.
1. Turn the machine off and disconnect the A/C wallpower input cord from the A/C wallpower sup-
ply outlet.
•
CAUTION!! Use extreme care not to drop metallic objects, tools, or other conductive material
on the Main PCB when you have the base cover removed. If you drop such objects on the Main
PCB, it can severely damaged the electronics which will be very expensive to repair.
2. Remove the base cover, the left arm cover and the back screw from the right arm cover, the upper
arm back cover, and lower arm rear cover.