62 (119) Telephone Access System Installation and Operation Manual Version 3.7
LT-969 Copyright January 2017
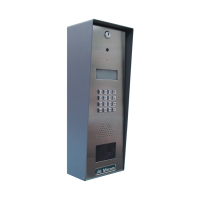
Lobby Control Unit Setup
To call a resident from the guard phone
1. Pick up the guard phone and wait for the dial tone.
2. Dial *DDDD (where DDDD is the resident’s four digit dial code). The
resident phone rings. When the resident picks up the phone, the connection
is established.
3. Press the # key on the guard phone. The main door unlocks.
4.9 Controller ID Setup
Use the SW1 DIP switches on the Lobby Control Unit main controller board to
set the unit’s ID address on the RS-485 network. The individual switches are
numbered 1 to 8 from left to right, and are marked as either ON or OFF. The first
six switches (1, 2, 3, 4, 5 and 6) set the address ID.
Every TX3 System Lobby Control Unit requires a unique unit ID. The unit ID
settings do not need to be in sequence but it recommended to assign IDs starting
from 1, using increments of one (for example, 1, 2, 3, 4, and so on). Unit IDs must
not be duplicated.
Note: One of the networked units with a real time clock, such as Touch
Screen, Lobby Control or Card Access must have their network
address set to 1.
DIP switch SW1 is found at the top central portion of the controller board, see
Figure 25.