Maintenance
316
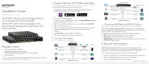
S350 Series 8-Port Gigabit Ethernet Smart Managed Pro Switch Models GS308T and GS310TP
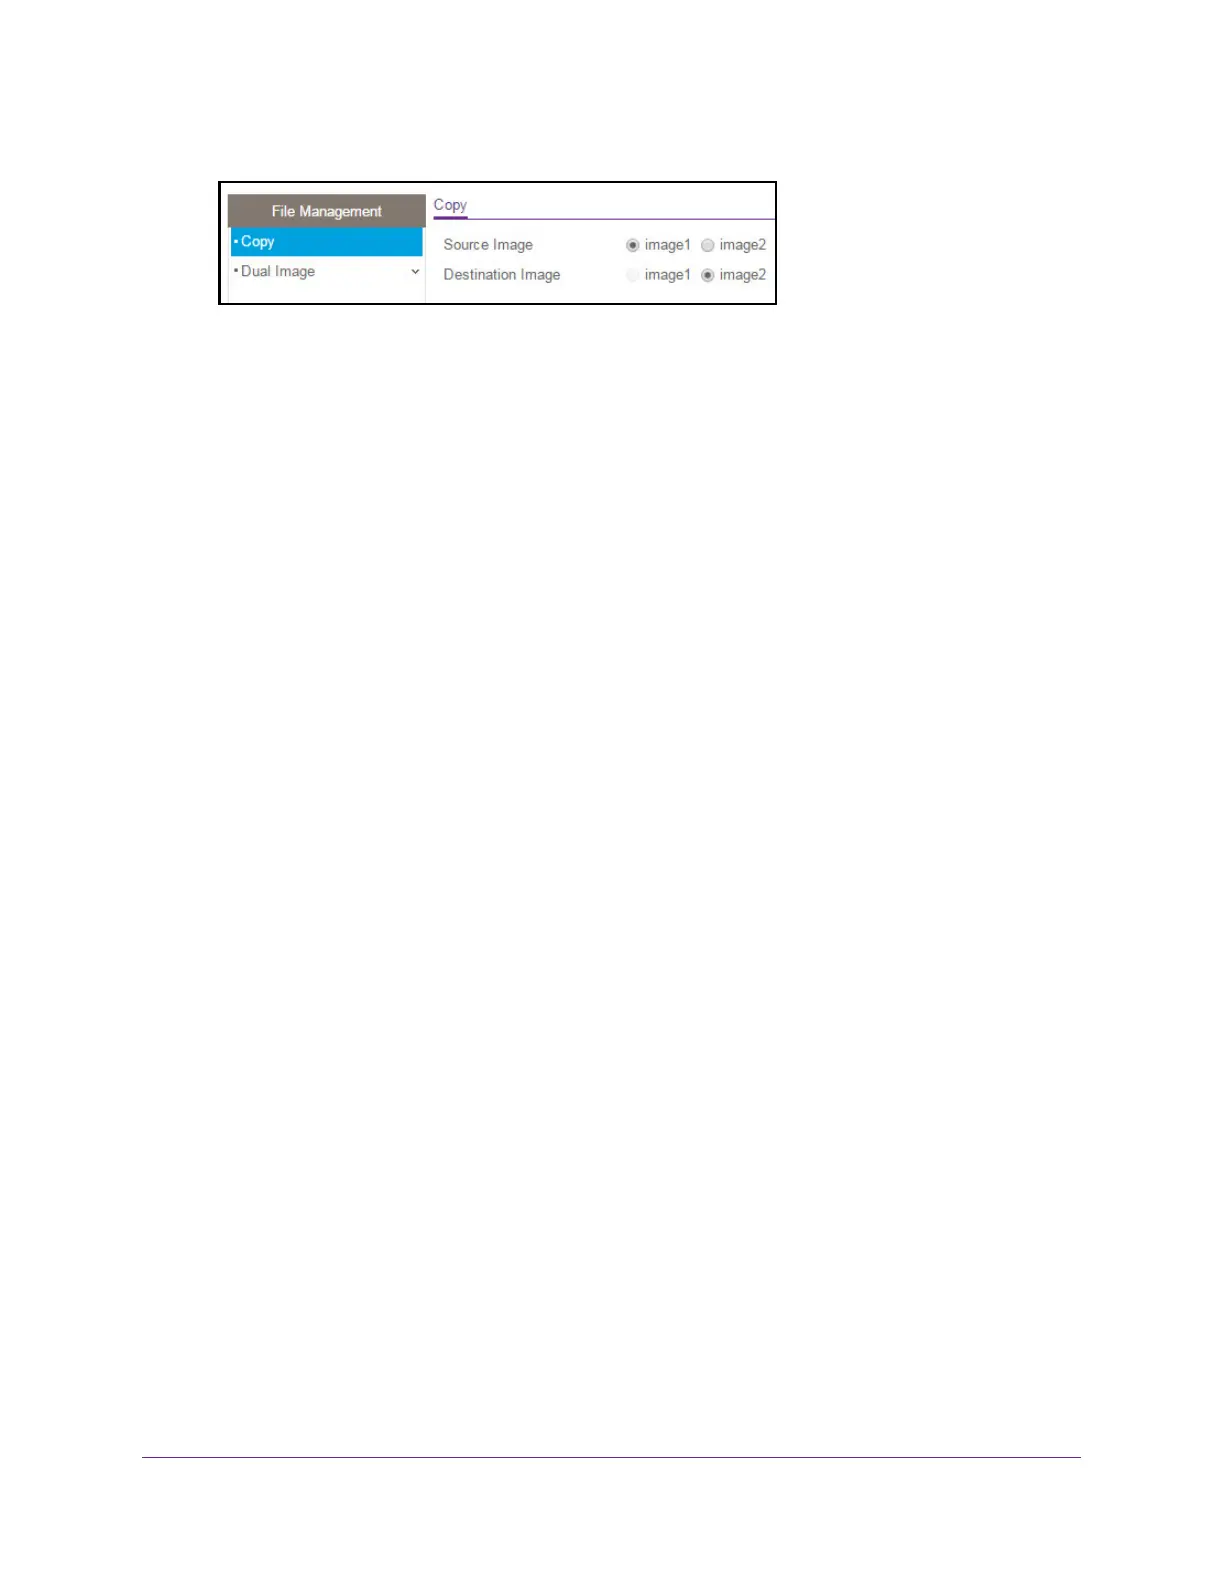
6. Select the Source Image image1 or image2 radio button to specify the image to be copied.
7. Select the Destination Image image1 or image2 radio button to specify the destination
image.
8. Click the Apply button.
Your settings are saved.
Configure Dual Image Settings
The Dual Image feature allows the switch to retain two images in permanent storage. You
can select which image must load when the reboots, specify an image description, or delete
an image. This feature reduces switch down time when you are upgrading or downgrading
the software image.
Change the Software Image That Loads When the Switch Starts or Reboots
To change the image that loads during the boot process:
1. Connect your computer to the same network as the switch.
You can use a WiFi or wired connection to connect your computer to the network, or
connect directly to a switch that is of
f-network using an Ethernet cable.
2. Launch a web browser.
3. In the address field of your web browser
, enter the IP address of the switch.
If you do not know the IP address of the switch, see Change the Default IP Address of the
Switch on page 11.
Your web browser might display a security message, which you can ignore. For more
information, see Access the Local Browser Interface on page 19.
The login window opens.
4. Enter the switch’
s password in the Password field.
The default password is password.
The System Information page displays.
5. Select Maintenance > File Management > Dual Image Configuration.
 Loading...