Configure System Information
52
S350 Series 8-Port Gigabit Ethernet Smart Managed Pro Switch Models GS308T and GS310TP
• If you select the DayLight Saving (DST) Non Recurring radio button, the fields in the
following table are visible and you must configure them.
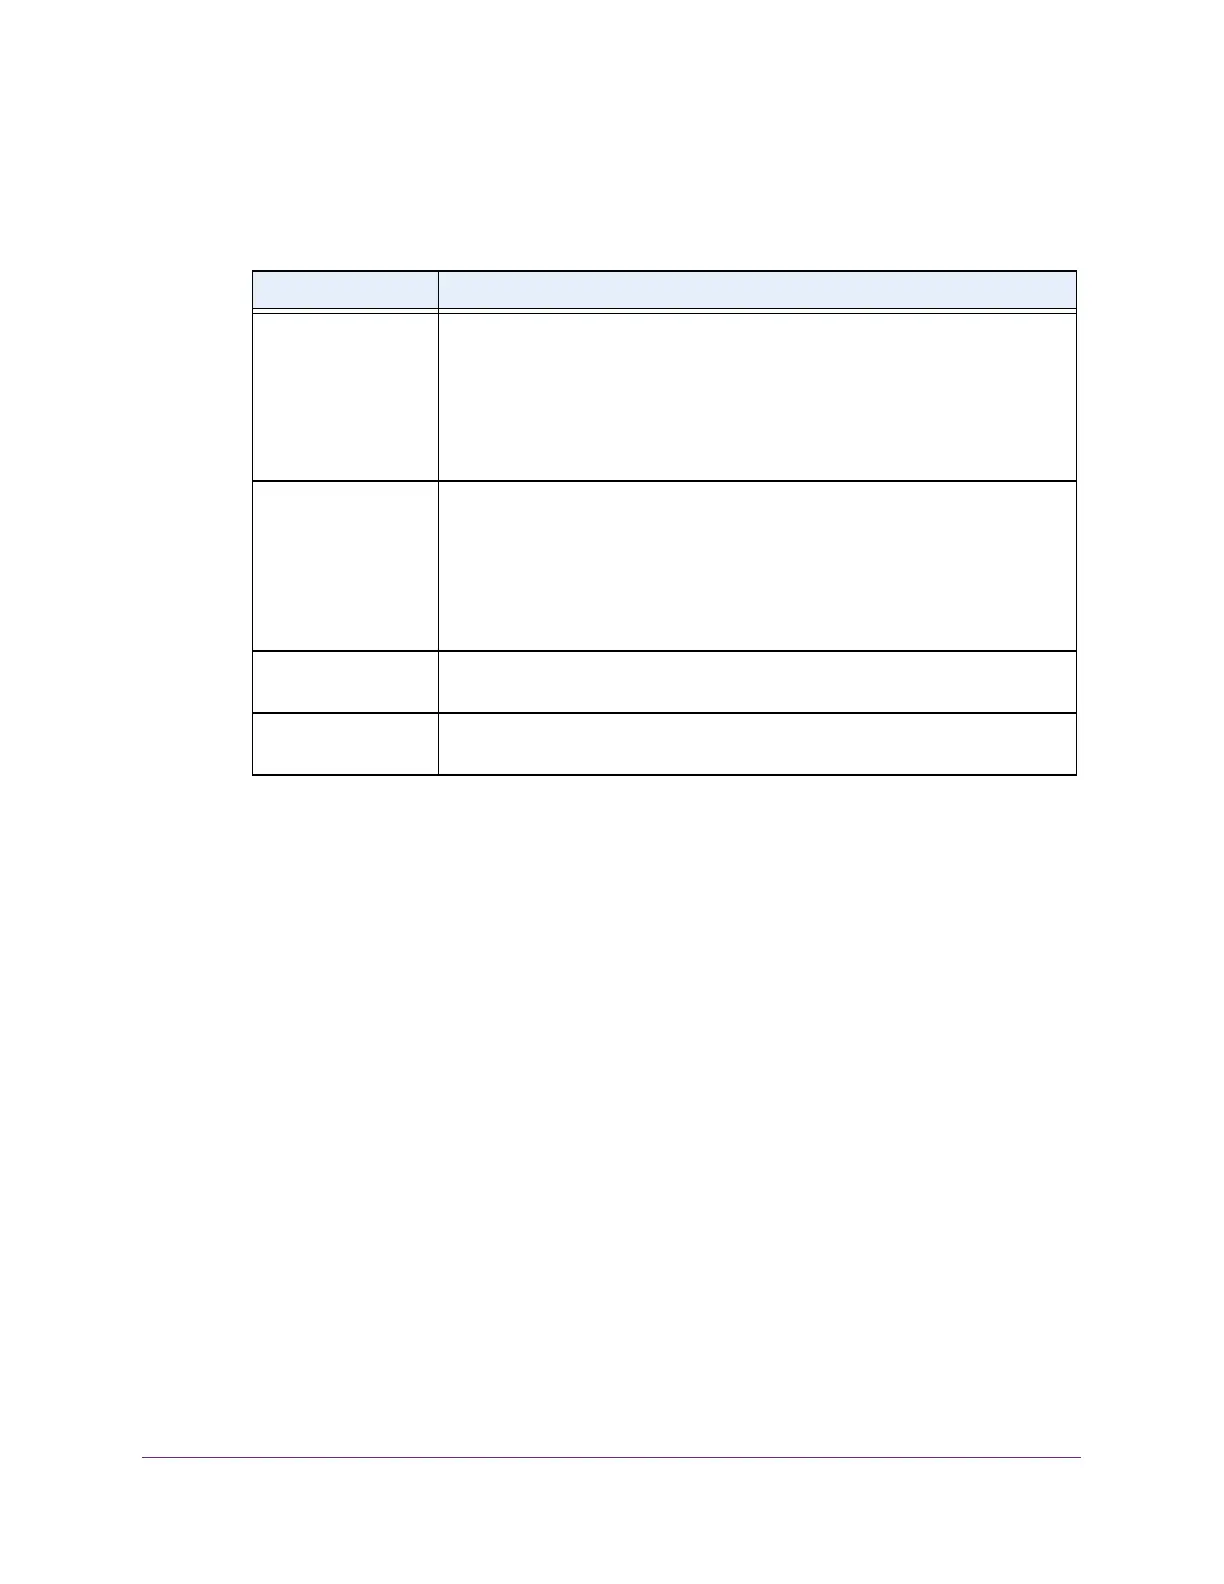
Table 10. Daylight saving setting is Non Recurring
Field Description
Begins At These fields are used to configure the start values of the date and time.
• Month. Configure the start month.
• Date. Configure the start date in the month.
• Y
ear. Configure the start year.
• Hours. Configure the start hour
.
• Minutes. Configure the start minutes.
Ends At These fields are used to configure the end values of date and time.
• Month. Configure the end month.
• Date. Configure the end date in the month.
• Y
ear. Configure the end year.
• Hours. Configure the end hour
.
• Minutes. Configure the end minutes.
Offset Specify the number of minutes to shift the summer time from the standard time.
The range is from 1 to 1440 minutes.
Zone Specify the acronym associated with the time zone when summer time is in
ef
fect. This field is not validated against an official list of time zone acronyms.
8. Click the Apply button.
Your settings are saved.
View the DayLight Saving Time Status
The Daylight Saving (DST) Status section shows information about the summer time settings
and whether the time shift for summer time is currently in effect.
To view the daylight saving time status:
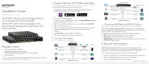
1. Connect your computer to the same network as the switch.
You can use a WiFi or wired connection to connect your computer to the network, or
connect directly to a switch that is of
f-network using an Ethernet cable.
2. Launch a web browser.
3. In the address field of your web browser
, enter the IP address of the switch.
If you do not know the IP address of the switch, see Change the Default IP Address of the
Switch on page 11.
Your web browser might display a security message, which you can ignore. For more
information, see Access the Local Browser Interface on page 19.
The login window opens.
4. Enter the switch’
s password in the Password field.
 Loading...