128
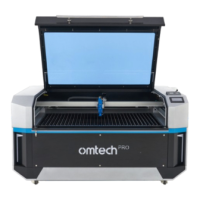
Step 6. Check that the burnt hole on the tape is at its center as
shown.
These marks are OK. These marks require adjustment.
If not,
a. Cut the power to your laser.
If the last burnt hole is way off-
mark, you may need to loosen the
mounting bolts of Mirror 3 to slide
it into a better position before fine-
tuning the setscrews.
•
Each screw adjusts a different position or angle.
•
Keep track of which screw you are adjusting and the direction of
adjustment.
•
Do not turn the screw more than
¼
turn at a time and, especially at
first, test the position of the laser after each adjustment so that you
learn the effect of each change.
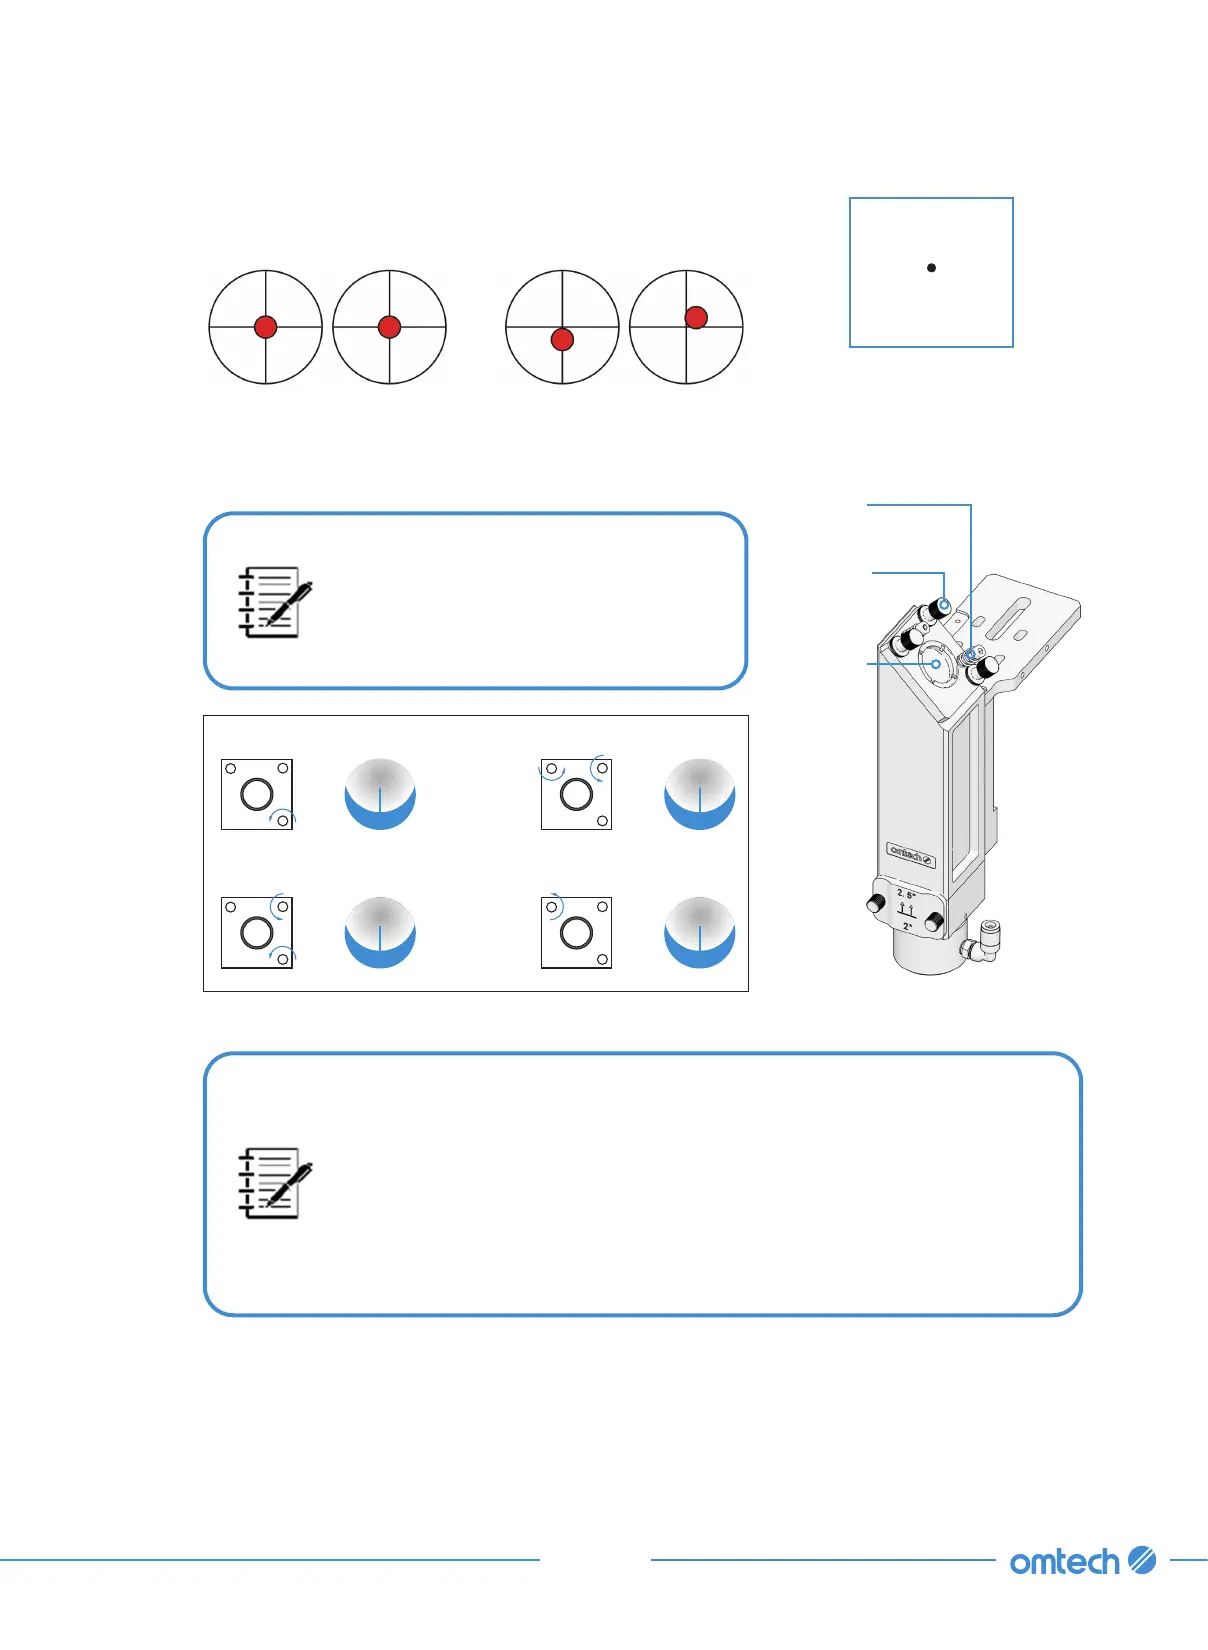
Mirror 3
Mirror 3
Mounting
Bolts
Mirror 3
Setscrews
Move Beam Up
Move Beam Left
Move Beam Down
Move Beam Right
b. Carefully turn the setscrews on Mirror 3 to adjust the angle and position of Mirror 3.
Step 7. When finished with adjusting the setscrews of Mirror 3, repeat steps 3–6 until the burnt
hole falls perfectly at the center of the tape.
Step 8. Use the direction arrows on the control panel to send Mirror 3 to the far right.