55
4.1 Emergency Shutoff
4. Initial Testing
1. Flip both circuit breakers on.
2. Visually confirm that water is flowing through the entire tube and all air bubbles have been
removed and that the power indicator.
3. Place a piece of laserable scrap material on the workbed under the laser head and close the
cover.
4. Twist the emergency stop clockwise to release it and turn the ammeter knob fully clockwise if it is
not already in that position.
5. Insert and turn your laser key to activate the laser power supply.
6. Tap the box next to Power in Parameter Display Area from the main menu. Set reset the
maximum and minimum laser power to 12%. Tap OK to confirm the modification and exit the
current menu.
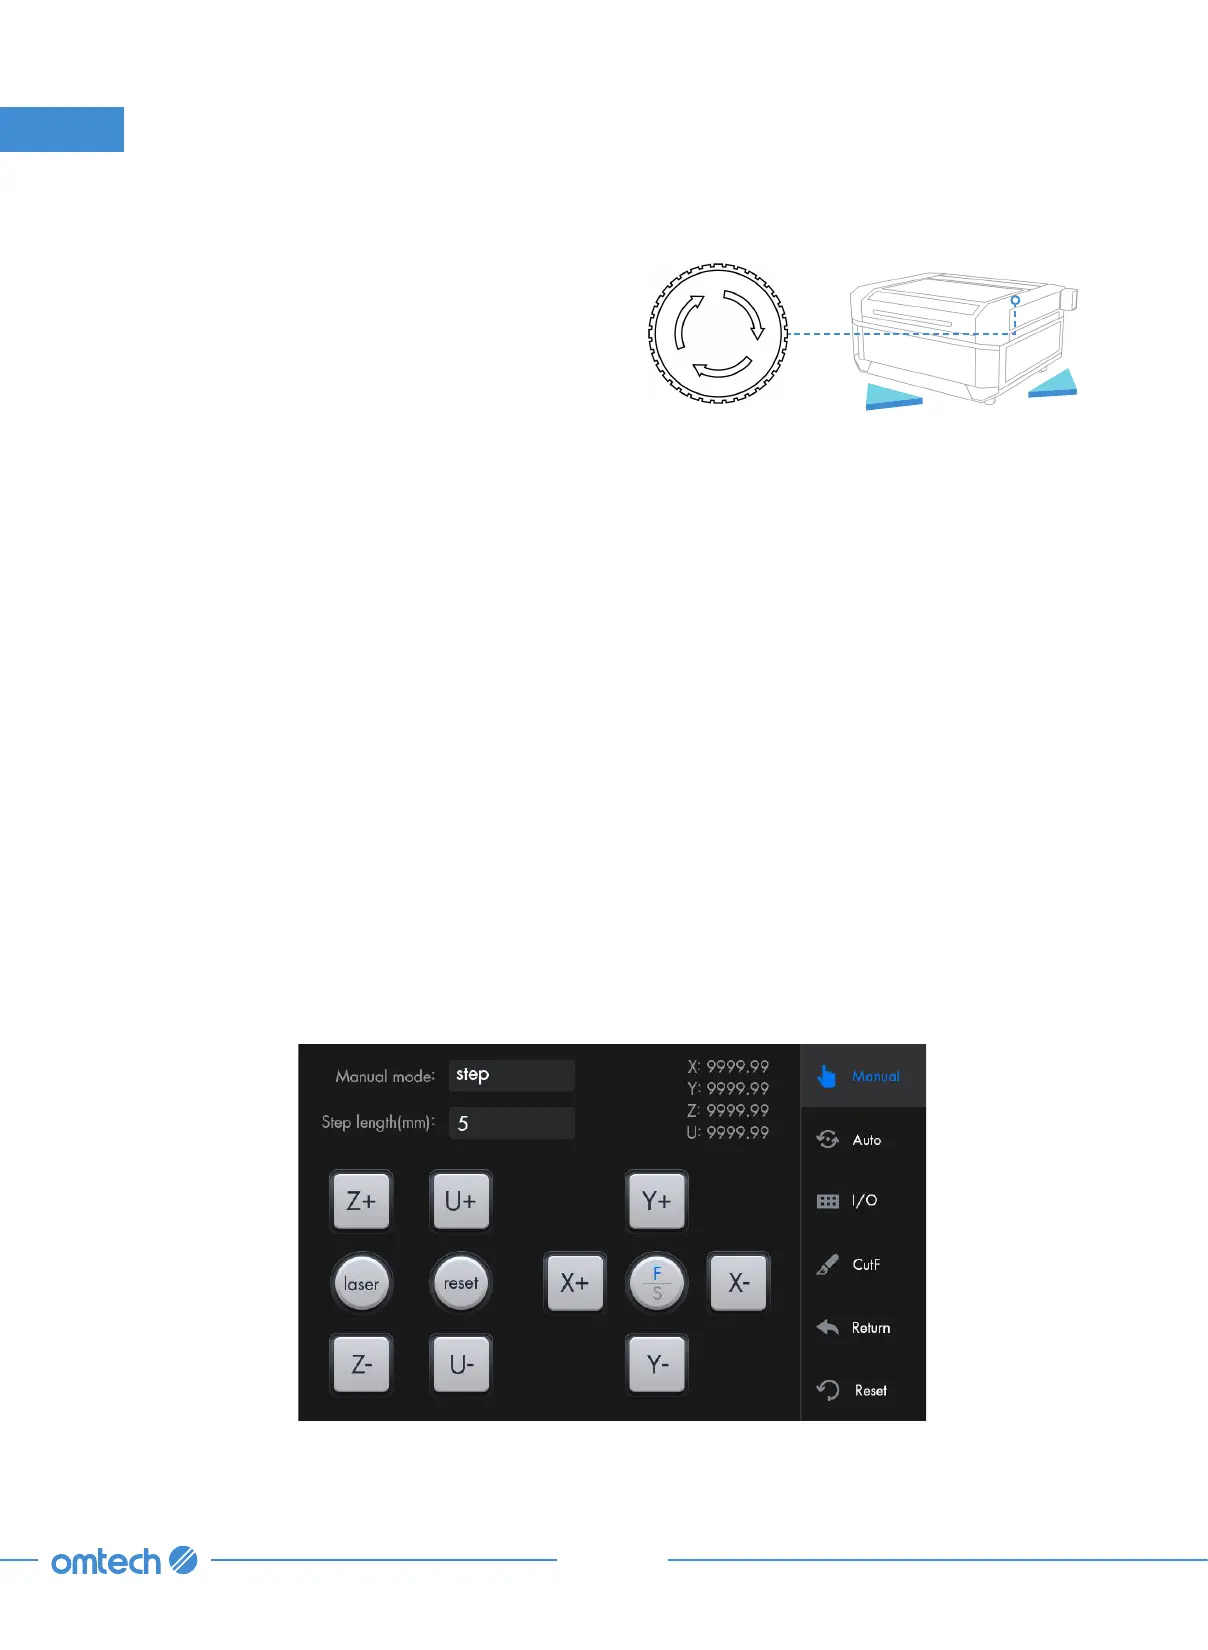
7. Tap “Manual” in the main menu, and the following menu pops up.
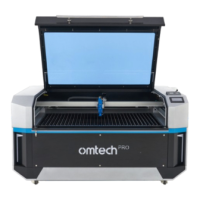
Because of the risk of fire and other hazards
during engraving, this engraver includes a large
and easy-to-reach emergency stop (E-Stop)
button near the control panel. Press it down to
stop the laser tube instantly.
When your engraver arrives, its emergency stop
button is already pressed and must be rotated
up to allow the engraver to function. You should
test that it works properly before conducting
ANY other work with your machine.
Emergency Stop
Front
Right