27
3. Installation
3.1 Installation Overview
A complete working system consists of the following parts:
•
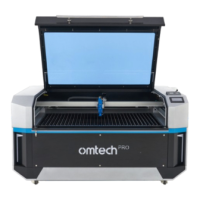
A laser engraving cabinet
The cabinet can use designs provided by the enclosed engraving software by direct or internet
connection with your computer; it can also engrave designs loaded directly from a flash drive.
•
Both laser nozzles and their accessories
•
An integrated cooling system
•
A ventilation system adequate for the materials you’re working with (fan and ducts included)
•
All applicable connection cables
•
Laser and access keys
Use only the hardware, wiring, and power sources that came with or are
compatible with this engraver. Installing equipment that your engraver is not
designed to work with can lead to poor performance, shortened service time,
increased maintenance costs, property damage, and personal injury.
Users can configure other accessories (such as a fume extractor or rotary axis) to suit their needs.
Note the specific requirements of your system's installation. Every customer must understand these
notes before installation to execute a proper setup and achieve safe laser performance. If you have
any installation questions or problems, contact our technicians and customer support team.
Any auxiliary equipment must be adjusted to the base machine. Queries may be directed to the
dealer or manufacturer of such equipment.
3.2 Selecting a Location
Before you install your engraver, select an appropriate location for its use.
•
Be sure that it meets all of the requirements discussed in the Safety Information above.
•
The location should be stable, level, dry, and climate-controlled to provide an ambient
temperature of 40–95
℉
(5–35
℃
) and an ambient humidity between 5–90%. In particular, the
temperature and humidity together should not be close to the dew point. It is also advisable
to use a windowless room or to use blinds and/or curtains to avoid exposure to the potential
additional heat of direct sunlight.