119
8. Maintenance
8.3.1 Laser Tube Alignment
•
Wear safety goggles during the entire aligning process.
•
Avoid attaching the tape directly to any of the mirrors.
•
Less than 15% of the maximum power (not Min.) should be sufficient to leave a
clear mark without setting the testing tape on fire.
•
Always make sure the path is clear between the laser and its target. Never
allow foreign objects between the laser and its target. Always close the cover
before firing the laser. Do not look directly at the active laser through the
cover during this procedure.
Having a perfectly aligned laser path is paramount to your engraver’s overall performance. Each of
the pro-line series went through a complete beam alignment before shipping.
Upon first arrival and about once a week during normal operation, however, it is recommended that
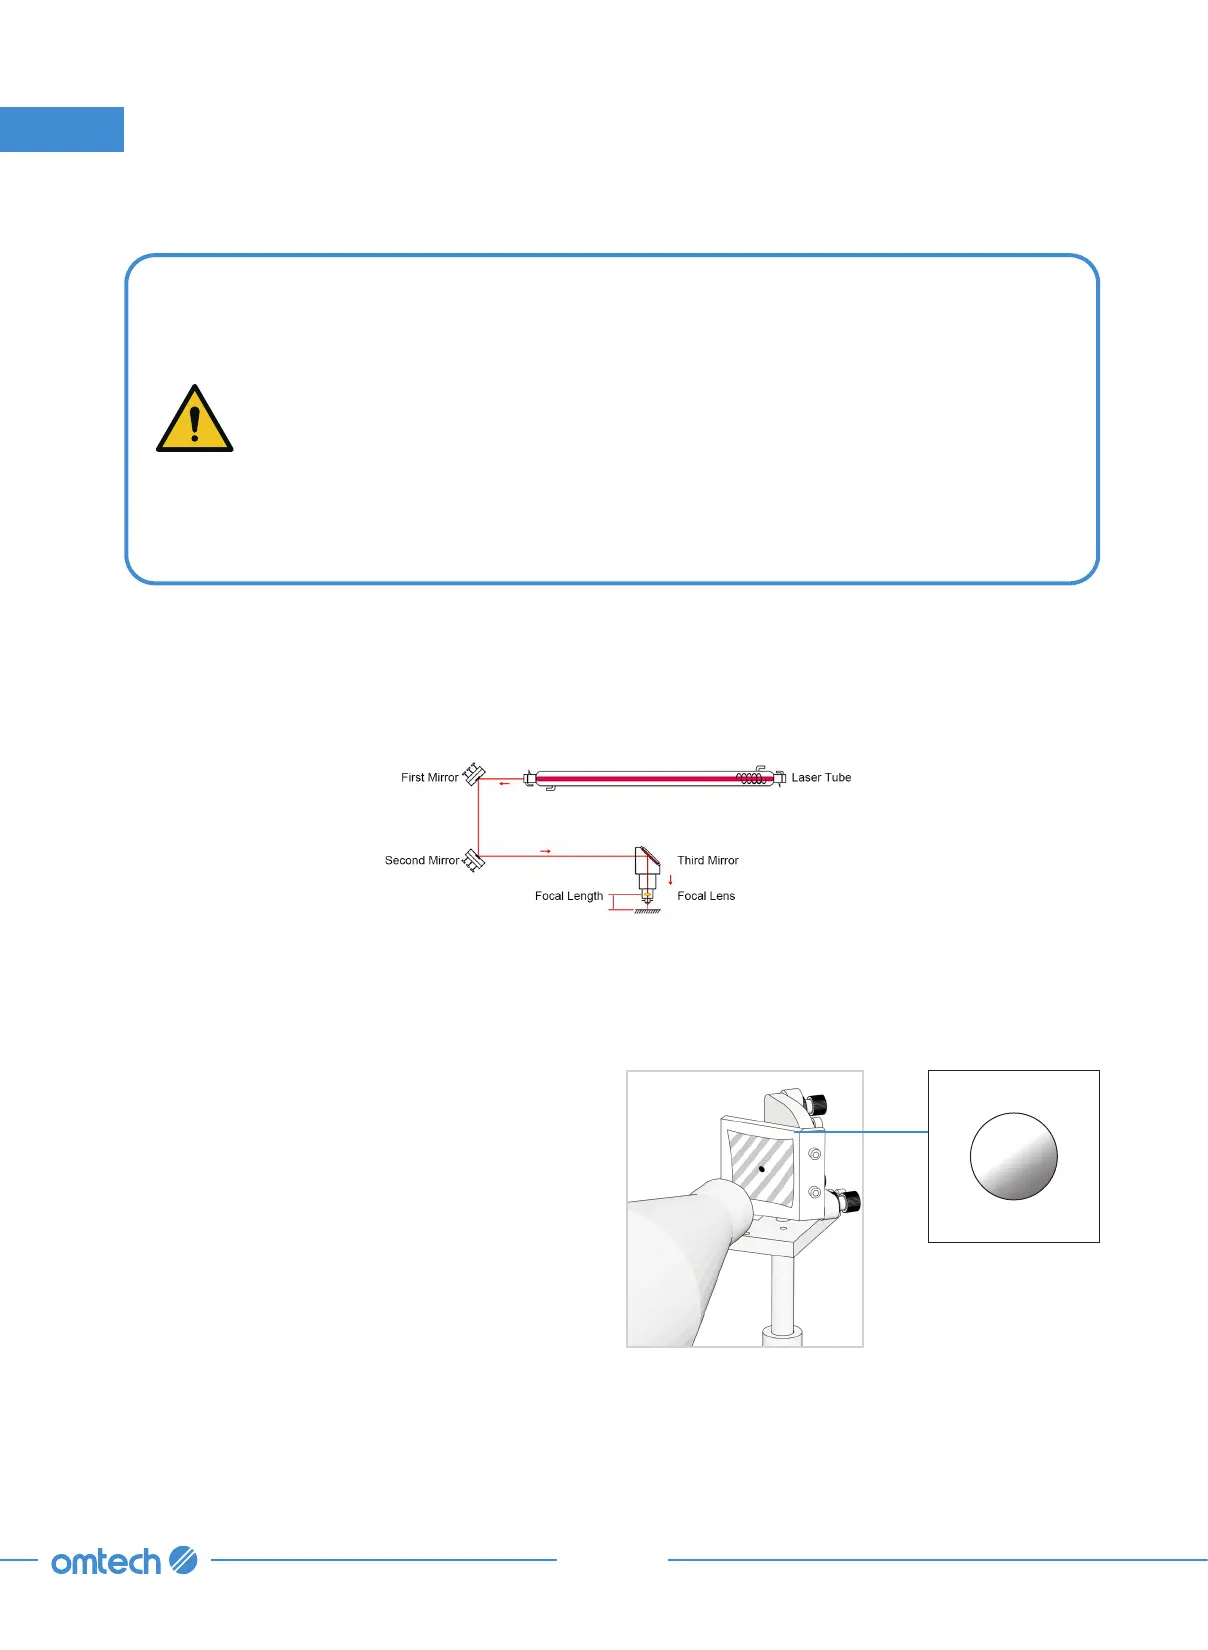
the alignment be checked. Refer to the diagram below for the basics of the alignment.
Tools Needed: Masking tape
The laser tube is where the laser beam is generated. Once emitted from the tube, the laser hits
Mirror 1 first. Follow the steps below to check the laser hits Mirror 1 right in the center.
Step 1. Put on safety goggles and open the
rear access door to expose the laser
tube and Mirror 1.
Step 2. Attach a piece of masking tape to the
mirror’s frame.
Step 3. Close the cover