3. Remove the Take-up Roller, see "Take-up Roller Replacement" on page112.
4. Remove the Drive Roller, see "Drive Roller Replacement" on page107.
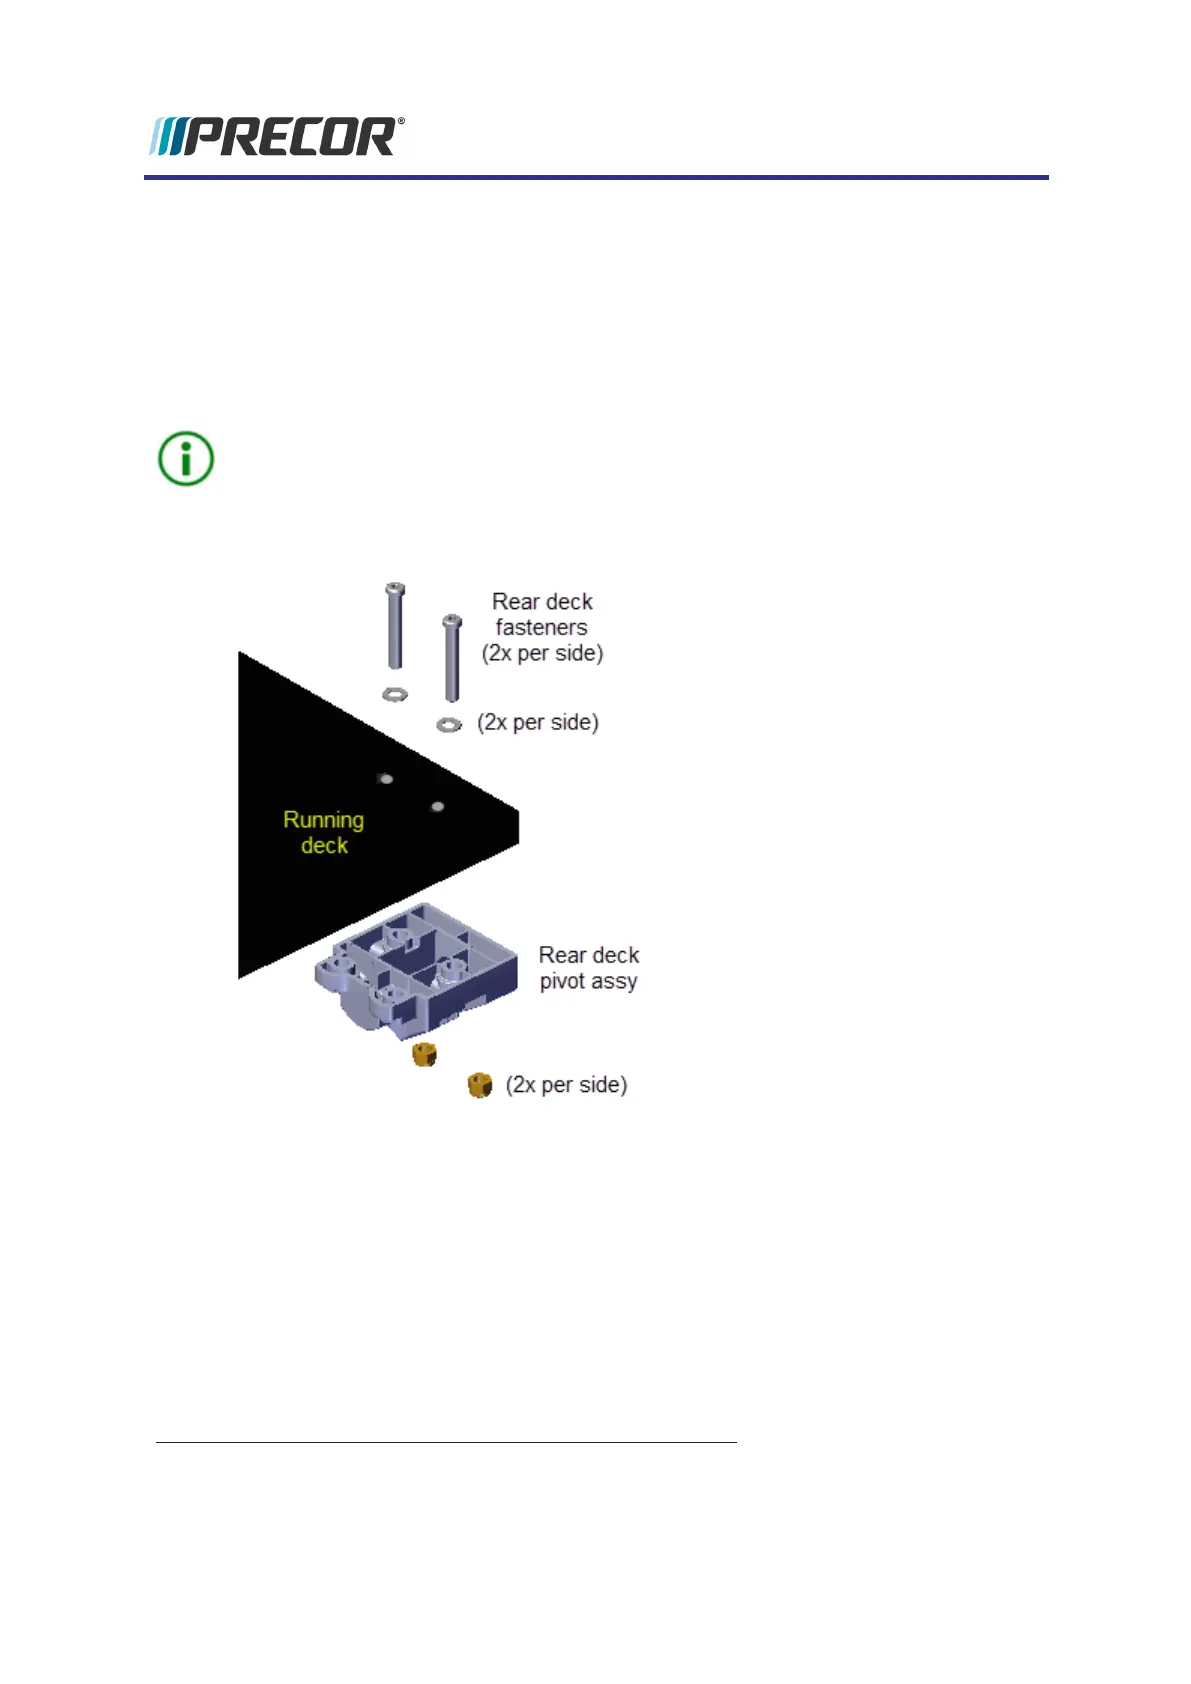
5. Remove the four 5/32" hex key bolt and washer rear deck fasteners. These fasteners
attach to the left and right rear deck pivot assemblies. The 1/2" fastener nuts are press
fit into the bottom of the deck pivot housing, be aware that the nuts can fall from the hous-
ing as the bolts are being removed. If this happens, reinsert the nut into the pivot hous-
ing. Retain fastener hardware for installation.
TIP:Avoid applying downward pressure on the bolts while removing. Pressing down
on the bolts can push the nuts out of the pivot housing ..Reinsert the nut into the pivot
housing if this occurs.
6. Remove the two 5/32" hex key bolt front deck fasteners. These fasteners are attached
to the left and right front GFX
1
Cushion tinnerman clips. Retain fastener hardware for
installation.
1
Ground Effects Impact Control Systtem: Patented treadmill design that out performs a nat-
ural running surface, absorbs high-impact movement, reduces joint stress and minimizes
fatique, and supports a solid adn controlled push off.
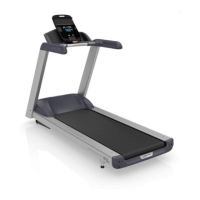
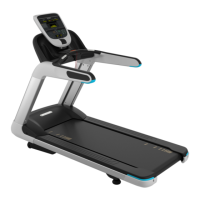
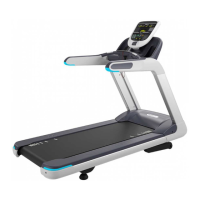
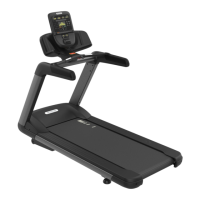
Experience Series 700 Line Treadmills
117
5 Replacement Procedures
Belt and Deck Replacement Procedure