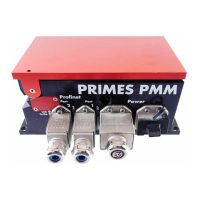
PowerMeasuringModule PMM
35,0(
72
Revision 13 EN - 02/2023
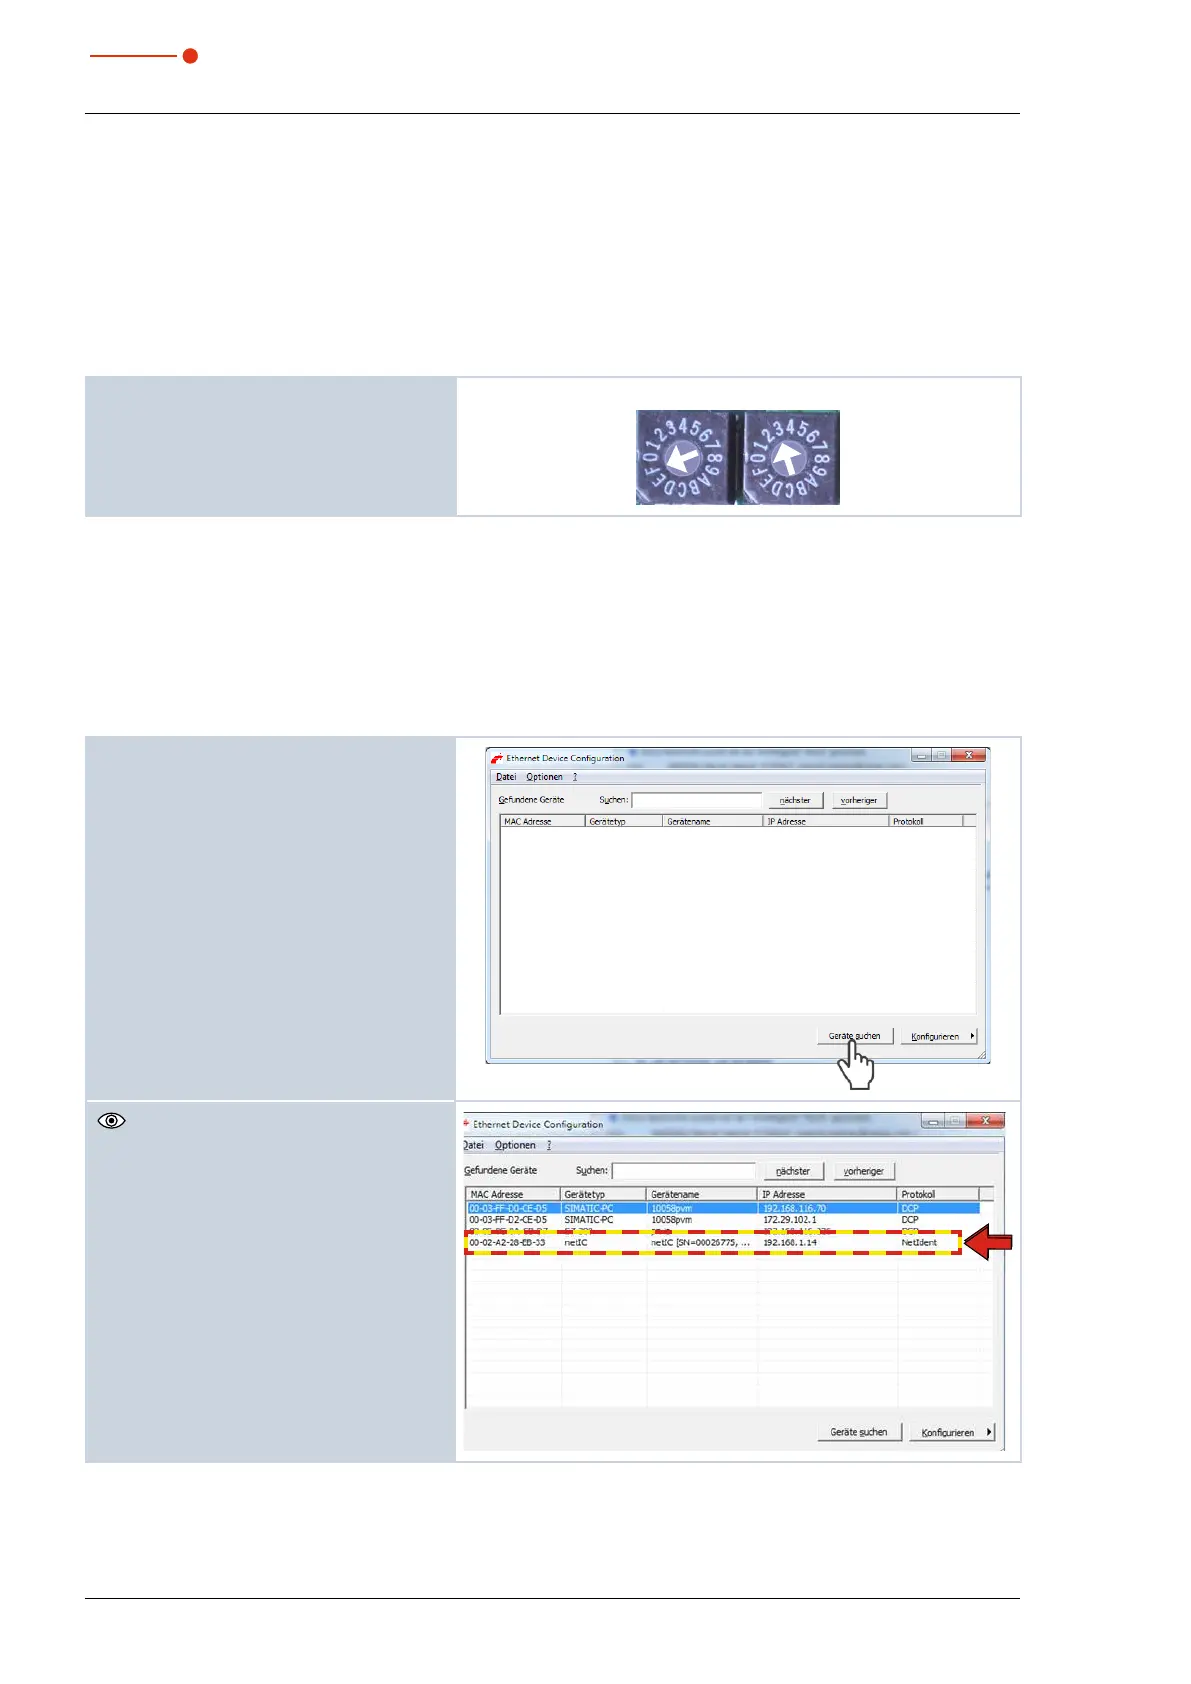
2. Set the desired IP address by means of the rotary switches SW2 and SW1:
• If both rotary switches are set to 0, the address is assigned by DHCP.
• In case of addresses in the range of 1-254 (hexadecimal 0x01 to 0xFE), the address is set by means of
the network segment 192.168.1.xxx. “xxx” stands for the preset number of the rotary switches.
• If you set the rotary switch to 0xFF = 255, the programmed IP address is completely accepted.
Example:
The address 192.168.1.243 should be set. 243 (decimal) ≙ F3 (hexadecimal)
Switch position: SW2=F; SW1=3 SW 2 SW 1
3. Remount the base plate of the device.
13.4.3 Setting the IP address via a web browser
The first three bytes of the IP address can be set by means of your web browser via a web interface.
The fourth (last) byte is set via the internal rotary switches and as described in chapter 13.4.2 on page71.
In order to read out the current IP address of the PMM in the network, the program “EthernetDeviceConfigu-
ration” is required. It can be found on the PRIMES data medium.
The PMM has to be turned on.
1. Start the program "EthernetDeviceCon-
figuration".
2. Click the Geräte suchen (Search De-
vice) button.
The dialogue window is opened and the
found devices are listed. The IP address
of the PMM can be found in the line of
the device type "netlC".