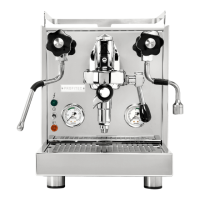
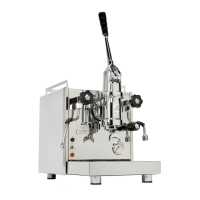
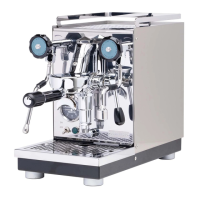
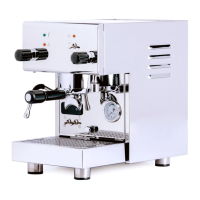
MOVE_BA_V1.0EN - 104
Observe the following when using the silicone attachment:
• The opening of the cup should be as wide as the lter used. Otherwise,
espresso may pour out at the sides.
Proceed as follows when preparing espressos:
1. Insert the desired lter in the portalter (see Chapter 9.6, “Inserting the
silicone attachment and lters in the portalter”).
2. Fill the lter with the desired quantity of ground coffee.
3. Press and compact the ground coffee evenly using the tamper (see
Chapter 9.5, “Pouring ground coffee into the portalter and pressing
(tamping)”).
4. Insert the portalter in the brew group (see Chapter 9.7, “Inserting the
portalter in the brew group”).
5. Place a suitable empty cup under the portalter depending on the cup
lter.
6. Press one of the pull buttons.
9 The LED of the pull button that was pressed will start to ash and the
automatic espresso preparation process will begin. The timer for the
pull time will start on the display. If pre-infusion is set and has been
activated for the pull button (see Chapters 10.3.4, “Pre-infusion” and
10.3.5, “Brew settings - setting via the menu”), the timer is interrupted
after the active pre-infusion time has elapsed and “---” appears on
the display. After the passive pre-infusion time has elapsed, the timer
for the pull time will appear again on the display. After the set pull time
has elapsed, the espresso pulling process is ended. Residual water is
drained into the drip tray and residual pressure released via the residual
water outlet of the brew group.
7. The pulling process can be ended at any time by pressing the ashing
pull button.
9 The pulling process is complete. Both buttons light up and the current
brew temperature appears on the display after a few seconds.
If the set pull time is not sufcient, the automatic pulling can be manually
extended. The maximum duration for manual pulling is 60seconds.
1. During automatic pulling, press the second pull button.
¾ This pull button starts to ash while the LED of the other pull button
goes out. The icon for manual pulling appears on the display.
2. To end the pulling process, press the ashing pull button again.
9 The pulling process is complete. The brew temperature appears on the
display and both pull buttons will light up.