18
There are 3 types of ‘target’ to select from
using the Target type button.
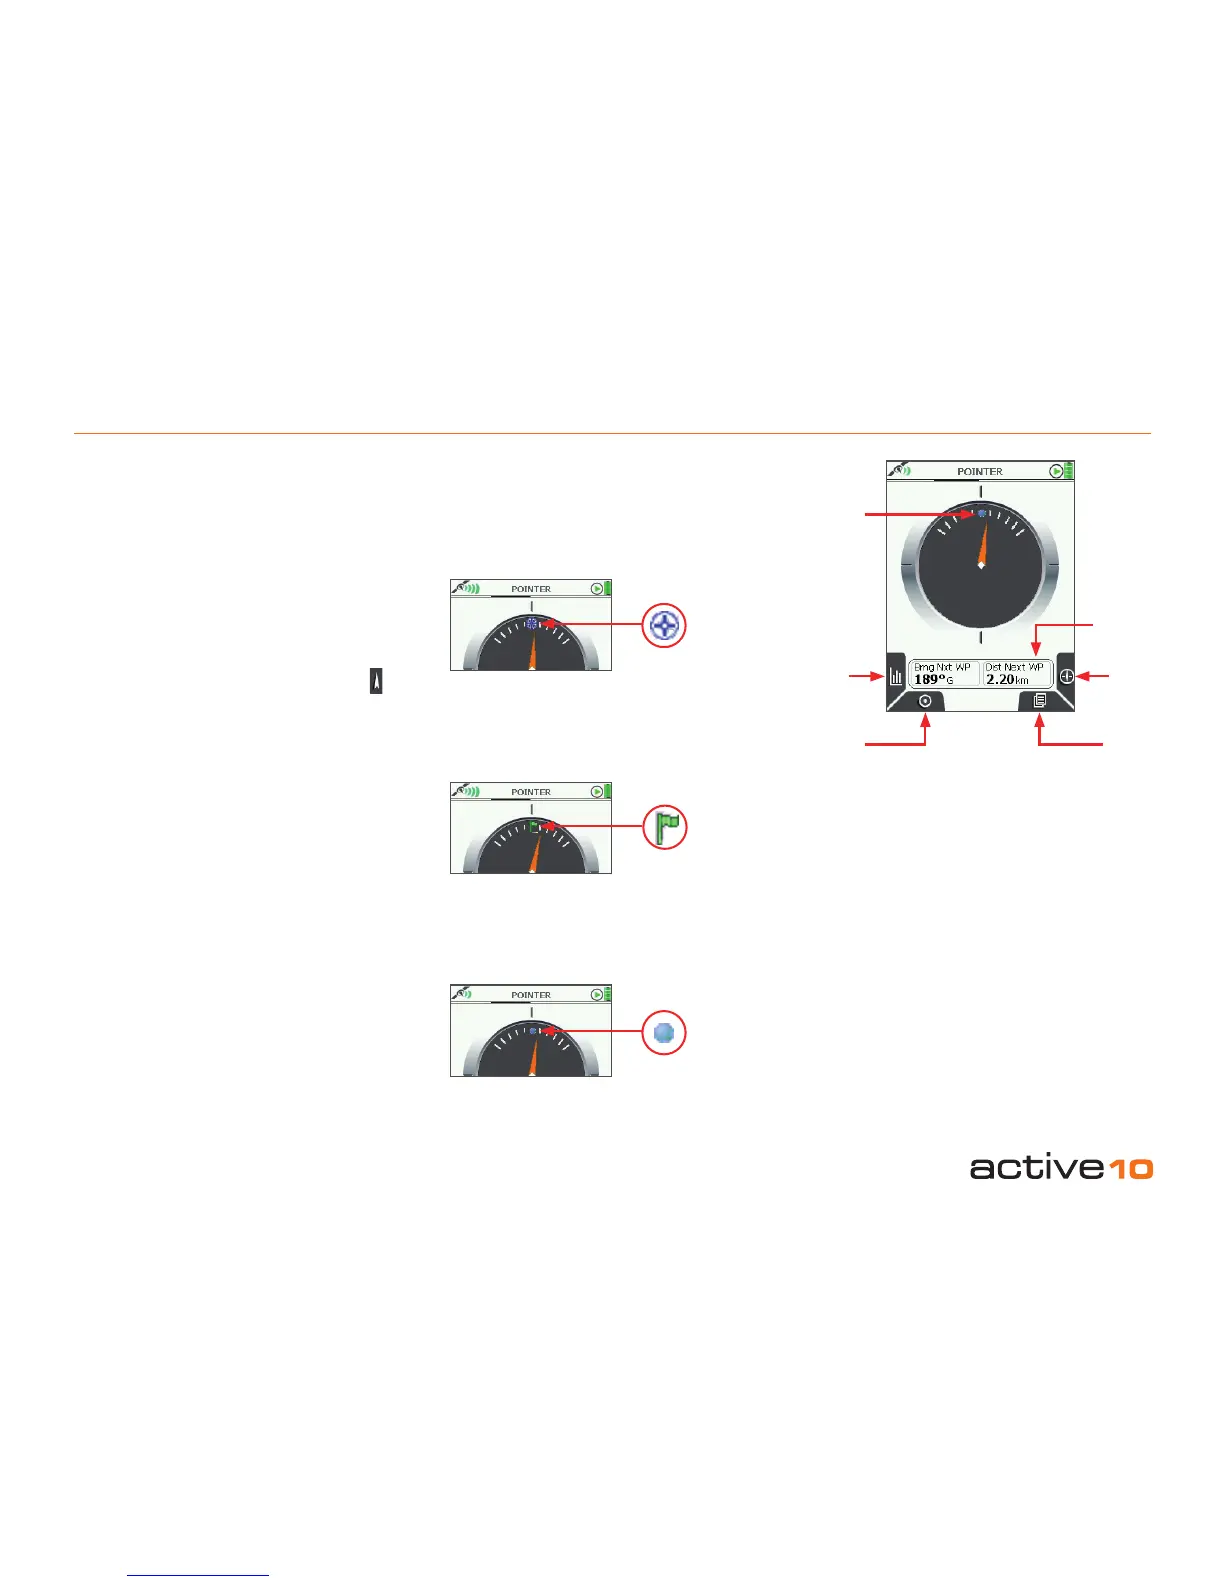
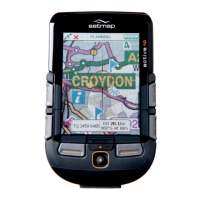
6.02a POINTER Screen
(GPS MAP → MAIN MENU → COMPASS →
POINTER)
Within the COMPASS menu there is the
option of following a Pointer, which points
you in the direction of your desired destination
ie. a waypoint, Point Of Interest (POI), Line Of
Interest (LOI), Area Of Interest (AOI) or GoTo
point.
To access the POINTER screen, press the
Pointer button on the COMPASS screen
(section 6.02).
Buttons:
Target type
Scroll through overlays giving data on either
nearest Waypoint, Point Of Interest, Line Of
Interest, Area Of Interest, or Go To Point
GPS Map
Return to GPS MAP screen
Compass
Return to COMPASS screen (section 6.02)
Primary Screens
Go to TRIP LOG screen (section 6.03) and
scroll through primary screens (section 4.00)
Note: You need at least 1 POI or route on the
map for the Pointer to work. (It does not work
if you only have one Grid, AOI or LOI).
Compass
Target
type
Figure 6.02a
6.02a COMPASS: POINTER
1. Nearest POI/LOI/AOI
Only available once a POI has been entered
(section 12.00).
2. GoTo Point
Only available once a GoTo Point has been
set (section 19.00). A green ag will appear at
the top of the pointer image.
3. Next WayPoint
Only available once a route has been
activated (section 8.00). A blue dot will appear
at the top of the pointer image.
In each target type, the 2-data eld overlay
contains information on bearing and distance
to the target.
Note: If you have POIs/LOIs/AOIs/waypoints
set to invisible, the pointer will not show their
location.
GPS Map
Primary
Screens
2-data eld
overlay
Target
icon
Default icon