55
13.00 MAIN MENU: OOI Folders
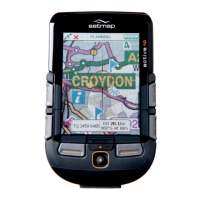
Figure 13.00
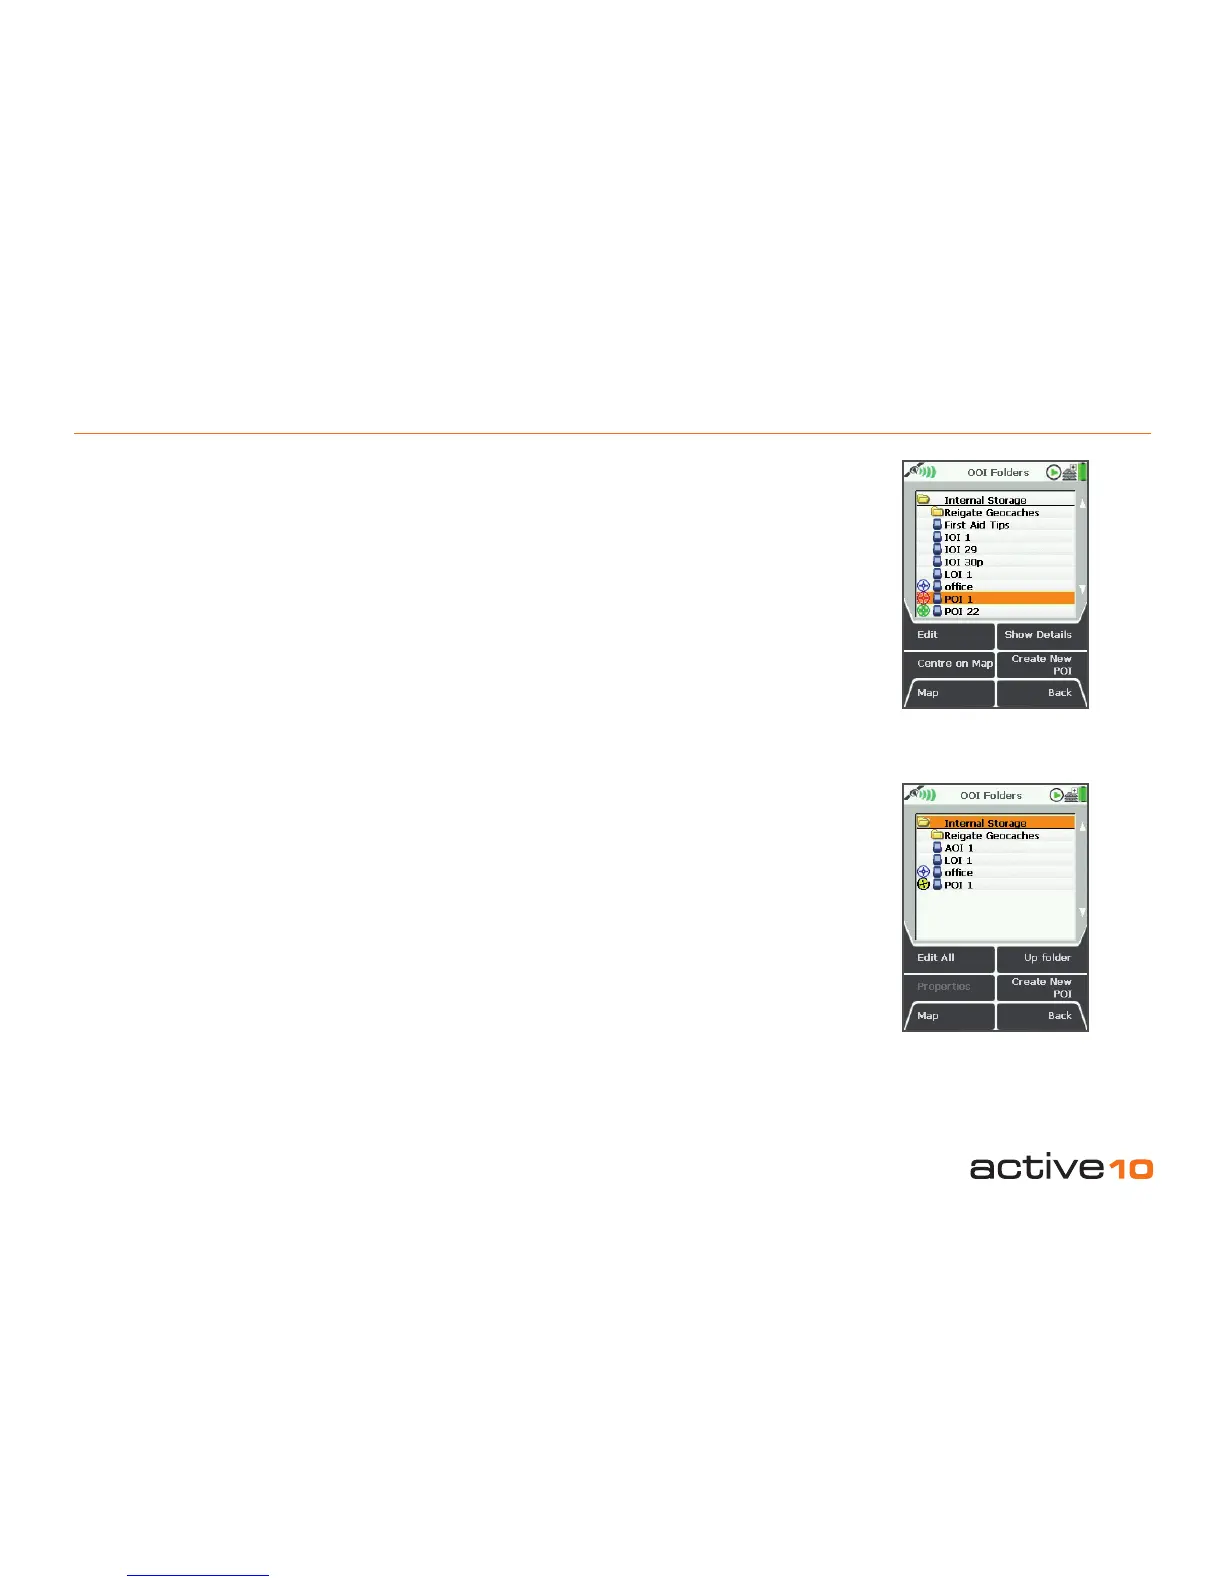
13.00 OOI Folders
(GPS MAP → MAIN MENU → OOI Menu →
OOI Folders)
All OOIs are stored in the OOI Folders.
Detailed information for each OOI can be
viewed by highlighting a specic OOI and
selecting the Show Details button from this
screen.
It is also possible to view each OOI on the
map by selecting Center on Map (with
exception to IOIs).
Create a new POI directly from this menu by
selecting the Create New POI option. This will
lead you to the Add POI screen where you
will be able to create and remove POIs using
the '+' and 'x' buttons (section 14.00). Once
you are done, the keypad will appear for you
to name the POI and then choose a POI icon.
Access the edit menu by selecting the Edit
button once an OOI has been highlighted. To
edit visibility and set a new default icon for all
OOIs within a specic folder (instead of an
individual OOI), select the folder and use the
Edit All button.
To access other folders, use the Up Folder
option or center press the joystick to reveal a
Choose Folder drop-down box and select a
specic folder (section 8.04). (This applies to
any folder menu).
Note: Sub folders can only be created via
SatSYNC. (Please refer to the SatSYNC User
Guide for detailed information).
Buttons:
Edit
Go to EDIT screen
Center on Map
Go to PLANNING screen with the OOI in the
center
Map
Return to GPS Map screen (section 5.00)
Show Details
Go to OOI details screen
Create New POI
Go to the Add POI screen (section 14.01)
Back
Return to the OOI Menu (section 12.00)
Accelerated scrolling: If you have several
OOIs listed in one folder you are able to scroll
quickly by holding the joystick up/down. Keep
the joystick pressed up/down until you reach
the OOI you are looking for.