Protected by copyright. Copying for private or commercial purposes, in part or in whole, is not
permitted unless authorised by SEAT S.A. SEAT S.A does not guarantee or accept any liability with
respect to the correctness of information in this document. Copyright by SEAT S.A.
Removing
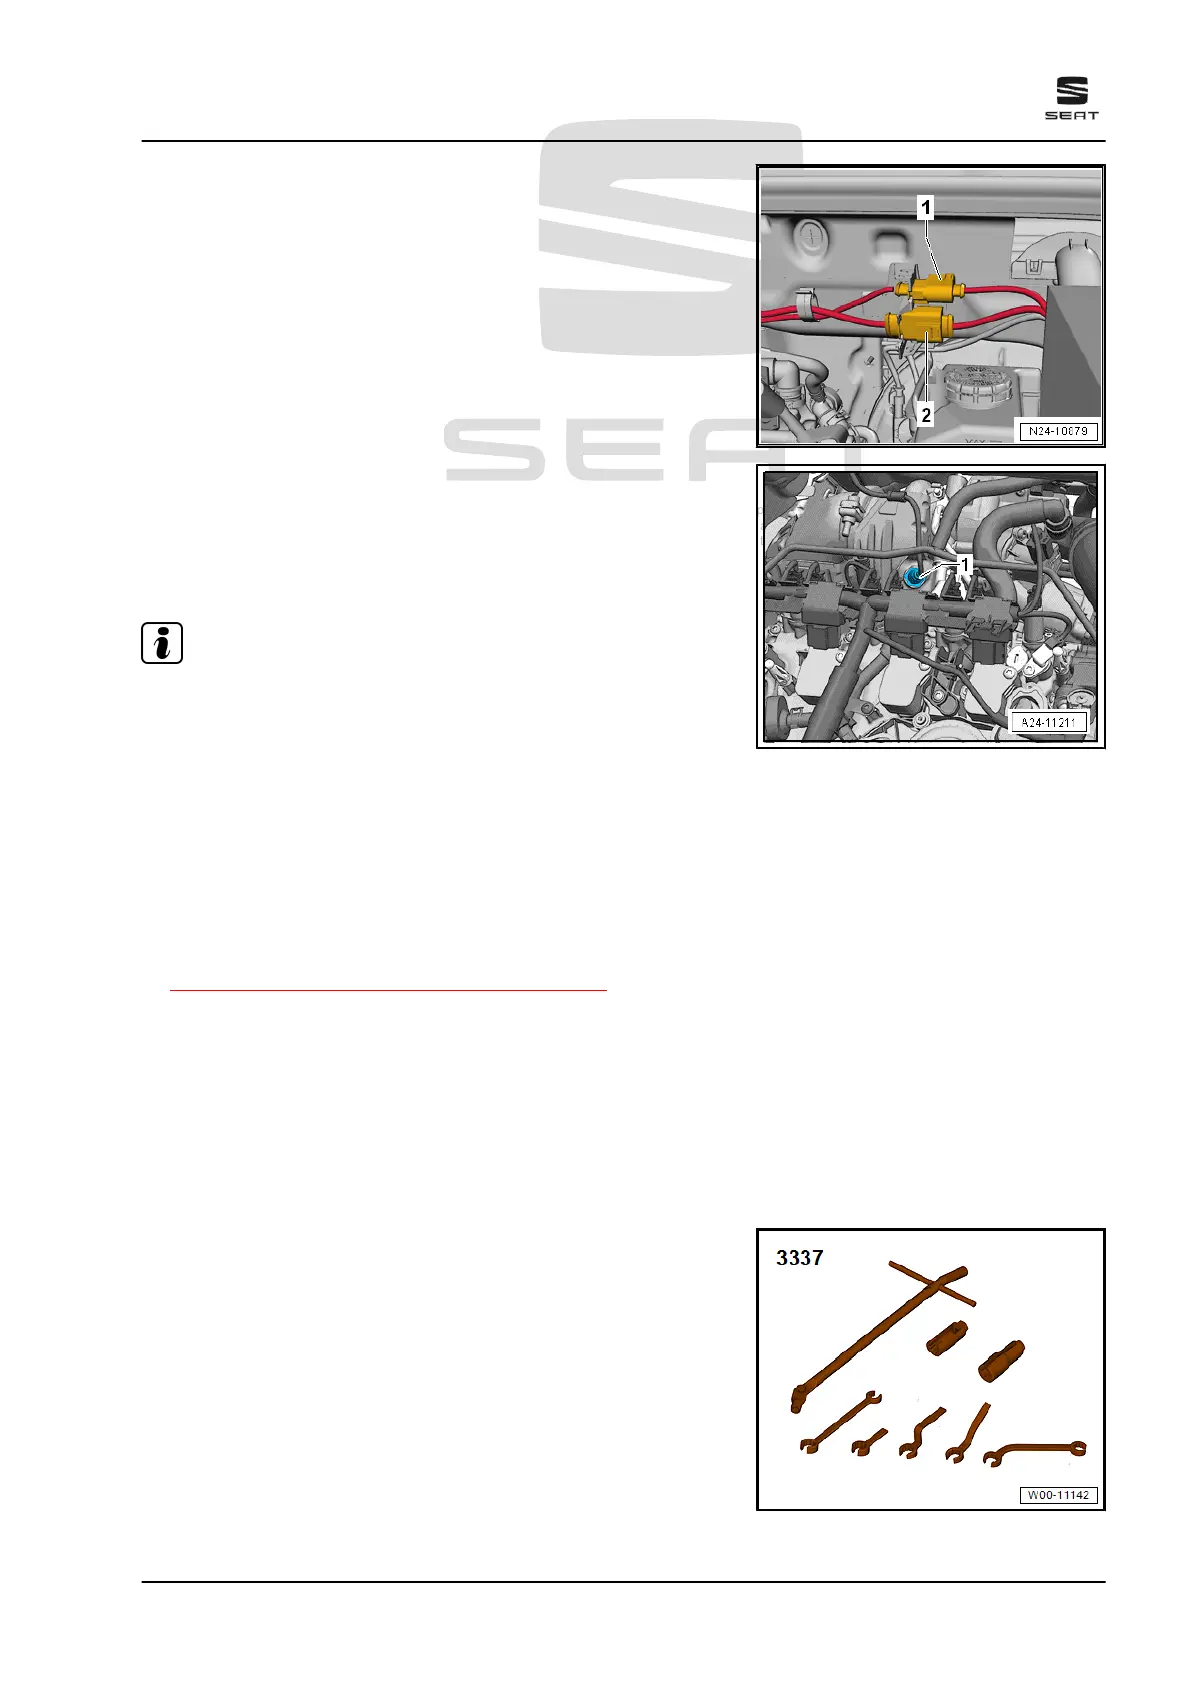
– Detach electrical connector -2- of Lambda probe 1 before cat‐
alytic converter - GX10- .
– Lay wires on plenum chamber bulkhead to one side.
– Unscrew Lambda probe 1 before catalytic converter - GX10-
-1- using tool from Lambda probe open ring spanner set -
3337- .
Fitting
When installing, pay attention to the following points:
Note
♦
New Lambda sensors are coated with an assembly paste. This
paste must not get into the slots on the probe body.
♦
In the case of a used lambda sensor grease only the thread
with high-temperature paste. This paste must not get into the
slots on the probe body. High-temperature paste ⇒ Electronic
parts catalogue (ETKA)
♦
When re-installing the electric wire of the lambda sensor, it is
important that these are connected to the same locations.
Contact of the electric wires with the exhaust pipe must be
prevented in all cases.
Specified torques
♦ ⇒ “8.1 Exploded view - Lambda probe”, page 387
8.2.2 Removing and installing Lambda probe
1 after catalytic converter - GX7-
Lambda probe 1 after catalytic converter - GX7- comprises:
♦ Lambda probes after the catalytic converter - G130-
♦ Lambda probe heater 1 after catalytic converter - Z29-
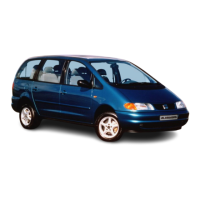
Special tools and workshop equipment required
♦ Lambda probe open ring spanner set - 3337/7-
Ateca 2017 ➤ , León 2013 ➤ , León ST 2013 ➤
4 cyl. petrol engine (1.8 l and 2.0 l with direct injection, 4 V, exhaust gas turbocharger, timing chain,
EA 888 III. Gen) - Edition 10.2018
8. Lambda probe 389