(4) Pull the photomultiplier from its socket and replace it with the optional photomultiplier (do
not disassemble other parts).
(5) Reassemble the assembly and reinstall the PMT unit assembly by reversing the
procedure above.
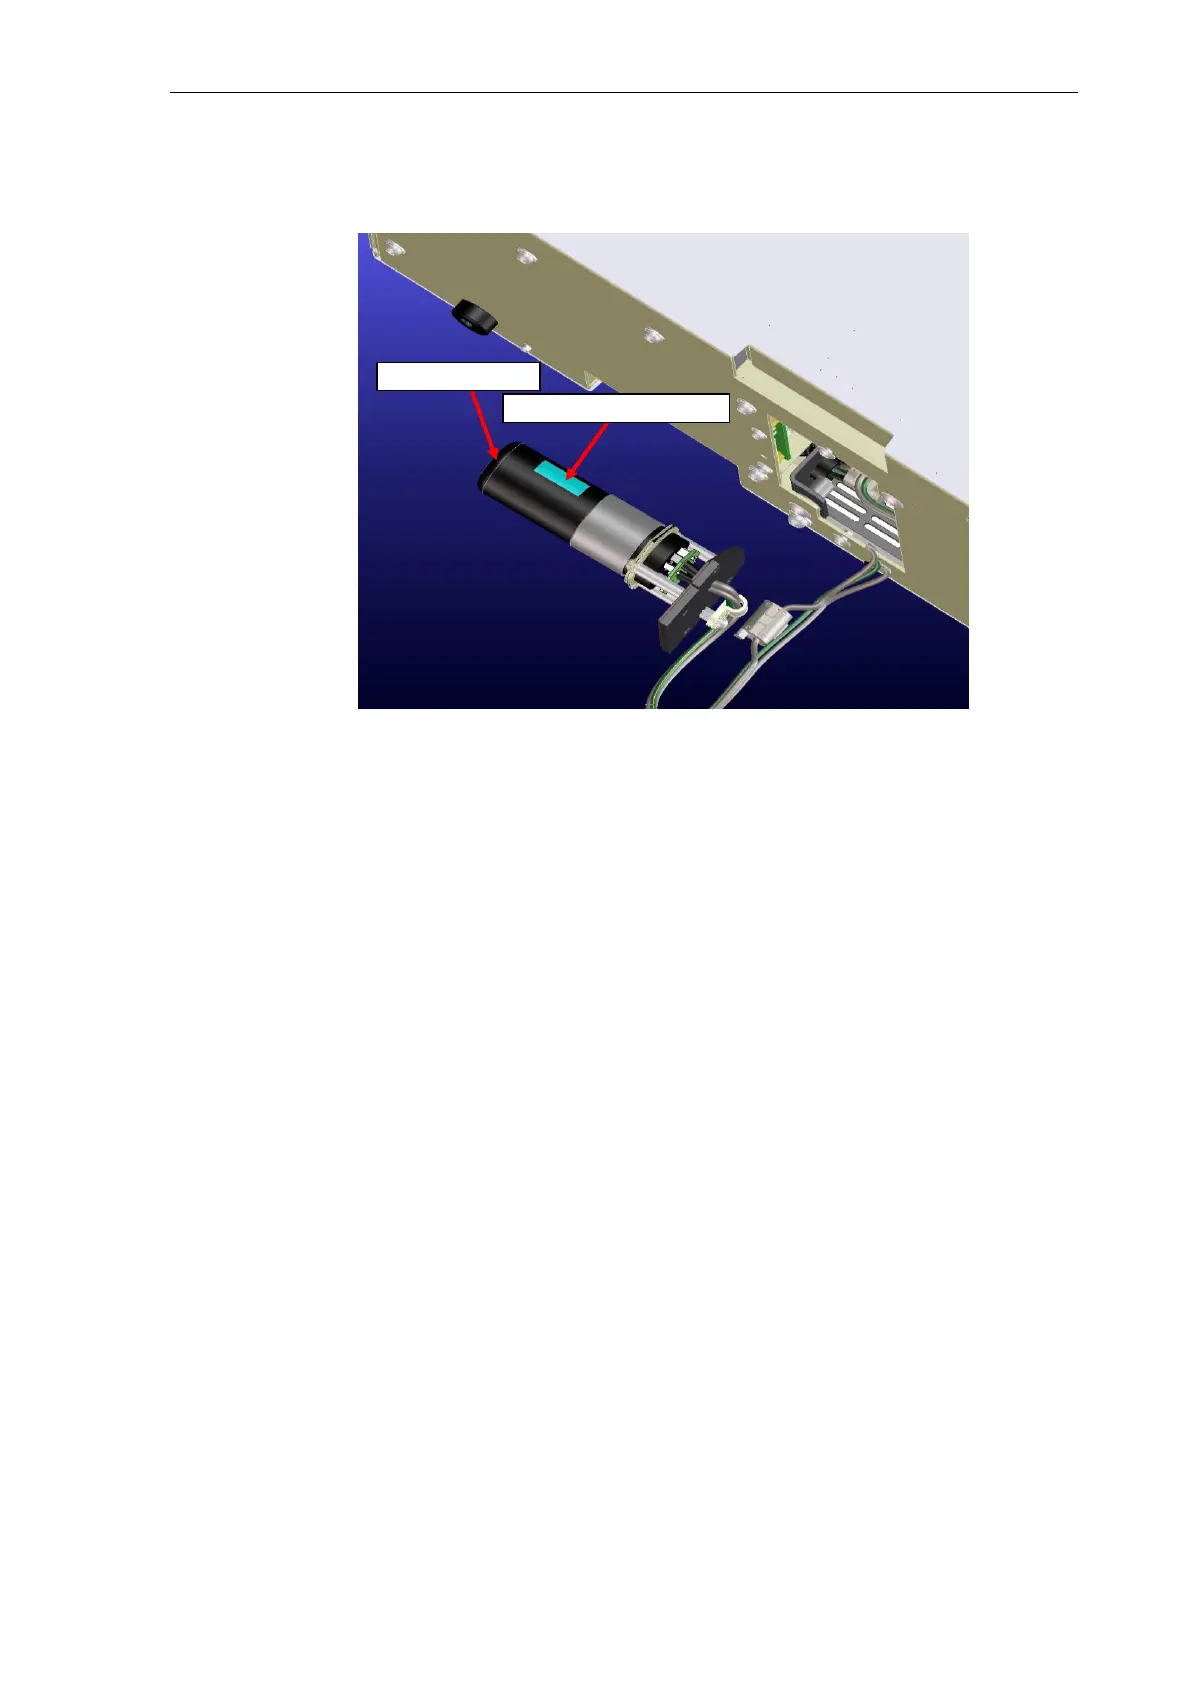
Note: When fastening the PMT housing assembly to the PMT base assembly, fasten them so
the slit in the PMT housing assembly is as close to the photomultiplier window as possible.
15.5 Calibrating the Wavelength After Photomultiplier Replacement
15.5.1 Wavelength Calibration Procedure
(1) Run deionized water through the flow cell and confirm there are no air bubbles.
(2) Start the instrument by pressing the [FUNC] key as the power is switched ON.
(3) Refer to the section on maintenance in the instruction manual to calibrate the
wavelength.
15.6 Compensating Sensitivity After Photomultiplier Replacement
(adjustment using peak height of the Raman spectrum of water)
15.6.1 Preparation
(1) Run deionized water through the flow cell and confirm there are no air bubbles.
(2) Start the instrument by pressing the [FUNC] key as the power is switched ON.
(3) 30 minutes after the Xenon lamp is illuminated (after the instrument stabilizes),
compensate the sensitivity (adjust the negative voltage of the photomultiplier).
15.6.2 Adjusting [Sens2]
(1) Set [GAIN] to 2 (x4) and [SENS] to 2 (medium).
(2) Change [Z WAVE] to 1 and set [EX] to 350 nm and [EM] to 450 nm, then adjust the zero
position.
(3) Set the EM wavelength(397nm, for example) to the peak value of the Raman spectrum
of water and output the F value on the WS.