SIREMOBIL Iso-C 3D SPR2-230.814.01 Page 4 of 14 Siemens AG
Rev. 05 08.04 CS PS 24 Medical Solutions
4 - 4 Kapitelüberschrift hier eintragen
Installing the system electronics for 3D reconstruction 71 39 921 4
• Move the lifting column into the top position.
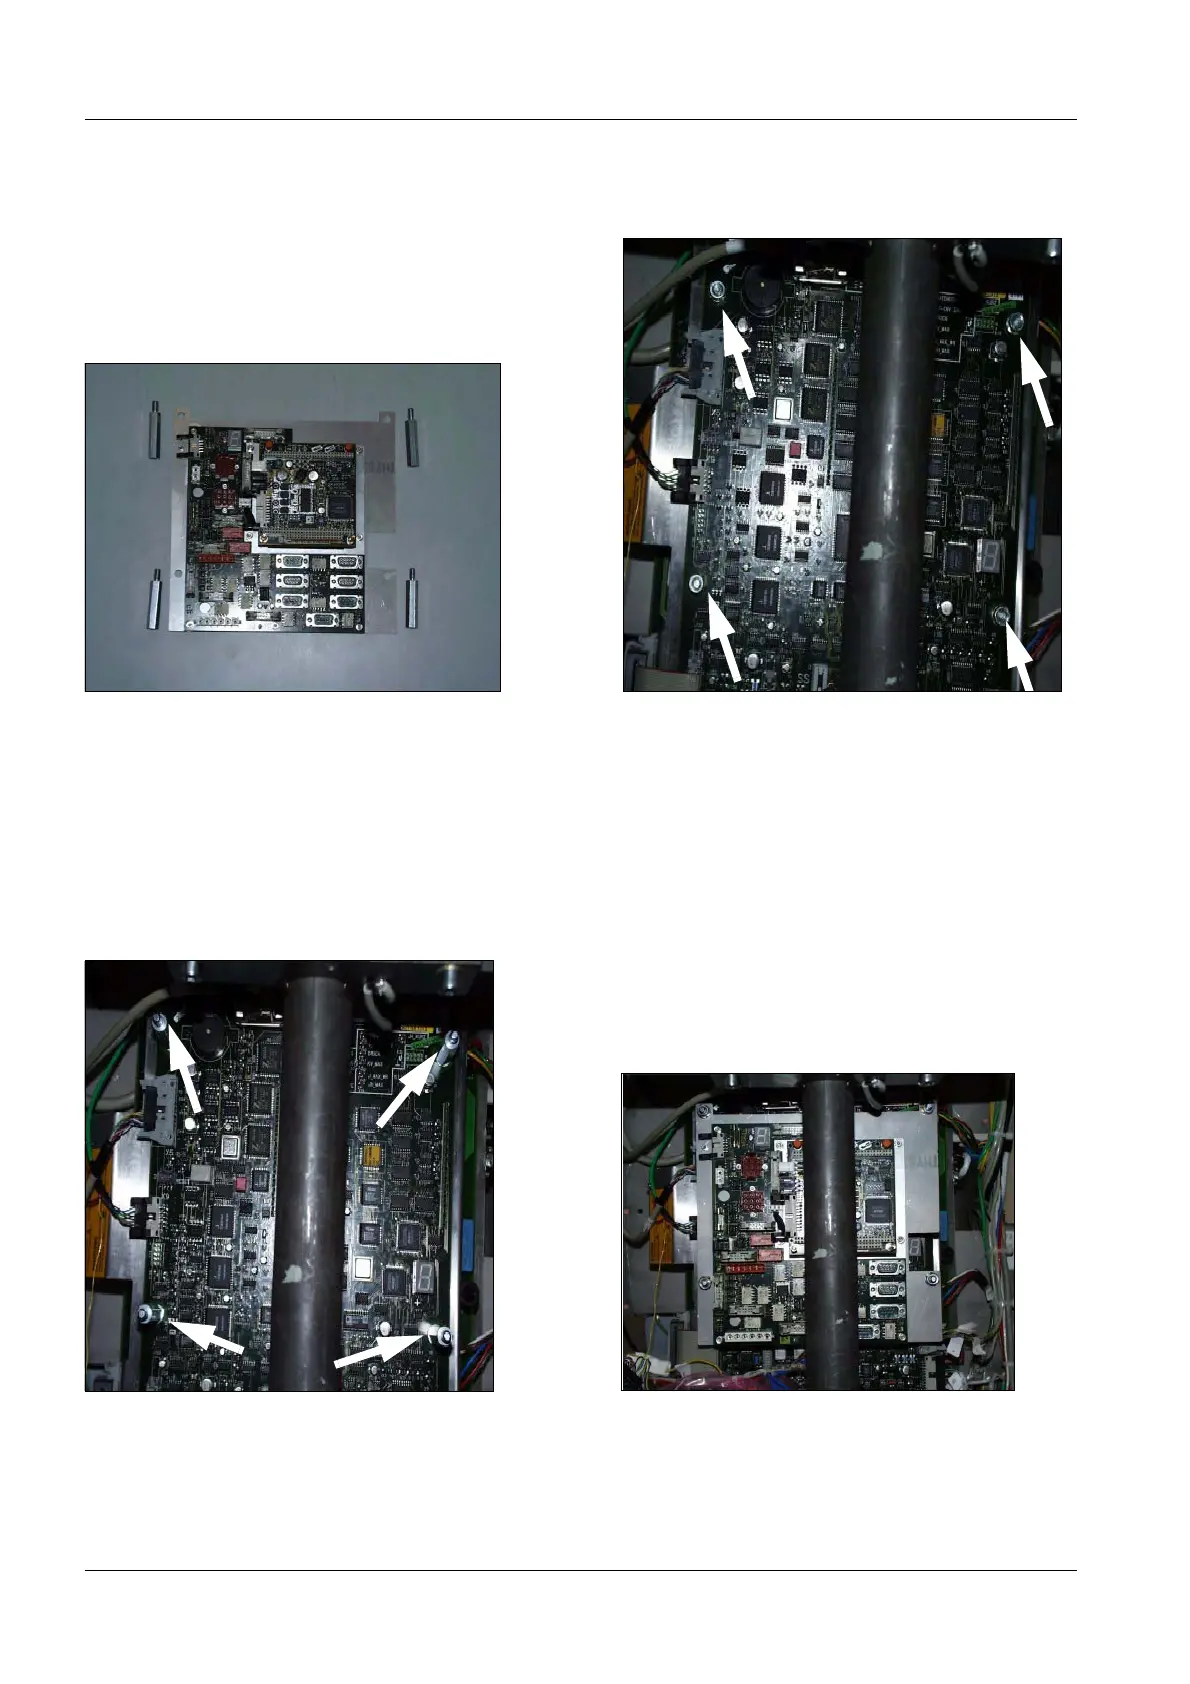
• Remove the upper 4 mounting screws of D1, leave the washers on D1 (Fig. 12).
• Attach the hexagonal bolts (see Fig. 13).
• Place D200 on the hexagonal bolts.
• Attach D200 with the contact washers and nuts (Fig. 14).
Fig. 11 Picture of the 3D reconstruction system electronics D200 Fig. 12 Picture of D1
Fig. 13 Bolt mounted, 3D reconstruction system electronics D200 Fig. 14 Installed 3D reconstruction system electronics D200

 Loading...


