SIREMOBIL Iso-C 3D SPR2-230.814.01 Page 12 of 14 Siemens AG
Rev. 05 08.04 CS PS 24 Medical Solutions
2 - 12 Actions up to serial number 1408
Orbital drive 2
• Move the X-ray tube assembly at the C-arm to the end stop.
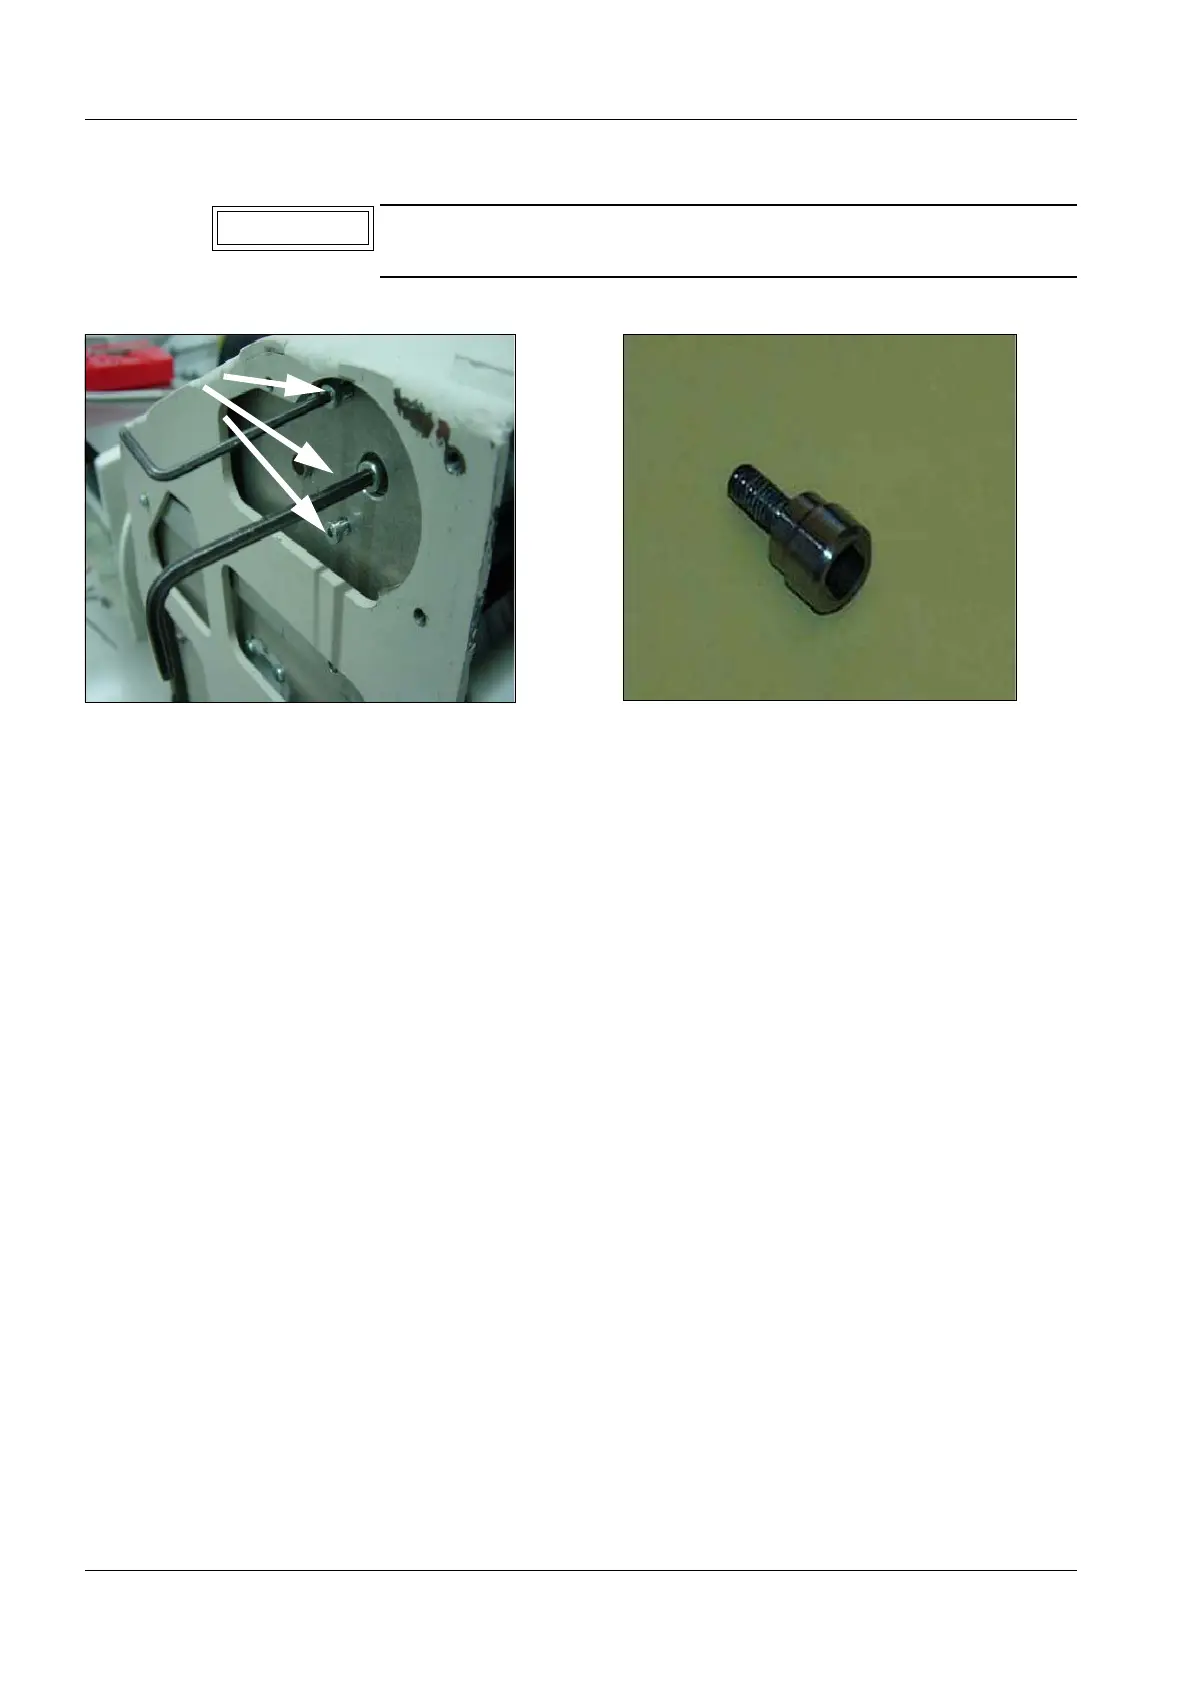
• Remove the 3 Allen screws (Fig. 28).
• Clean the thread of the connecting piece with the cleaning agent supplied (Fig. 29).
The thread has to be completely free of grease before it is glued in.
• A 6 mm hexagonal insert, the required torque wrench and a suitable screwdriver for the
connecting piece should be at hand.
• Set the torque wrench to 8 Nm.
• The opening at the cable module has to point upward for the installation of the
connecting piece (C-arm angulation must be 90°).
Please read through the entire instructions prior to performing the
work described. Loctite bonds very quickly!
Fig. 28 Remove Allen screws Fig. 29 Connecting piece
NOTICE
remove

 Loading...


