• The following example will be used to illustrate the use of the Tiling tools:
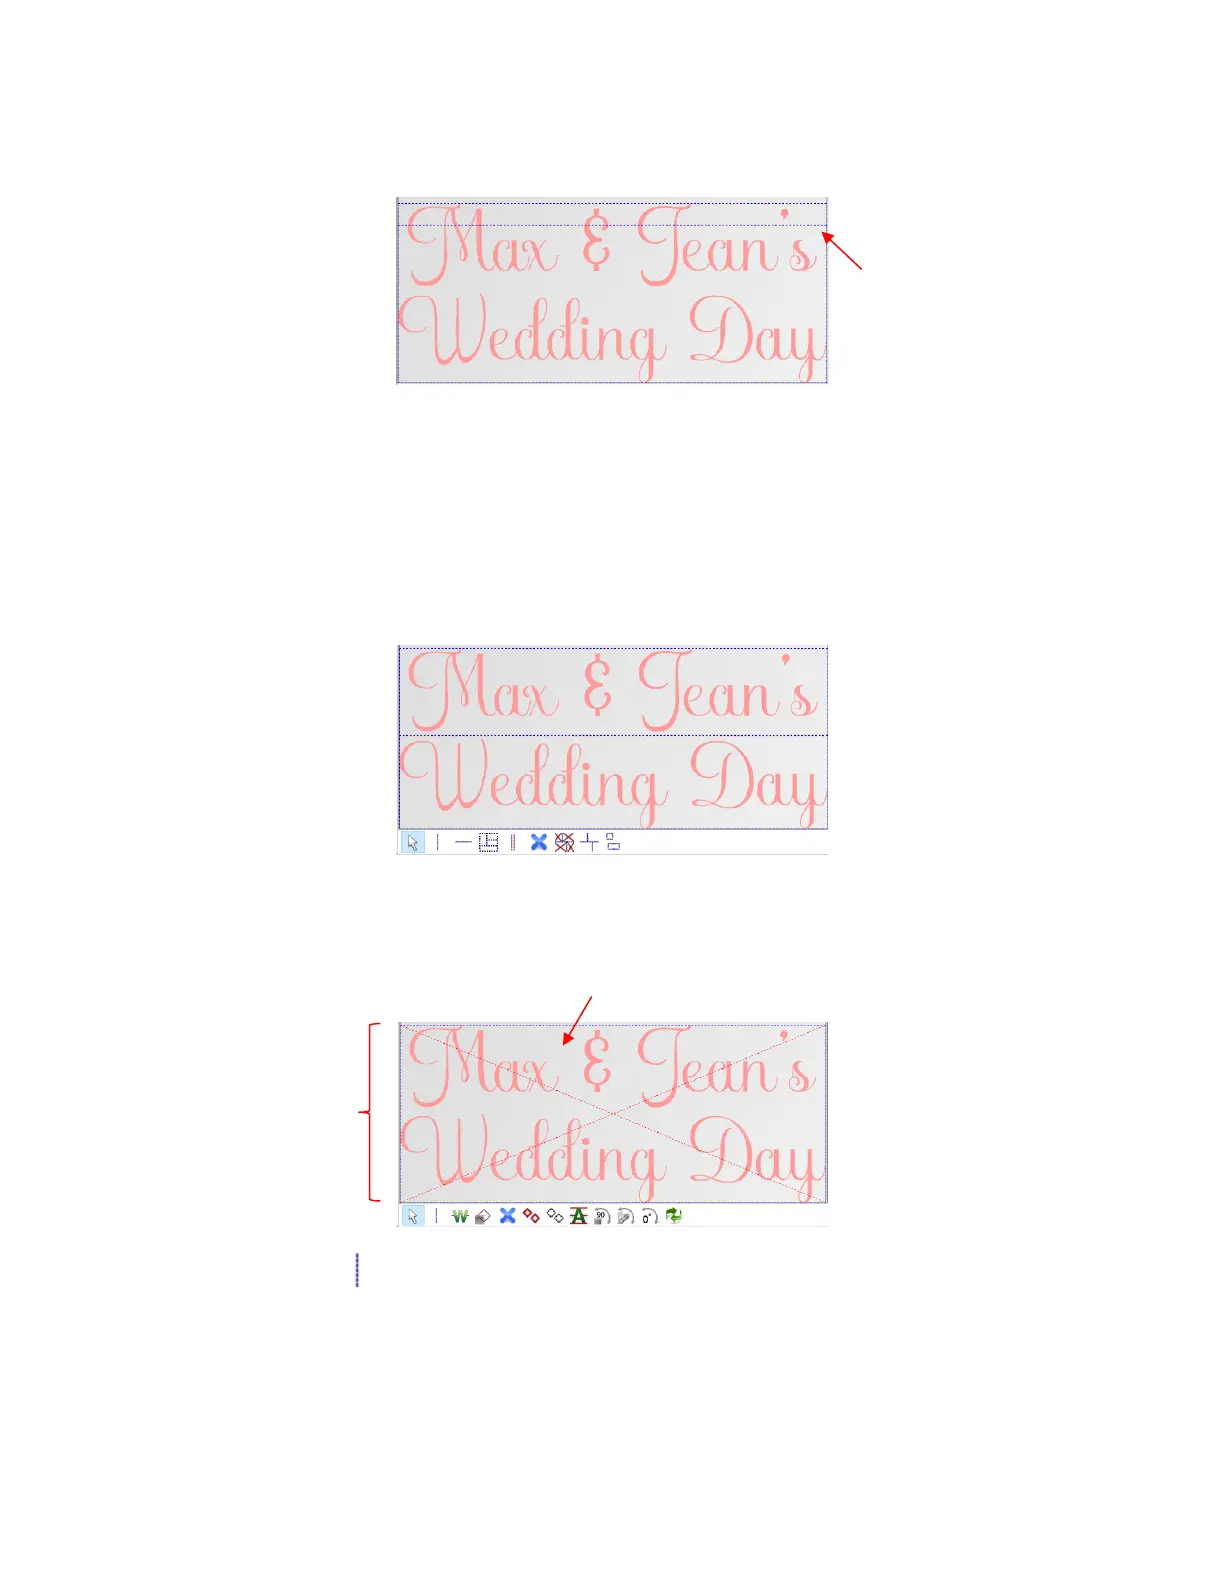
Note the purple dashed line indicates that the design exceeds the maximum cutting width of the C16
Skycut, which will be used. This purple line is automatically the first tile line.
• Before covering each option, note the following:
For most of the functions, left clicking the mouse will add a tile line. Holding Shift and/or Ctrl will provide
additional options.
Tiles lines can be dragged, as needed. In this example, the first purple tile line is dragged so that it is
between the two lines of text:
To delete a tile line, hold the Ctrl key and right click on the line. Note that if you delete a tile line that’s
required in order for the project to be cut based on a cutter’s maximum limits, the tiles will automatically
become deactivated:
• Add vertical tile line - Left click once where you want a vertical tile line. Normally, when cutting from a
roll of material, vertical tile lines won’t be needed. But if the material on the roll isn’t long enough for the
entire project or if you prefer to cut using a cutting mat, then this option can be used: