HRX-MM-N007
Chapter 4 Service Procedure
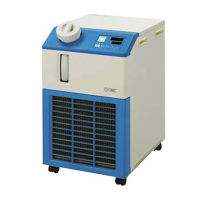
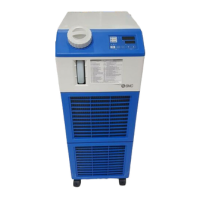
4.5 Replacement Procedure HRS Series
Mounting
1. Mount O-ring to the pump. (2 O-rings)
Size is different. (Refer to Fig. 4.5-4.)
Fig. 4.5-4 Mount the o-ring
2. Insert the pump to the notch of the base. Hand tighten the screw to the end.
When the position is fixed, tighten with a screwdriver. (Bolt ×2)
3. Mount fitting to two locations.
Apply grease.
4. Connect the ground cable (G4).
There are two washers inside. Hold the ground bable between them to fix it to the
pump.
5. Put the pump connector through the grommet from the bottom in order to connect to the
power board.
For the HRS030, fix the pump cable on the fan motor bracket with a cable tie to
prevent the pump cable from touching the fan.
6. Mount the support panel. (Screw ×4)
(2pcs. of the left side) (2pcs. of the drain port.)
7. Mount the upper panel and the right panel in reversed order of removal.

 Loading...