User Manual |
92
Laser Engraving and Cutting - 03 How to Laser Engrave and Cut
3.3 Calibrate the Camera
You can use the built-in camera to capture images of the work area, and then put the images together as the
background of your editing area in Luban. This way, you can easily position the pattern you want to engrave or cut on
the material.
To use the camera capture feature for engraving and cutting, you must rst calibrate the camera. This section
describes how to use automatic calibration to calibrate the camera and how to manually adjust the calibration result
to obtain the best camera capture images.
Automatically Calibrate the Camera
Preparation:
Blank white paper (no less than 150 mm × 150 mm) × 1
Silicone Plugs × 4
Laser Safety Goggles × 1
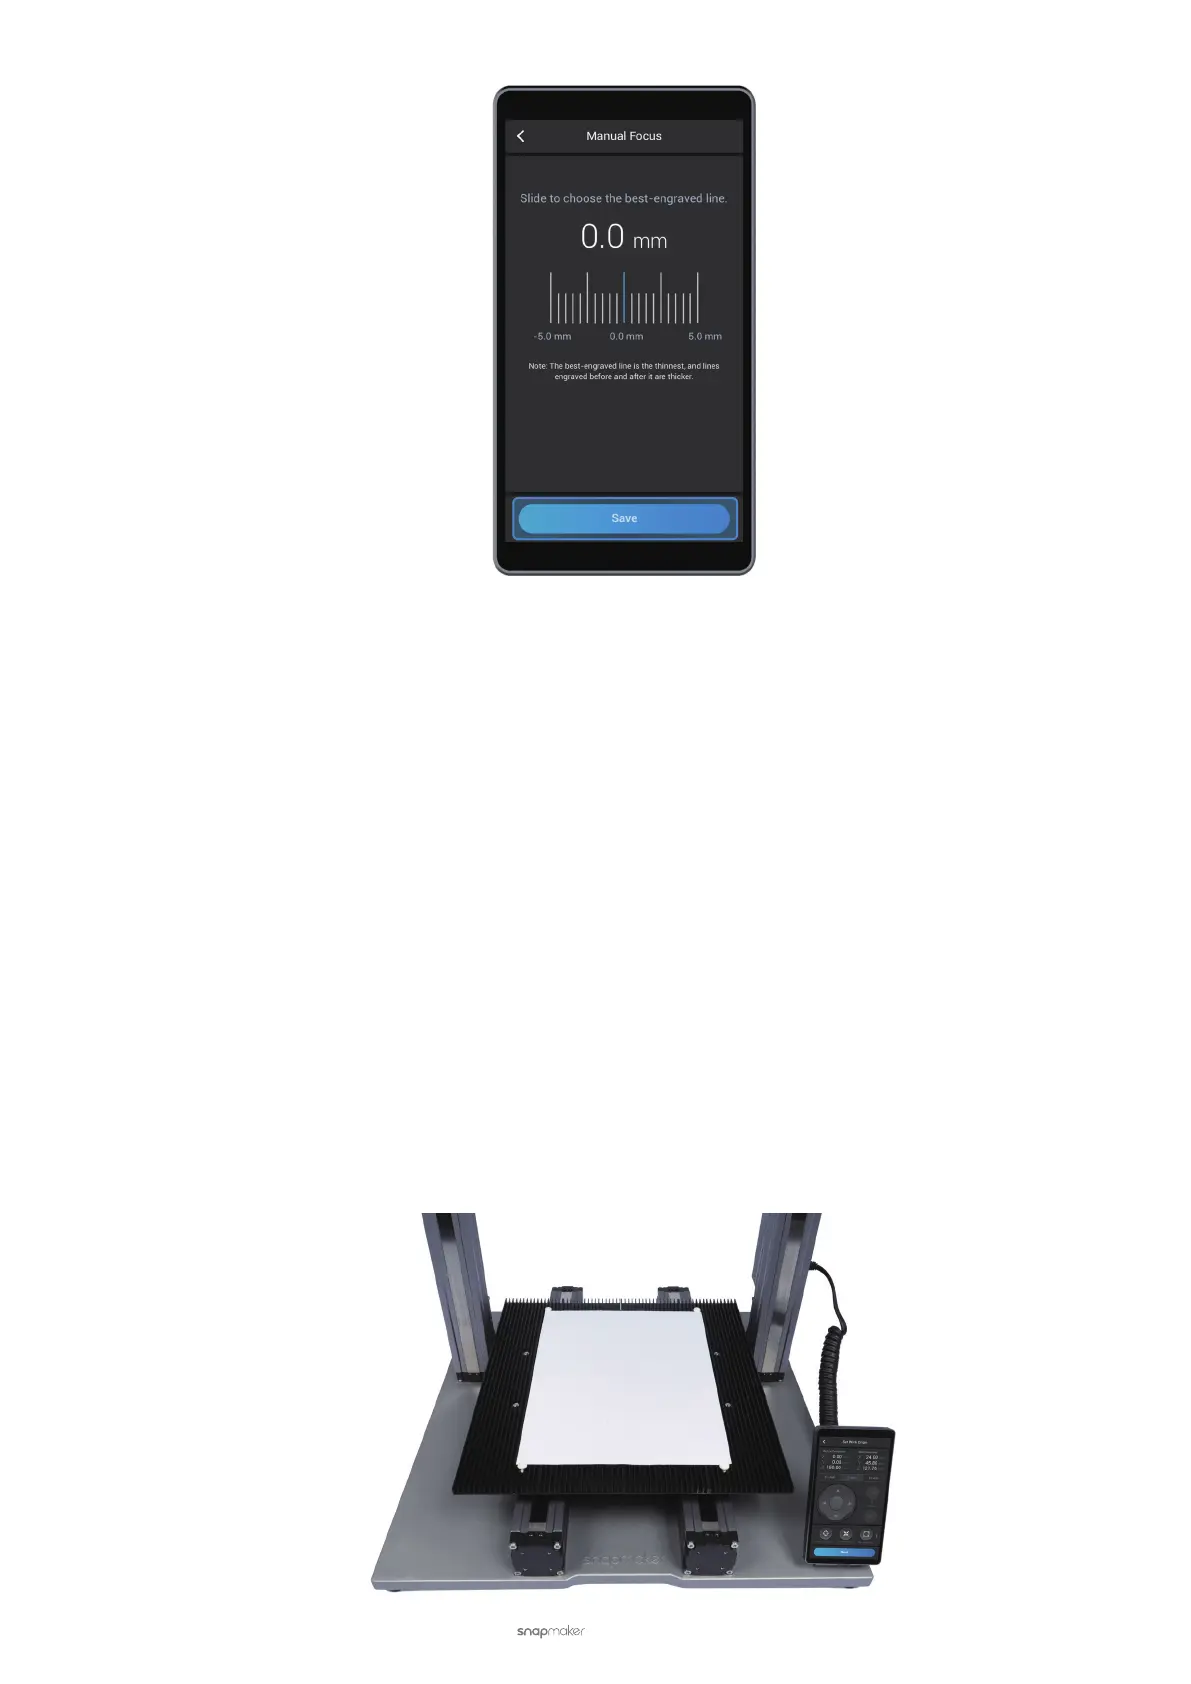
(1) Place the blank white paper on the center of the Laser Engraving and Cutting Platform. Secure it with the
silicone plugs.