Paramount ME User’s Guide
44
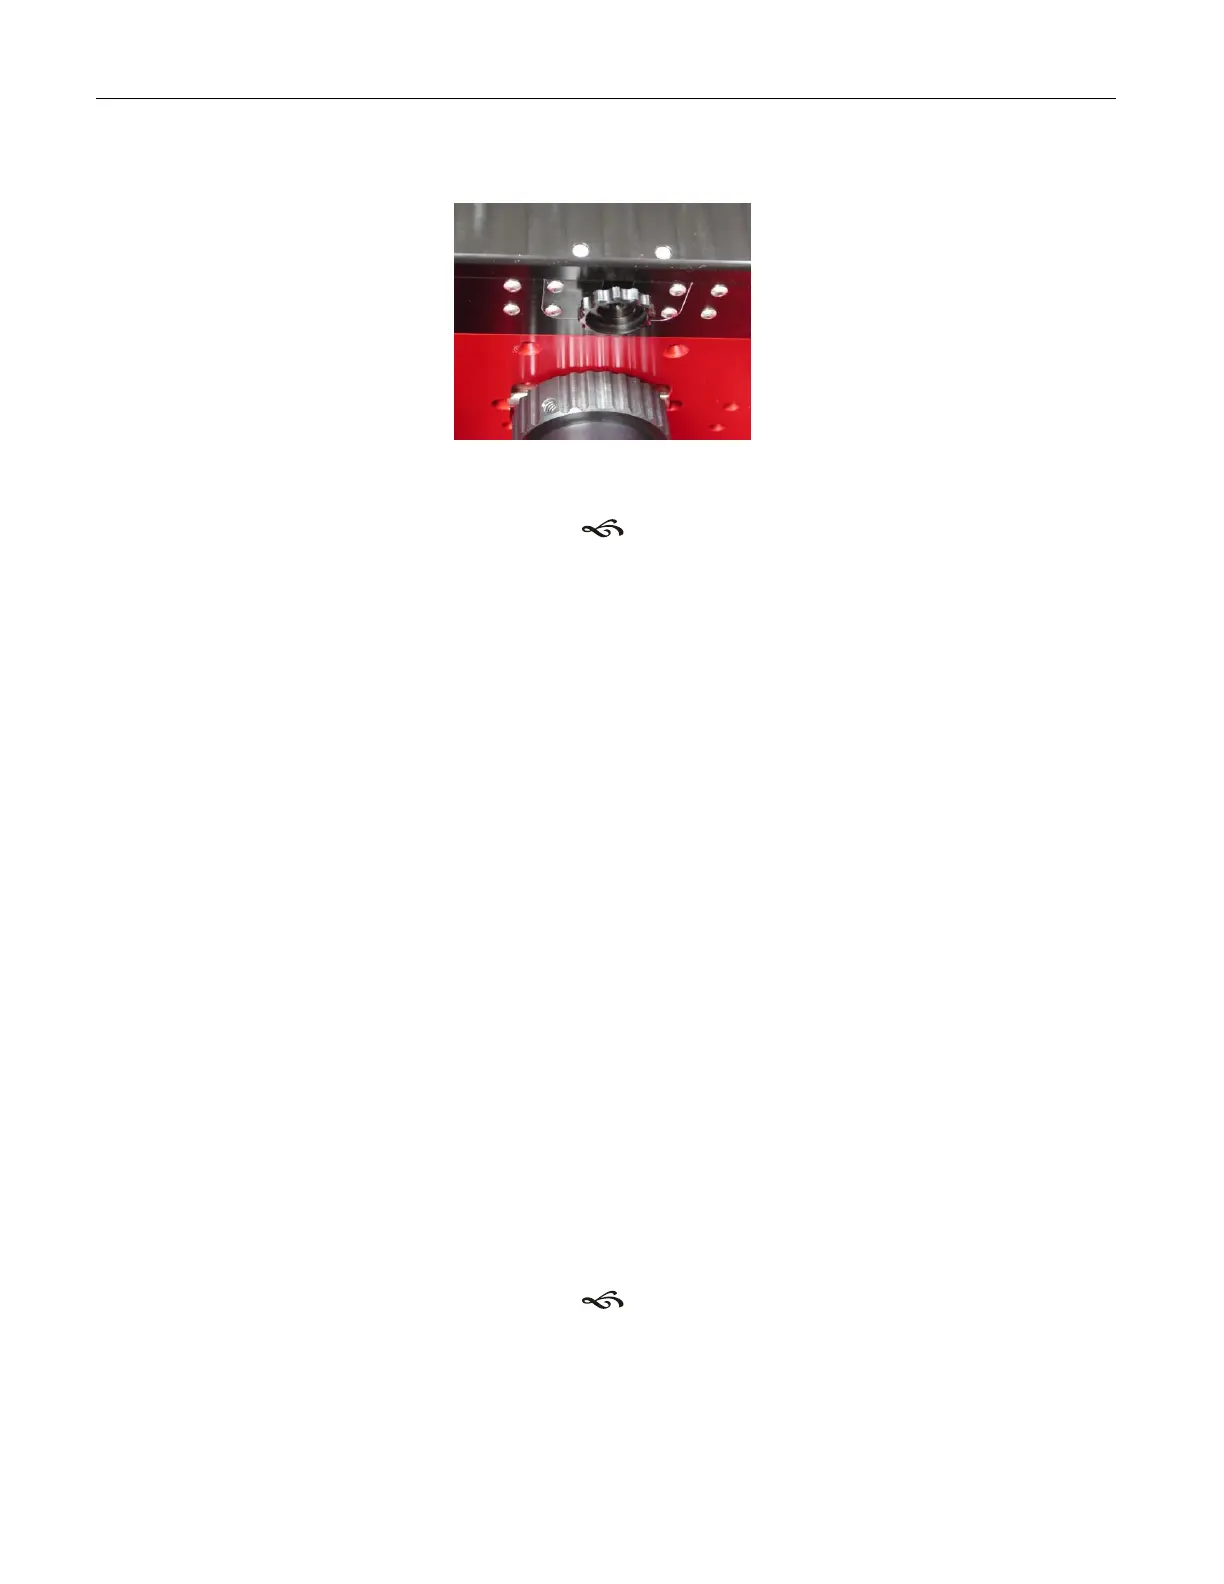
Knobs are not used to adjust tension between the worm and the gear. However, the
Balance Knobs can be over tightened and bind the servomotors.
Figure 25: RA Balance Knob
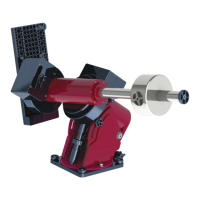
Attaching the Optical Tube Assembly to the Versa-Plate
Dovetail Use
The Versa-Plate has four knobs to adjust brass plungers that apply pressure on the
telescope dovetail. Smaller optical tube assemblies will only utilize two or three of these.
When mounting your OTA, orient the long dimension of Versa-Plate parallel to an East–
West line, with the counterweight shaft vertical. When the Versa-Plate is in this
orientation, you can mate the dovetails without the risk of the OTA “falling out.” We
recommend placing the Versa-Plate knobs “uphill” (that is, with the telescope pointing to
the west) so that when they are tightened, you are not trying to lift the OTA.
Attaching OTA Mounting Rings
The four separate mounting configurations provided on the Versa-Plate accommodate
several popular OTA mounting ring systems. The holes are drilled and counter-bored for
¼-20 SHCS (socket head cap screws).
Cable Channel
The underside of the Versa-Plate has a channel to make room for the “through the mount”
cables. Additional cables and accessories (such as video, USB, camera cooling hoses, etc.)
can be run through the mount. See “XThrough the Mount CablingX” on page X56X for more
information.
Initial Polar Alignment
There are numerous methods for estimating the approximate altitude and azimuth settings
before starting the polar alignment procedure. Ideally, you will want to get each axis to