Paramount ME User’s Guide
46
The azimuth adjustment knobs are calibrated. One rotation results in 30 arcminutes of
azimuth adjustment. Therefore, each “knob-tic” (that is, each high point on the knob
itself, see XFigure 27X) equals two arcminutes.
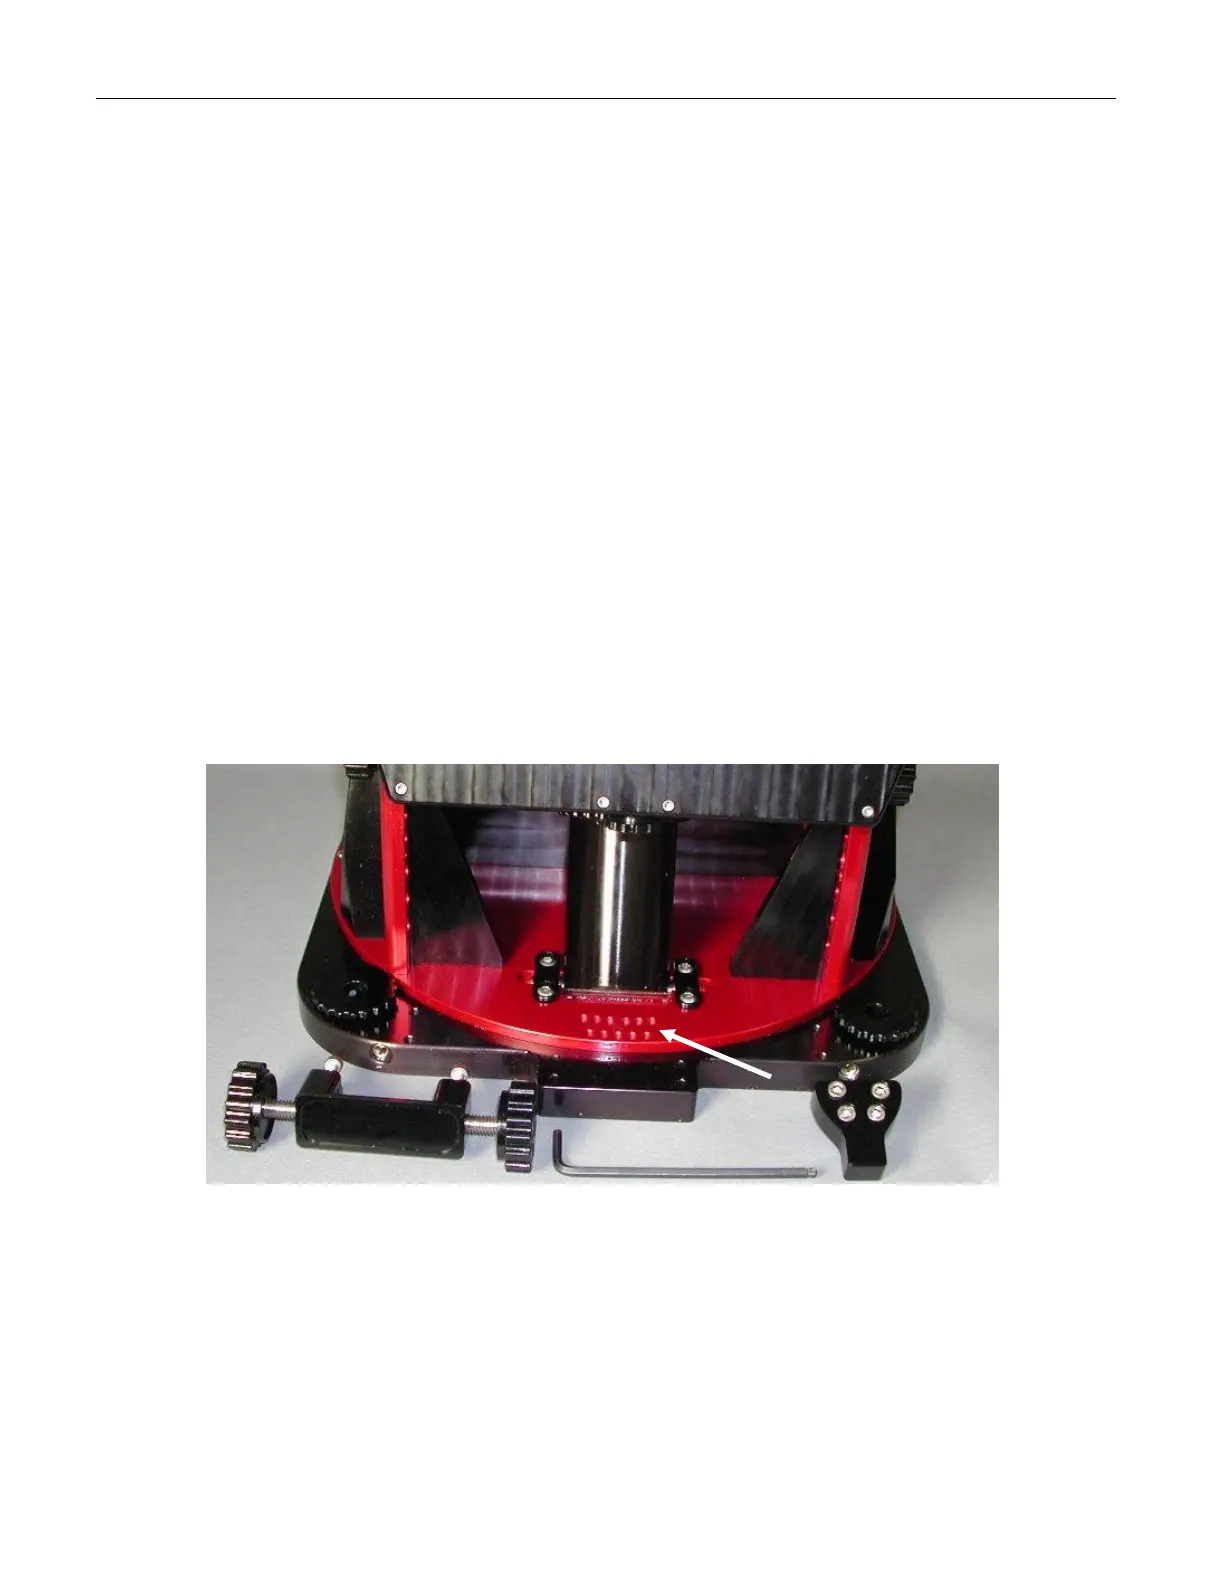
Azimuth Tensioning Screws
The two azimuth tensioning screws can be adjusted by inserting a hex wrench into the
front of the Paramount ME base plate (the two straight arrows in XFigure 26X). These
tensioning screws push pliable Delrin plungers against the internal rotating wedge plate.
This means that you can continue to tighten the azimuth tensioning screws without ever
feeling a hard stop, so be cautious not to over tighten them.
Adjustment to the azimuth can be performed without loosening the azimuth tensioning
screws, but can make turning the azimuth adjustment knobs difficult. Typically, the
azimuth tensioning screws are loosened by about one turn before making azimuth
adjustments. Once you are satisfied with the polar alignment in azimuth, retighten the
azimuth tensioning screws.
Note that each tic on the azimuth adjustment knob represents two arcminutes of rotation
of the base plate (XFigure 27X). These calibrated knobs are especially useful when making
quantitative azimuth adjustments that are recommended by TPoint’s polar alignment
command.
Additional Azimuth Adjustment
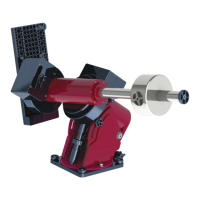
Figure 28: The azimuth “nosepiece” can be repositioned for additional azimuth adjustment.
If you need additional azimuth adjustment, there are two additional sets of mounting holes
for the azimuth adjustment “nosepiece” that allow for about two degrees azimuth
adjustment in either direction.
The “nosepiece” is the black anodized part that protrudes into the azimuth adjustment
block (see XFigure 28X), by which the mount is rotated. Loosen the two azimuth adjustment
knobs and remove the four hex screws from the adjustment knob-mounting bracket.
These screws are accessed from the bottom of the mount.