Connecting to AC
Connecting to the Auto-transformer
TheAuto-transformerisrequiredforBackupPoweronly.
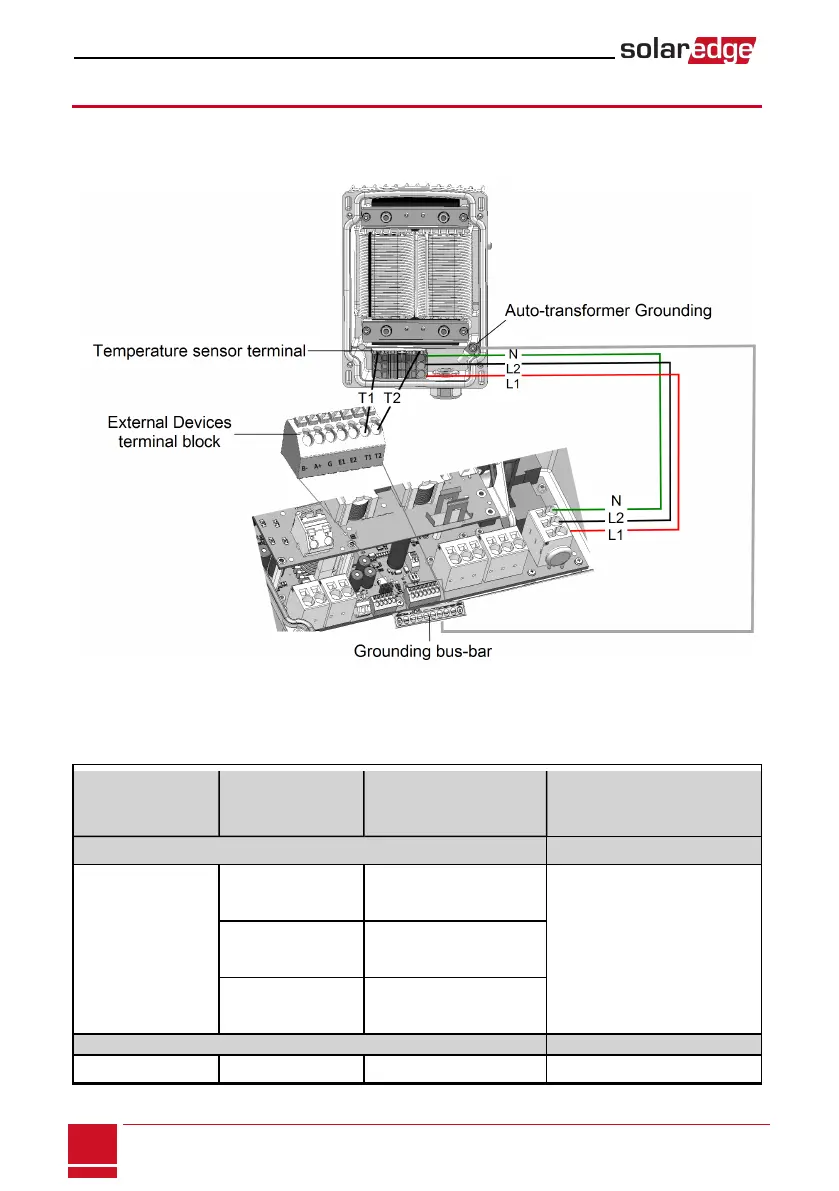
Figure 21: Connecting to the auto-transformer
1. Openthe4screwsoftheauto-transformerandremoveitscover.
2. Preparecablesandconnectasdescribedinthefollowingtable:
Recommended
cable type (min-
max AWG)
StorEdge Con-
nection Unit
connection
Auto-transformer
connection
Connection method
AC
8 AWG (6-20 AWG)
3-pin terminal block: L1 Line terminal: L1
o
Insert a flat blade screwdriver
into the square opening at the
top of the terminal block and
press to open clamp
mechanism.
o
Insert the wire into the round
opening and release the
screwdriver to spring back and
clamp the wire.
3-pin terminal block: L2 Line terminal: L2
3-pin terminal block: N Neutral terminal: N
Grounding
10 AWG cable Grounding Bus-bar Grounding lug
SolarEdge-StorEdge Installation Guide MAN-01-00262-1.0
34
Connecting to AC
 Loading...


