96
Electrical Connection
7.2 Electrical Connection of Inverter
DANGER!
• (Without X3-Matebox G2) Before electrical connection, make sure the DC switch
of the battery (T-BAT-SYS), the inverter DC switch, the AC breaker and the EPS
breaker are turned off. Otherwise, an electrical shock may be caused by high voltage,
resulting in serious personal injury or death.
• (With X3-Matebox G2) Before electrical connection, make sure the DC switch of the
battery (T-BAT-SYS), the inverter DC switch, the contactor in the matebox, the main
breaker between the matebox and the power grid, the EPS breaker and the load
breaker are turned off.
WARNING!
• Only the qulalified personel can perform the electrical connection following the local
standards and requirements.
• Follow this manual or other related documents to wire cables. The device damage
caused by incorrect wiring is not in the scope of warranty.
CAUTION!
• Use insulated tools and wear individual protective tools when connecting cables.
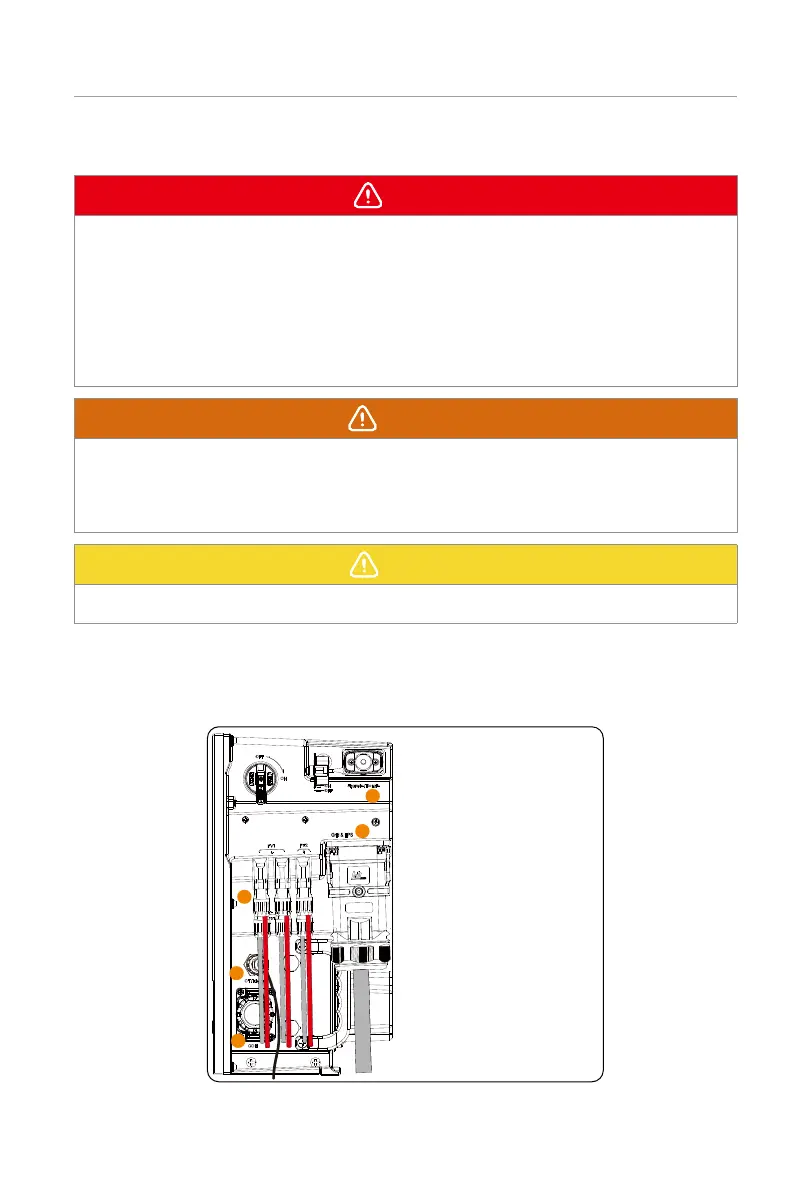
7.2.1 Wiring Sequence of the Inverter
Users should strictly follow the wiring sequence of the inverter.
Step 1 Connect the Grid & EPS port.
Step 2 Connect the CT/Meter port.
Step 3 Connect the COM port.
Step 4 Connect the PV port
Step 5 Plug in the WiFi .
Figure 7-14 Wiring sequence of the inverter

 Loading...


