71
Mechanical Installation
6.2.2 Two Towers for Floor Mounting
NOTICE!
• Take the installation procedure for option G as an example.
Step 1: As for the installation steps for the following figure, please refer to the installation
procedure for “6.2.1 One Tower for Floor Mounting” (Steps 1 to 19). The
installation procedure for both left and right towers is the same.
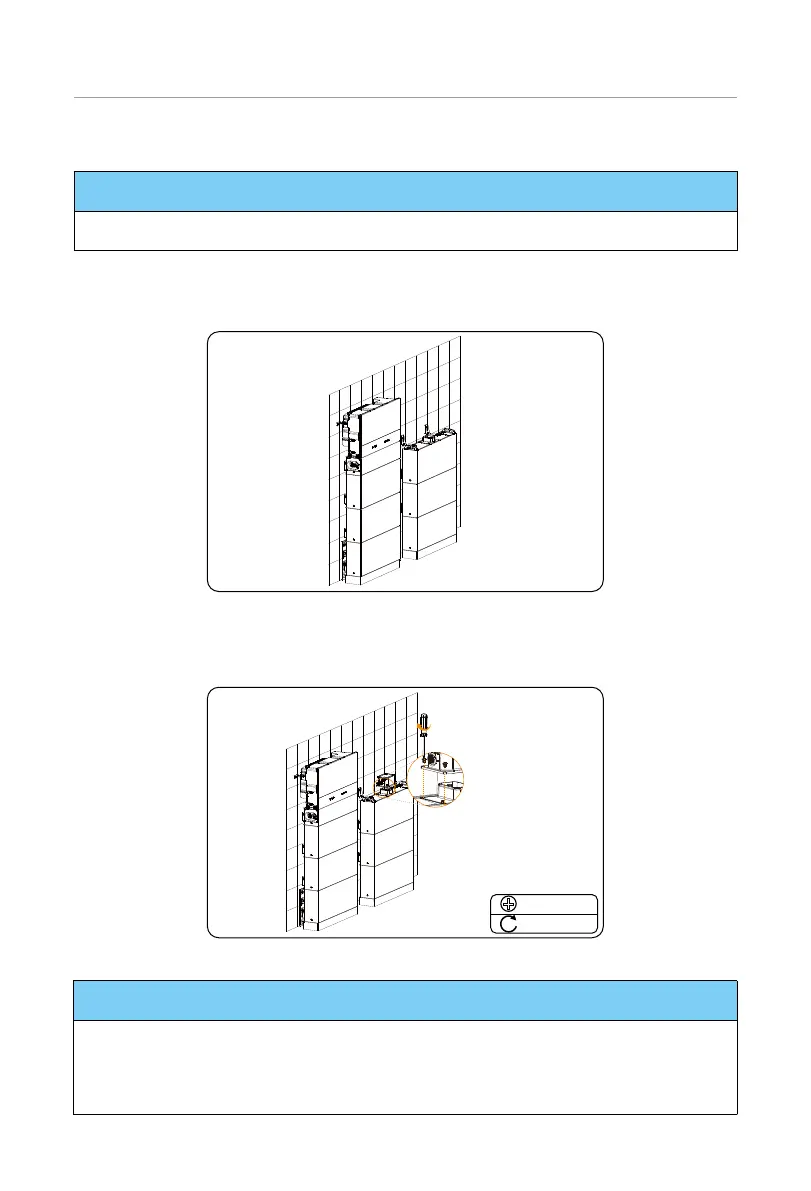
Figure 6-28 Installing two towers
Step 2: Place the series box, insert and tighten M5*14 screws, with totalling 4 screws
(torque: 2.2-2.5 N·m).
M5 * 14
2.2-2.5 N·m
Figure 6-29 Placing the series box
NOTICE!
• The side of the series box with "R" shall be against the wall.
• The cover that covers on the series box shall be installed after finishing wiring. As for
the installation procedure of the cover, please refer to the section of “7.1.3 Installation
of Cover”.

 Loading...


