EasyManuals Logo

SolaX Power X3-IES Series User Manual

SolaX Power X3-IES Series
228 pages
To Next Page IconTo Next Page
To Previous Page IconTo Previous Page
Page #80 background imageLoading...
Page #80 background image
72
Mechanical Installation
6.3 Wall Mounting
6.3.1 One Tower for Wall Mounting
NOTICE!
Take the installation procedure for three battery modules as an example.
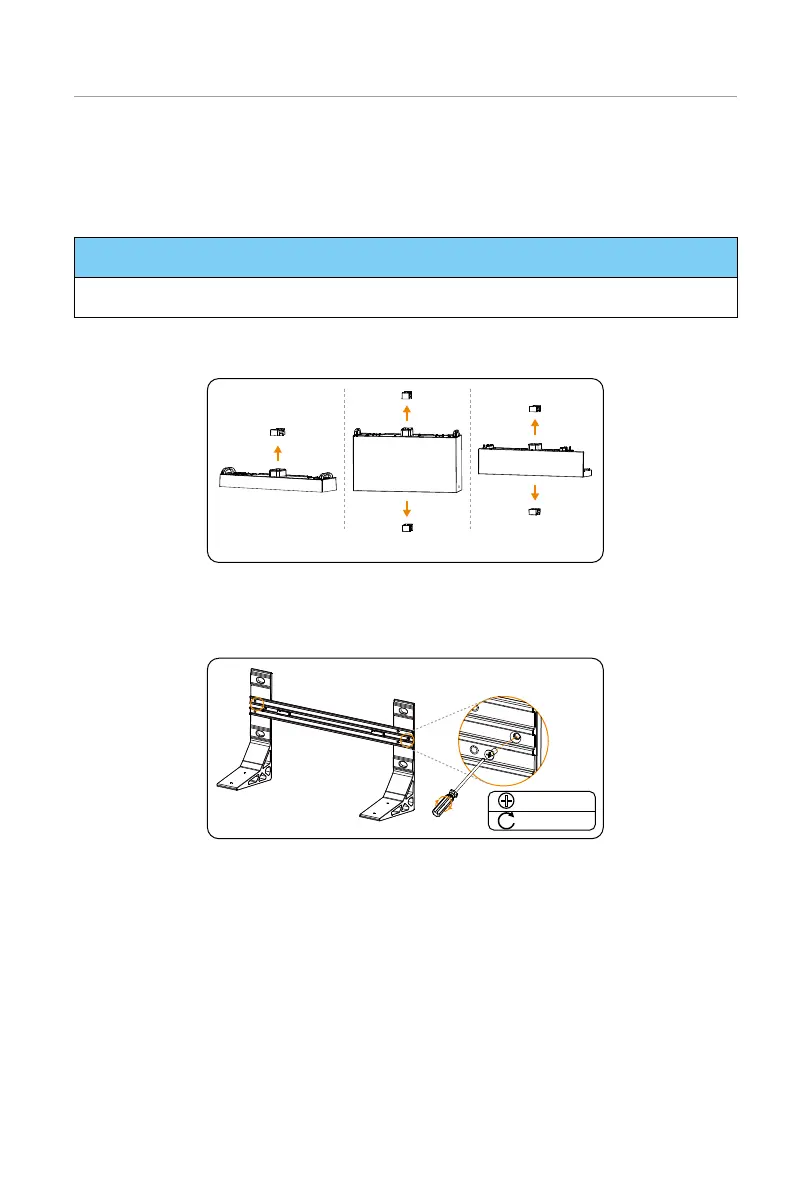
Step 1: Remove dust covers from the base, battery module(s) and BMS before conducting
installation.
Base Battery module BMS
Figure 6-30 Removing dust covers
Step 2: Tighten M5*8 screws on both sides to attach the base support and transverse
plate together (torque: 2.2-2.5 N·m).
M5*8
2.2-2.5 N·m
Figure 6-31 Attaching base support and transverse plate

Table of Contents

Questions and Answers:

Question and Answer IconNeed help?

Do you have a question about the SolaX Power X3-IES Series and is the answer not in the manual?

SolaX Power X3-IES Series Specifications

General IconGeneral
BrandSolaX Power
ModelX3-IES Series
CategoryInverter
LanguageEnglish

Related product manuals