202
Troubleshooting and Maintenance
Upgrade steps
a. Please save the Upgrade firmware in your U disk first.
b. Find the Upgrade port of the inverter, unplug the monitoring module (dongle / 4G
) by hand, and insert the USB flash drive. (Refer to “7.2.5 Monitoring Connection
(UPGRADE/ Port)” for the specific position of /Upgrade port.)
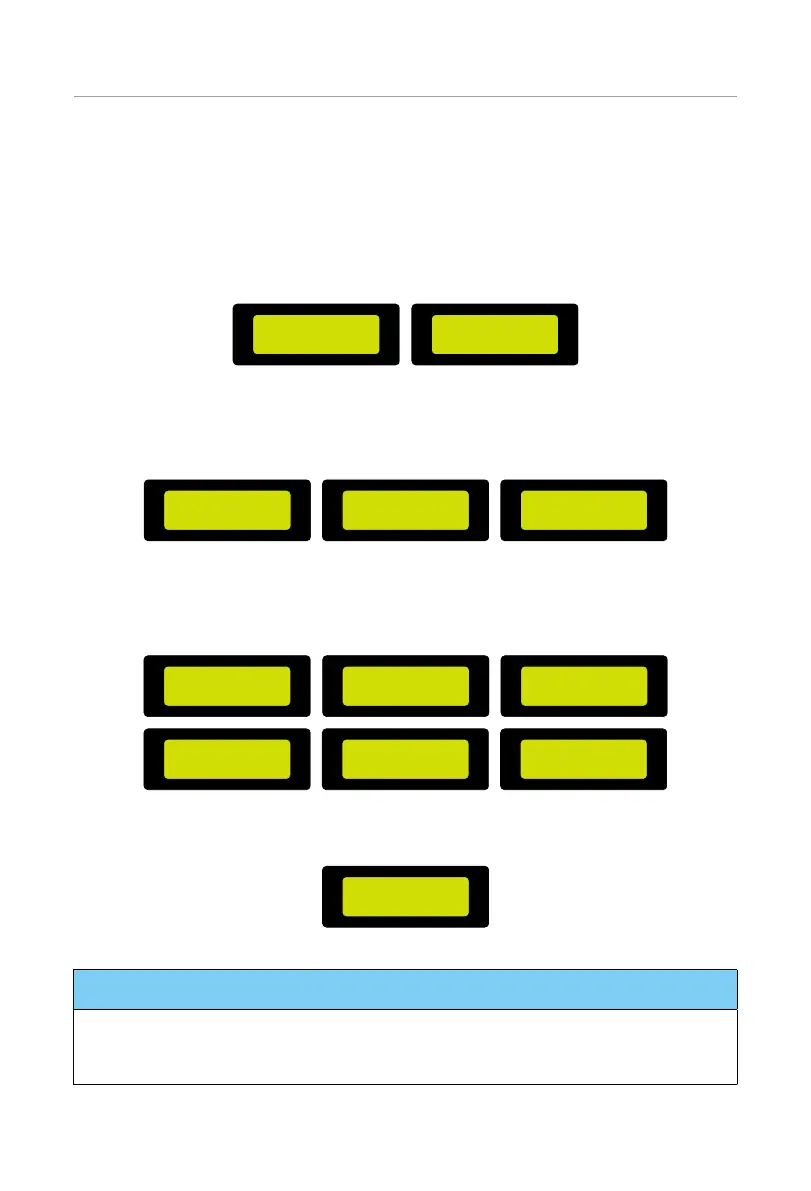
c. Select ARM and OK to enter the software version interface;
===Upgrade Selection===
> ARM
DSP
===Upgrade (ARM)===
Cancel
>OK
Figure 11-1 Entering the ARM interface
d. Please confirm the new firmware version again and select the firmware to
upgrade. The upgrade takes about 20 seconds. When it is completed, the LCD
screen returns to the Update page.
===Upgrade (ARM)===
Cancel
>OK
===Upgrade (ARM)===
>323101047300_IES_3P_
ARM_V003.04_0729.usb
===Upgrade (ARM)===
Upgrading------25%
Figure 11-2 Upgrading the ARM version
e. For DSP: Please wait for 10 seconds. When "Update" page shown as below, press
down to select DSP and then press Enter. Please confirm the firmware version
again and press Enter to upgrade. The upgrade takes about 2 minutes.
===Upgrade Selection===
ARM
> DSP
===Upgrade (DSP)===
Cancel
>OK
===Upgrade (DSP)===
>
323101047200_IES_3P_DSP
_V005.00_20230801.usb
===Upgrade (DSP)===
DSP Erasing
===Upgrade (DSP)===
Upgrading------25%
===Upgrade (DSP)===
Cancel
>OK
Figure 11-3 Upgrading the DSP version
f. After the upgrade is completed, the LCD screen displays Upgrade Successful.
===Upgrade (DSP)===
Upgrade Successful
Figure 11-4 Upgrading the DSP version successfully
NOTICE!
• If the display screen is stuck after the upgrade, please turn off the photovoltaic power
supply and restart, and the inverter will restart and return to normal. If not, please
contact us for help.

 Loading...


