EasyManuals Logo

SolaX Power X3-IES Series User Manual

SolaX Power X3-IES Series
228 pages
To Next Page IconTo Next Page
To Previous Page IconTo Previous Page
Page #94 background imageLoading...
Page #94 background image
86
Mechanical Installation
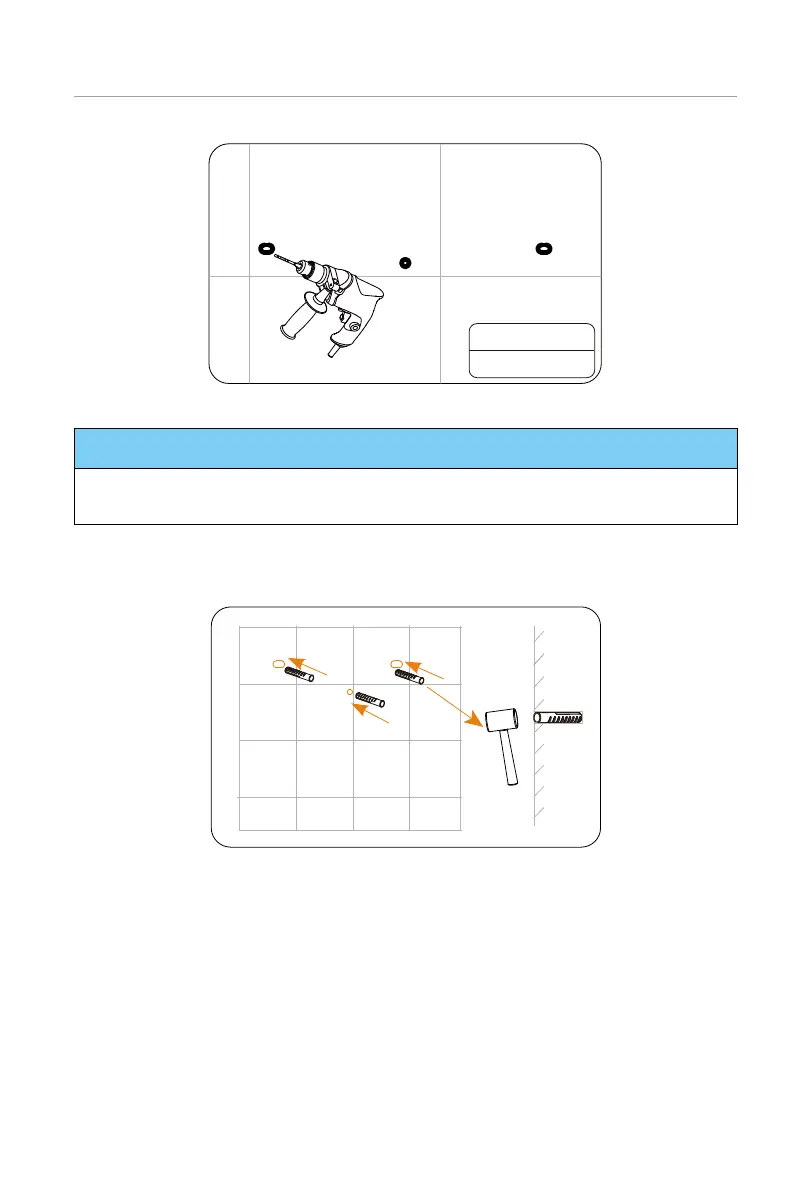
Ø10 drill bit
Depth: > 60 mm
Figure 6-55 Drilling holes
NOTICE!
When drilling holes, make sure the already installed part is covered to prevent dust
from falling onto the device.
Step 3: Knock expansion tubes into the holes on the wall with a rubber hammer, put
the wall-mounting bracket on the wall again and then align the bracket with the
drilled holes on the wall. secure the bracket with self-tapping screws.
Figure 6-56 Knocking expansion tubes into the wall

Table of Contents

Questions and Answers:

Question and Answer IconNeed help?

Do you have a question about the SolaX Power X3-IES Series and is the answer not in the manual?

SolaX Power X3-IES Series Specifications

General IconGeneral
BrandSolaX Power
ModelX3-IES Series
CategoryInverter
LanguageEnglish

Related product manuals